WE LOVE: SHORT SHORTS

We recently bought some all purpose shorts for Elliott - at least we think they are all purpose. They are his shorts for soccer, swimming, and general running around in. To me they are the perfect length, short - but not too short. He has a few pairs of swim shorts that we love, but they can ride up and look more like a speedo after a bit of running around. The best part? They are on sale! I mean, seriously on sale. So I thought I should mention it to you in case any of you are looking for some perfect shorts for your littles. They come in a couple of great colors. We just bought the gray ones with the sale, I can't wait to get them! Now, we're off to the pool with the shorts. We really do love them. 

USA TANK DIY

In honor of the fourth of July, I made Elliott this tank top. Well, I made the stencil and painted it. I wanted to make him something I could imagine putting on him to wear any other day of the year and not just the fourth of July. So I made this map! I think it turned out pretty well and if you would like one for your own littles, you can see the full tutorial over here on Momtastic

P.S. This last picture is my new favorite. 

FOURTH OF JULY SPARKLER HOLDERS DIY

The fourth of July is next week! I can't believe it. When I was a kid I loved sparklers (still do!) but I would always hold it with the very tips of my fingers for fear of getting burned. Knowing that Elliott is a lot like me in that way, I made these little sparkler holders to help prevent that. They worked like a charm! I made them in stars and USA maps to keep with the patriotic theme. Though the map was a bit harder to make, it's my favorite. If you're spending the fourth with littles and sparklers, then these are perfect for you! 
Start off printing off the shapes you would like. I just borrowed some images from google. Super easy. Then cut them out. 
Next, trace the shapes onto some cut up cardboard. I used a wheat thins box, but any thinner cardboard will do.
Then cut out your shapes! Again, the stars were way easier than the map, but I still think the map was worth the hand cramp.
 Now grab some patriotic duct tape and cover your shapes! 
You can trim off the tape one of two ways. You can try scissors which can be a little frustrating but still works, or grab a cutting mat and an exacto knife. It's way faster and cleaner with the knife.
Now that your shapes are all trimmed up, use an awl to make a hole in the center for the sparklers to fit through. You could use a hole punch as well, but the hole will be bigger.
 Now stick the sparklers in and you're ready to party!

DIY MOON + JUPITER PIÑATAS

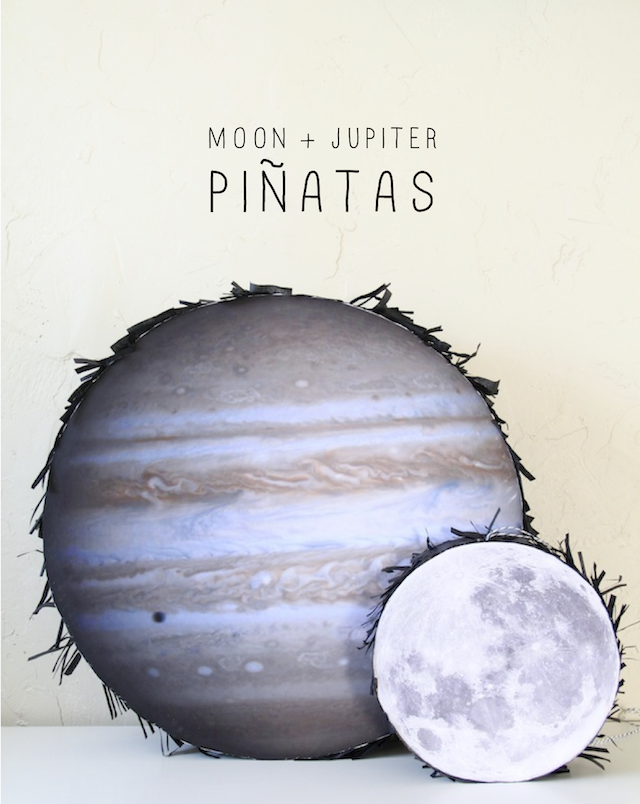
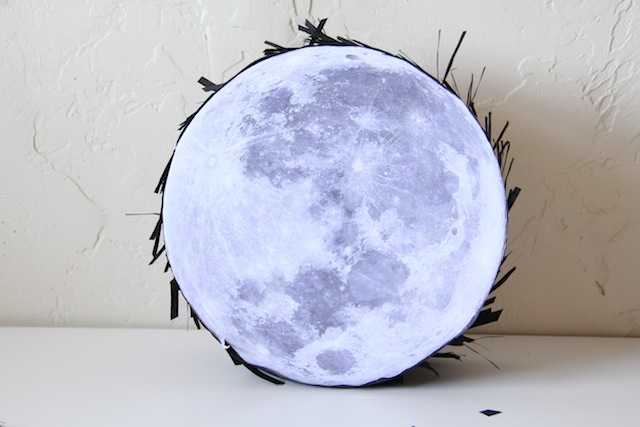
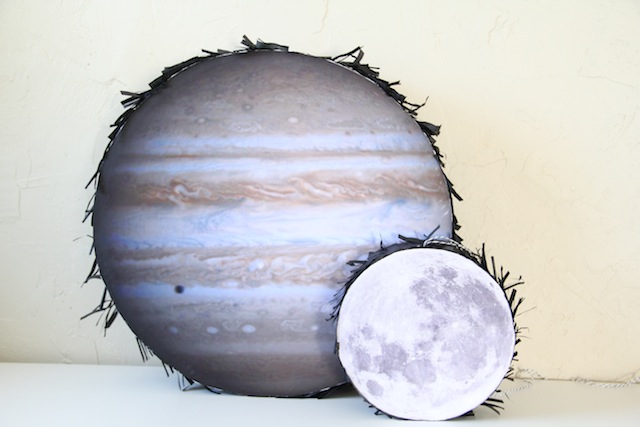
Last weekend was my nephew's birthday party and that boy is all about science. Mostly the human anatomy, but he'll take space too. For his piñata he asked me if he could have a Jupiter one. So this is what I came up with! I knew it would have to be detailed and accurate (science kid, remember?) so recreating Jupiter strictly from crepe paper was out of the question. And I thought since I was at it, I may as well make a moon one. Because, who doesn't love the moon? 
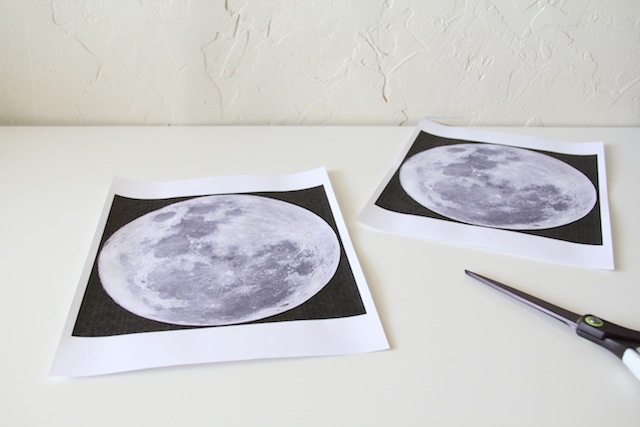
I found the best images I could and printed them out. The Jupiter images had to be printed out at a local print shop since I wanted them larger.
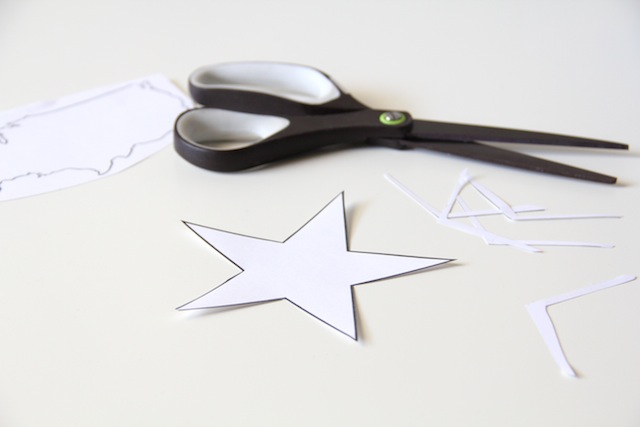
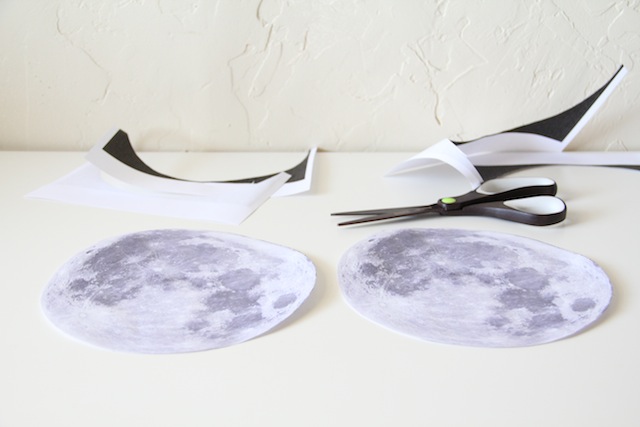
 Next, cut out the images with some scissors. It's mind blowing, I know.
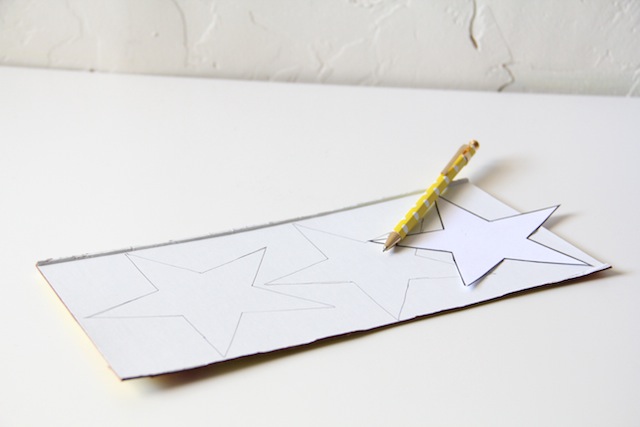
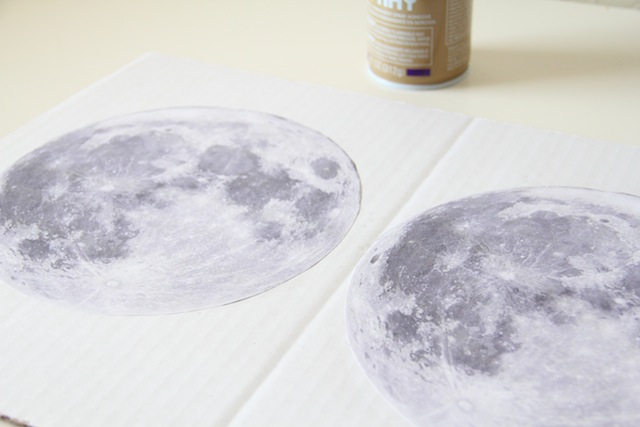
For the cardboard, I used a tri-fold display board. You know those ones you used for your fourth grade science fair? That one. I took my handy spray adhesive and glued the images onto the cardboard.
The next part is slightly tricky. I used scissors as much as I could, but had to resort to wielding the exacto knife. Very, very carefully. But it was totally worth it.
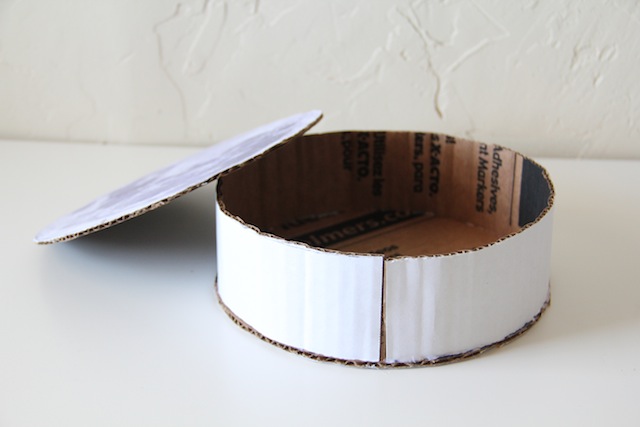
Next I cut off a three inch strip of the cardboard and bent it around and hot glued it onto one of the circles. This is easy, but takes a little time since you want to make sure the glue is dried before letting go.
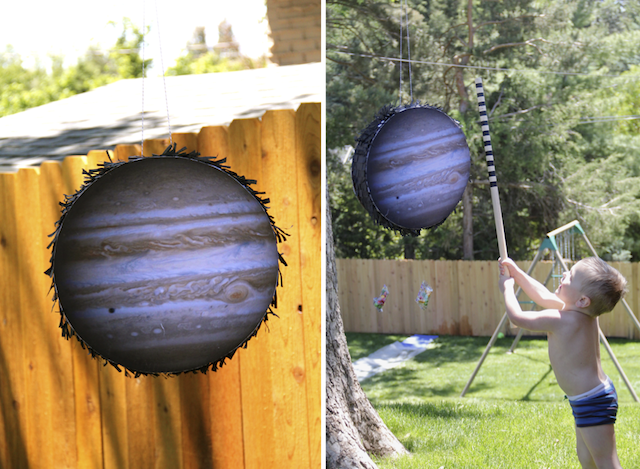
You will want to attach a string or wire or what-have-you to hang this lovely from when it's finished. I poked holes through the three inch cardboard and threaded some twine through. Now, fill the almost piñata with all of your treats and goodies and glue on the second image! 
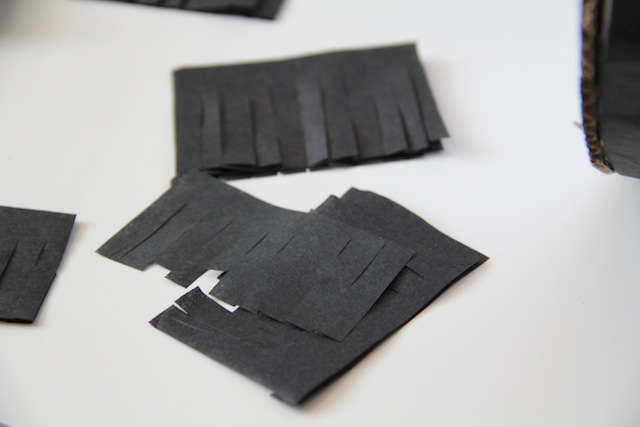
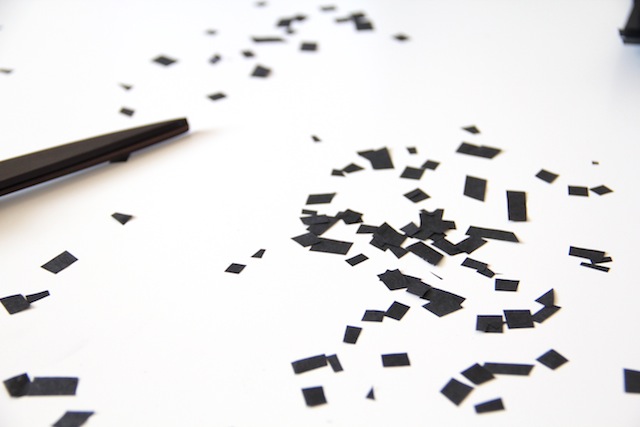
Now to make it a real piñata. Fringe! I used tissue paper because I was all out of black crepe paper. And it had to be black because this is space after all. I cut three inch strips - enough to cover the three inch strip of cardboard - and fringed it with some scissors. 
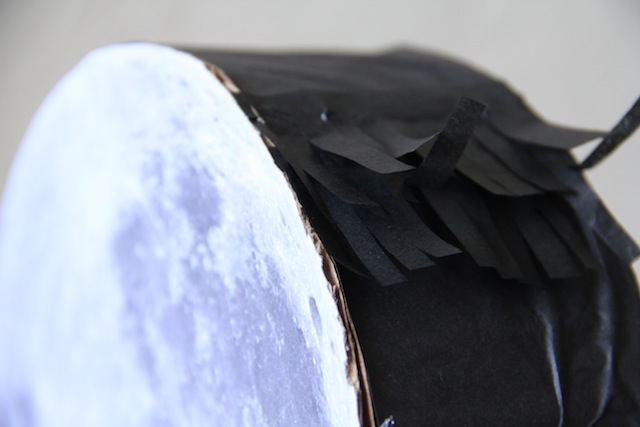
Then, row by row, glue it on! I glued down some tissue paper before I added the fringe. Just so none of that unrealistic pesky white cardboard would peek through.
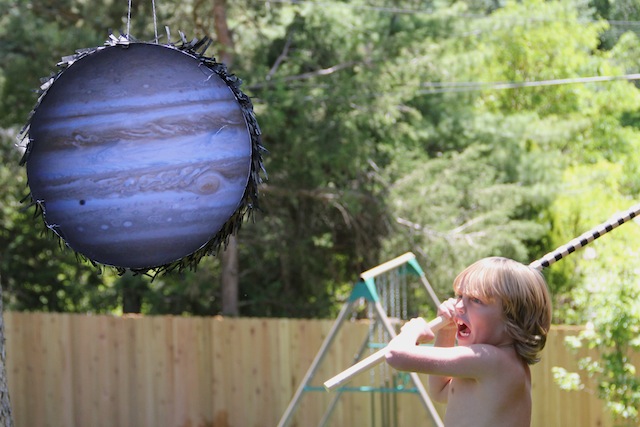
Voila! Not so hard and perfect for a science loving birthday boy.
In case you're wondering why these children have no clothes, it was a swim party. Very eclectic.