WINDOW SPIDER WEB DIY

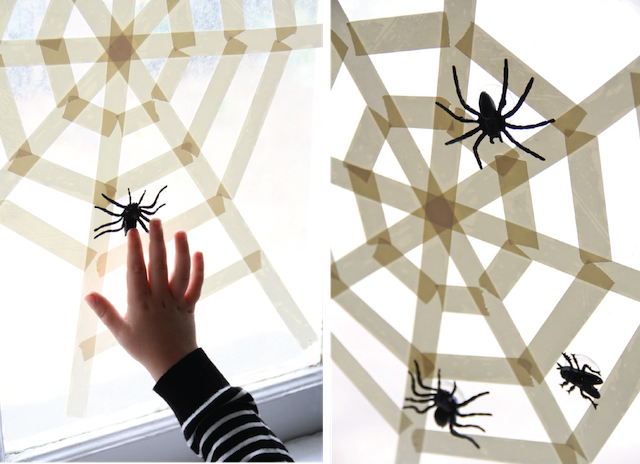
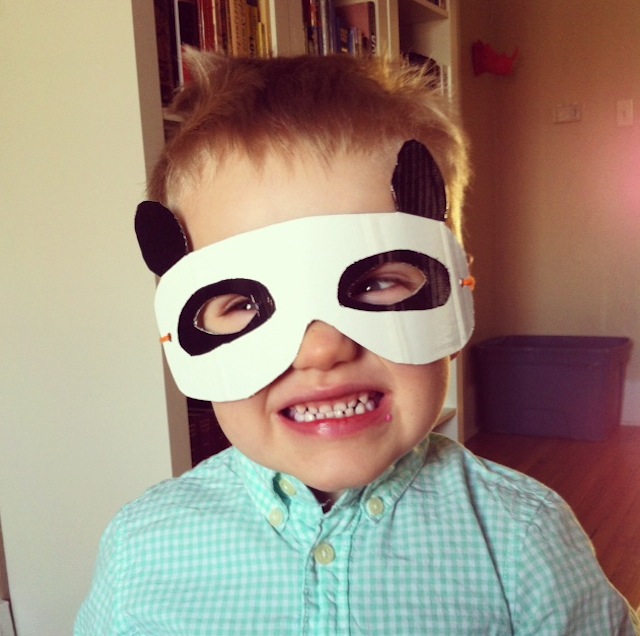
Our first Halloween project of the year! It's a good one. So easy and takes almost no time or skill set. My kind of DIY! It's so much fun to play with, Elliott has been having a blast. I even made a few little flies to get stuck in the web. Creepy, right? We love it!
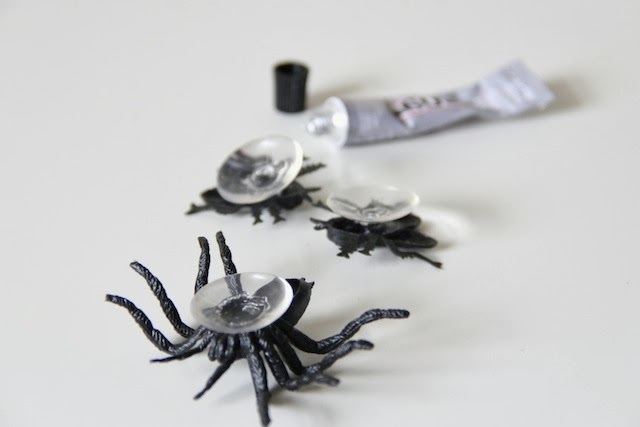
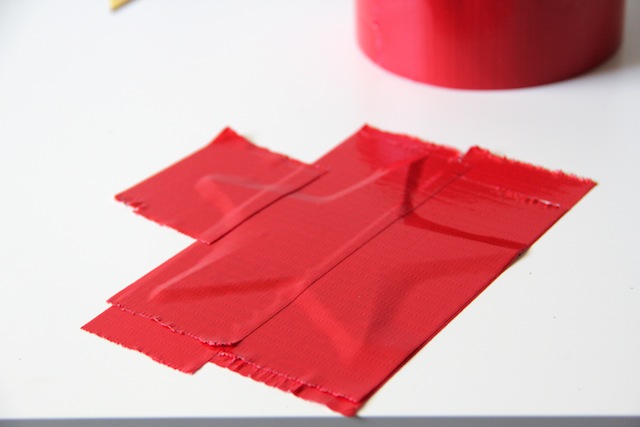
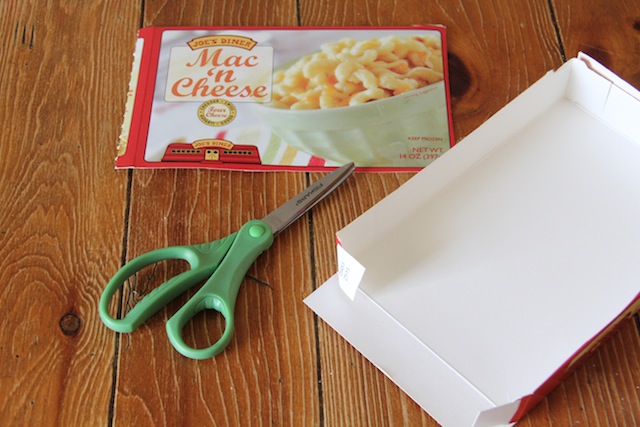
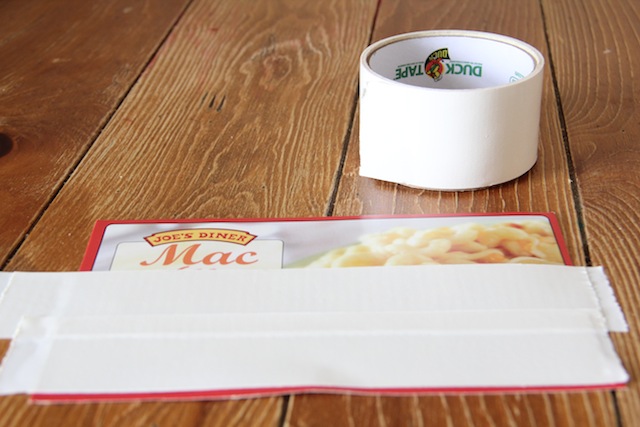
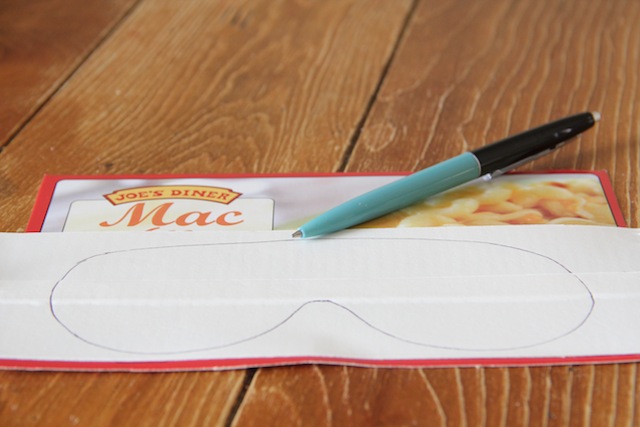
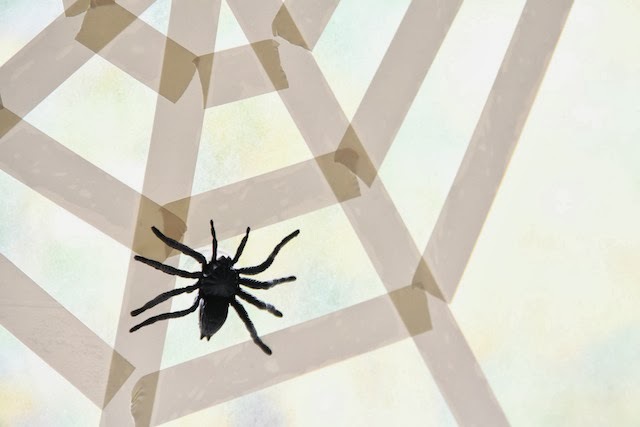
To make your own, all you need is some white tape, plastic spiders, mini suction cups and glue. It's pretty self-explanatory. Just glue the suction cups to the underside of the spiders, make the web out of tape and you're done!
Have fun!

I love simple DIYs you can make with things you already have lying around the house. Little tips and tricks for easier and more efficient DIYs are always welcome around our house! If you are planning on doing some DIYs around the house and would like some easy and genius tips, try these ten. Keep refreshing the page to watch all ten videos. They are seriously easy and just might blow your mind. 

This is a sponsored post. Thank you so much for supporting the companies who help make Ardor possible!

FOURTH OF JULY SPARKLER HOLDERS DIY

The fourth of July is next week! I can't believe it. When I was a kid I loved sparklers (still do!) but I would always hold it with the very tips of my fingers for fear of getting burned. Knowing that Elliott is a lot like me in that way, I made these little sparkler holders to help prevent that. They worked like a charm! I made them in stars and USA maps to keep with the patriotic theme. Though the map was a bit harder to make, it's my favorite. If you're spending the fourth with littles and sparklers, then these are perfect for you! 
Start off printing off the shapes you would like. I just borrowed some images from google. Super easy. Then cut them out. 
Next, trace the shapes onto some cut up cardboard. I used a wheat thins box, but any thinner cardboard will do.
Then cut out your shapes! Again, the stars were way easier than the map, but I still think the map was worth the hand cramp.
 Now grab some patriotic duct tape and cover your shapes! 
You can trim off the tape one of two ways. You can try scissors which can be a little frustrating but still works, or grab a cutting mat and an exacto knife. It's way faster and cleaner with the knife.
Now that your shapes are all trimmed up, use an awl to make a hole in the center for the sparklers to fit through. You could use a hole punch as well, but the hole will be bigger.
 Now stick the sparklers in and you're ready to party!

DIY SLEEP MASK

What every mom wants more of, sleep! This sleep mask was so easy to make and it's cute, not to mention functional! I actually gifted this one to Preston because our room gets wicked bright in the morning and I can't sleep with anything on or around my face. BUT! I am sure the special mama in your life would love one of her own. You can see the full tutorial over here on Momtasitc.

DIY PIÑATA BLINDFOLD

It's Cinco de Mayo this weekend! Are you throwing a little fiesta? If so, make this piñata blindfold! Because you will have a piñata, right? Right. It takes just a few minutes and it makes swinging that stick a little more tricky. I wouldn't suggest letting little ones (or grown men) swing away indoors while blindfolded. Things can be broken and tears shed. So if you're throwing a Cinco de Mayo party, here's how you can make this festive blindfold!
Cut the front of a cardboard box off. I went with the mac n' cheese variety, but any will do.
Grab some white duct tape to cover up the mac n' cheese. We don't want people getting hungry while they are swinging for that piñata! 
Draw the shape of your mask. Feel free to get creative! I didn't. 
Cut some strips of tissue paper and make them fringy. 
Now take said fringy strips and start adding them layer by layer to the mask starting at the bottom and working your way up. Make sure they overlap! You don't want that white poking out too much. I added my strips with tape, but you could use glue too.
Once you have all the fringy layers, cut around the edges to get that mask shape back.
Punch a hole on either side of the mask and try to keep them even. It just makes for a better mask.
Now attach some string to both sides and trim it up. Now you're done!
For those wondering where I got this glorious striped stick, I made it! It's just a large, large dowel rod that I taped up and painted. So I guess you can consider this two DIYs in one! Lucky you. Happy Cinco de Mayo!

AROUND HERE

I hope you had a fantastic Easter weekend! We had a pretty great couple of days. Elliott was thrilled with what the bunny brought him. His favorite thing (besides the candy - sigh) was the marble run. That bunny sure knows that boy well! Literally hours of (quiet) fun. As predicted there was great food, many egg hunts and the weather could not have been more perfect. Oh and I loved the way Elliott's outfit turned out. Ha! As if I made any of it. But I am kind of in love with the neon pants. Which got unbelievably dirty playing outside with his cousins. Oh and the masks were a hit! I guess he did forget about them after having modeled the bunny one. But just in case, I told him I left them out for the bunny to include in his basket. He bought it. The bunny mask made it's way around the majority of the family. The kids tried it, my brother, Preston and of course I put it on while hiding eggs. I tried hoping too, but that got old real quick. It was a grand few days, we're sad to see it go! Here's to a wonderful week ahead!