DIY ombre stocking

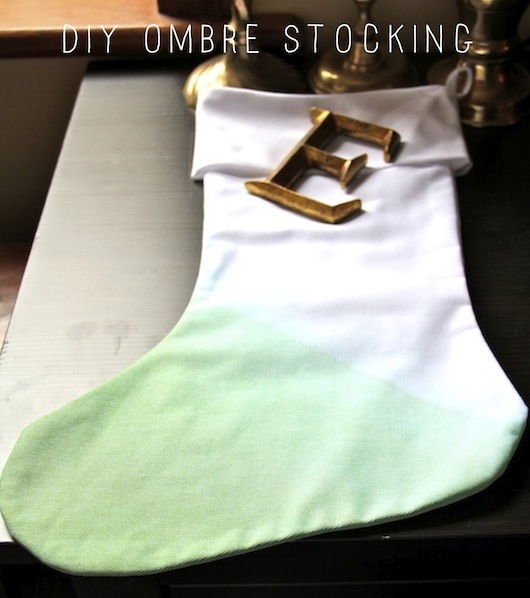
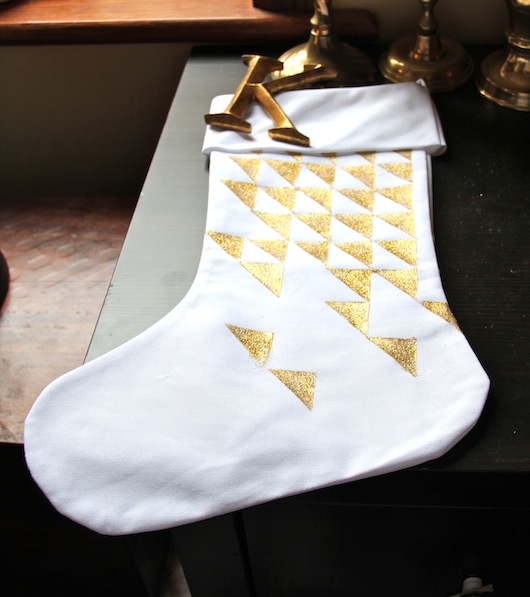
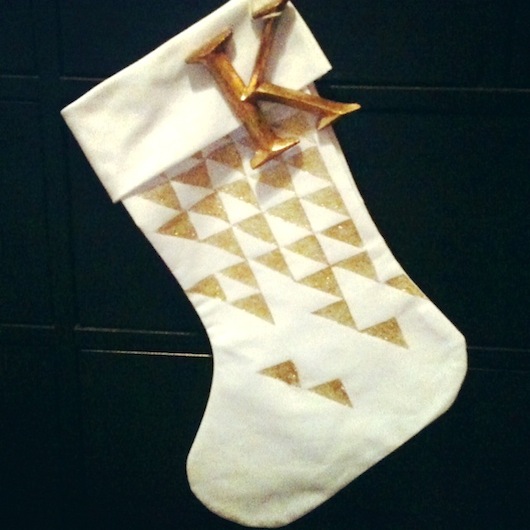
As promised, here is another DIY stocking. Last week's stocking was mine, but this one is Elliott's. He doesn't know what it is for or the joy it will bring him in 2.5 weeks, but he thinks it's nice.

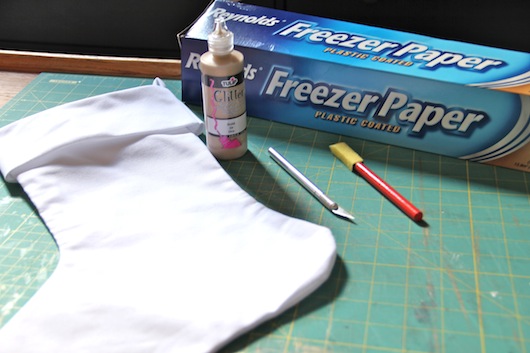
I won't bore you all with the instructions on how to dye fabric. But to anyone who may not know how to get the ombre effect, all you do is dip the fabric (stocking in this case) into the prepared dye. Then gradually lift your fabric out of the dye giving a few minutes per "layer". Once you've reached the end, you'll have a gradient/ombre/dip-dye stocking! It's very easy and the outcome is simple and subtle, but pretty. If you need more of a reference, check this DIY out. It's pretty much the same thing but with a table cloth :)

DIY TRIANGLE STOCKING

A few weeks ago I realized that this being our first Christmas by ourselves, we would need some Christmas things around this place. We got the tree and love it, but we needed some other things. Like stockings! I found some plain white stockings for pretty cheap and decided to decorate our own. The first one I'm sharing is my stocking. Of course I went with gold and geometric patterns. I know, I'm so predictable. I'll share the other two soon, but for now, here's how I made mine...
You'll need:
- Freezer paper
- White stocking
- Fabric paint (in this case, gold glitter)
- Foam brush
- Exacto knife
- Iron
- Ruler
-Pencil
Take a piece of freezer paper and use the ruler and pencil to make squares - a grid.
 Cut your triangles! In whatever pattern you'd like.
Place the delicate (some triangles were lost and harmed in the making of this stocking) stencil on the stocking and iron on. Carefully!
 Paint, coat by coat and let dry.
Viola! You've got yourself a custom, perfectly golden and geometric stocking. Merry and bright people, merry and bright!

DIY fringey balloons

Once again, here's another "this is so easy..how can you call it a DIY?" tutorial. That's just how we roll around here. Here we go!
Here is what you'll need. I bought my balloons here and my crepe paper here. The crepe paper that comes in folds works beautifully. The other kinds...not so much.
I got the instructions for the fringe from Jordan. You can see the full, beautiful fringe crepe paper instructions  here. Cut off a 3 inch (or so) piece off the end of the folded crepe paper.
 Cut.
 Mess it up a bit and you have fringe! Now, to attach it to your balloon...
Wrap the end of the fringe around the end of the balloon. Then tie your string around the fringe and the end of the balloon, pulling tightly and knotting. Don't want that pretty fringe to fall off!
 And we're ready to party!

DIY product bags

DIY product bags, yes. But they came this close to being party favor bags. I was in need of something new to send out my orders in, and these muslin bags were the perfect size, but just a little too plain. So here's what I did...
I got these great fabric markers from Sharpie and I have to say, I am totally impressed. They were super easy to handle and the colors are gorgeous. I went the neon route with the pink, orange and yellow, but next time I think I might try something in the purple variety.

Not pictured is a piece of cardboard that I stuck inside the bag before coloring the dots. I didn't want the backs to get all blotchy from the dots leaking through. Just a little FYI.
Viola! New product bags and I love them.