HAPPY HALLOWEEN!

We're just heading out the door to go trick or treating and have all sorts of ghoulish fun. Elliott opted to be an orange horse this year, as opposed to last year's regular horse costume. So an orange horse he is! Preston was Clark Kent for a party last weekend, but Elliott insisted he be a blue cowboy for Halloween (he's kind of obsessed with favorite colors) And I am supposed to be a cow. Which I am not doing. I have to draw the line somewhere! I hope you have a fun and safe all hallows eve!

PUMPKINS!

The other night we had a pumpkin carving fest. Elliott insisted he have a "happy pumpkin" so that's what he got. Preston is an absolute pro with these things. Me on the other hand, I went the cookie cutter route. I have a triangle cutter and went to it with a hammer. Word to the wise, use the cookie cutter before you hollow out the pumpkin. It works SO much better. Also, it helps if you have someone helping you to hold the pumpkin in place while you hammer. My fingers can attest to that. I think they turned out well but more importantly, we had a blast doing carving them.

DIY MINI GHOSTY PARTY CUPS

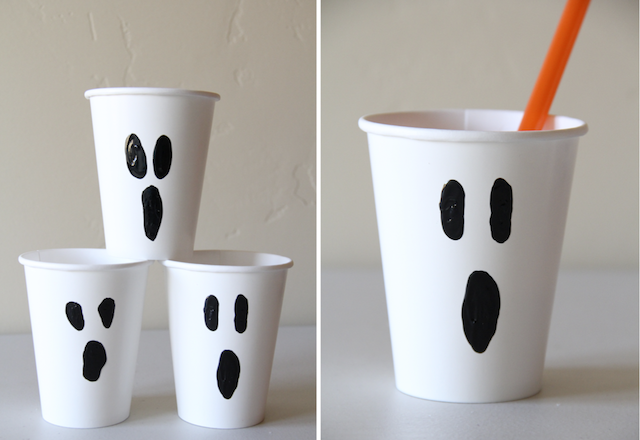
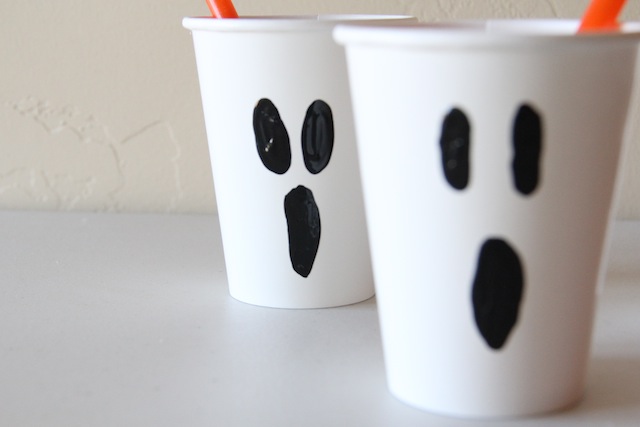
Keeping with the whole halloween mini projects, here are some unbelievably easy party cups! I made these for us to use at CRAFT. I love the way they turned out and will definitely be making more for a little halloween party next week for kiddos.
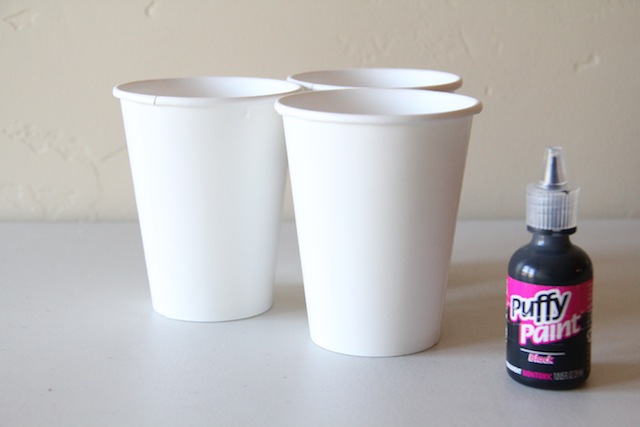
Two things. Paper cups + black paint. I chose the puffy paint because it draws on more like a marker but with the paint look. 
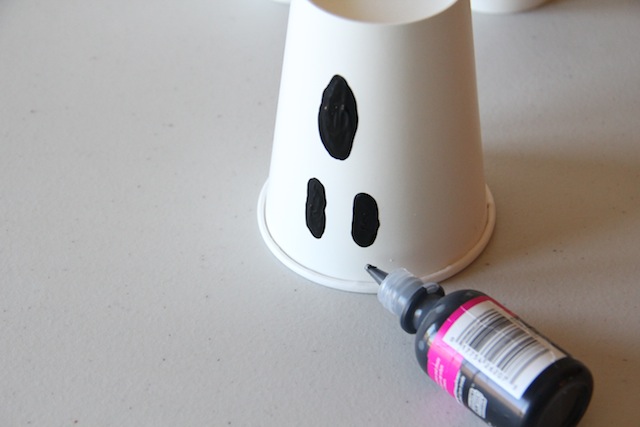
Draw on your eyes and mouth. I did mine upside down. For some reason it was easier for me. Let them dry (only takes about 15 minutes) and you're ready to party!
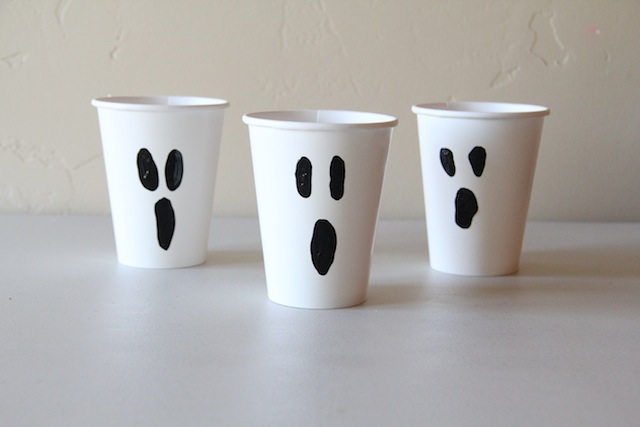
See? Super simple and cute. Perfect for your halloween festivities!

DIY MINI SURPRISE BALL PUMPKIN

Remember these surprise balls? Well I thought it was about time for some more. But mini! I made a few of these mini jack-o-lantern surprise balls and loved the outcome. They are just so tiny and easy. Two of my favorite things! 
You'll need some crepe paper folds, tape, scissors and trinkets/toys. I didn't end up using the poppers. They made the ball a little too big for my taste. Follow these same directions, and you can have your own little surprise pumpkins in no time.
Before you add the last layer of orange crepe paper, cut a small piece of the green and twist it up. Tape it to the pumpkin top to create the stem and continue to cover with the orange paper to cover up the tape and base of the stem.
Then cut a little bit of black crepe or regular paper to make the face. Glue them on and you're done!