LUMP OF COAL SURPRISE BALLS

IMG_4363.JPG
IMG_4386.JPG
IMG_4371.JPG

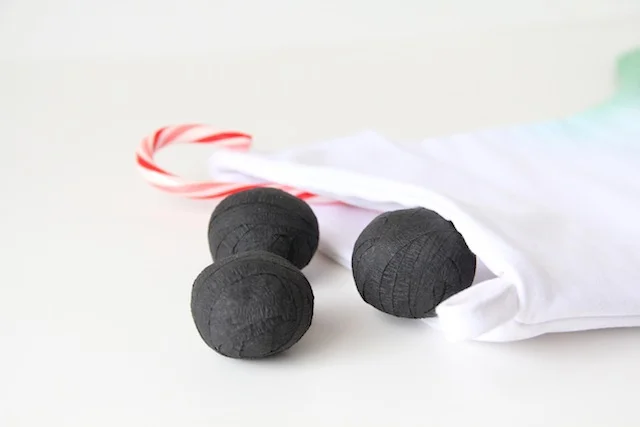
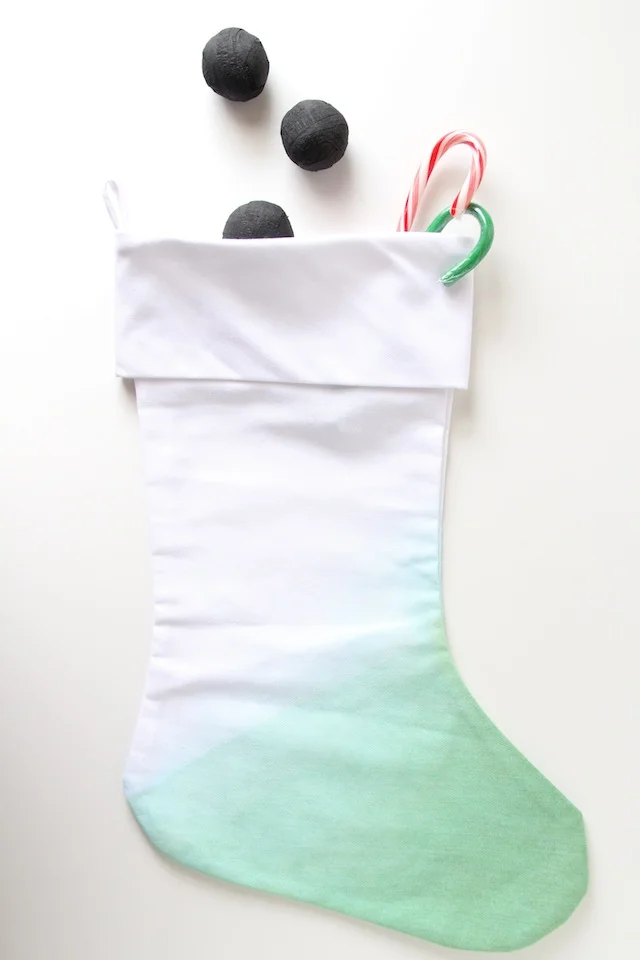
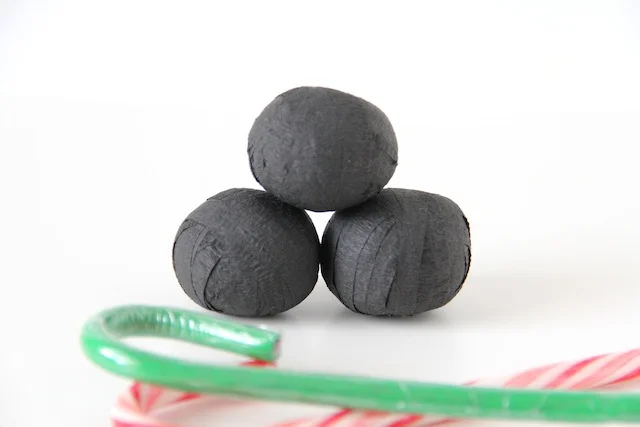
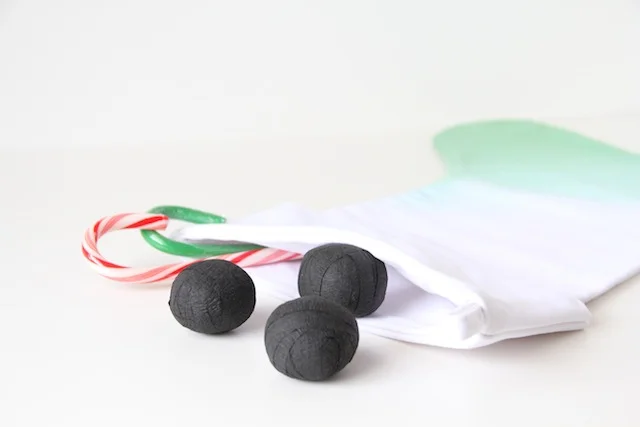
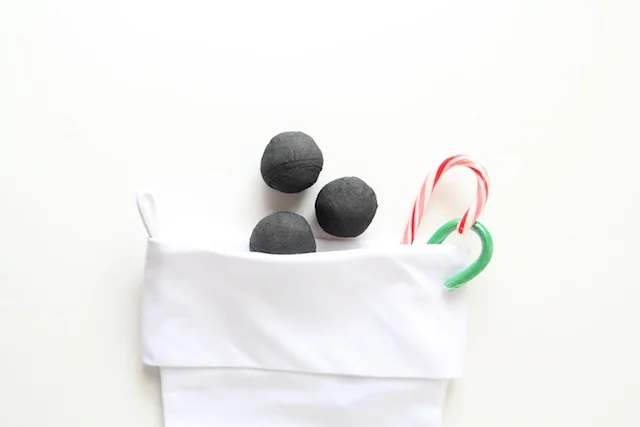
It wouldn't be a holiday without a surprise ball, right? These are so very easy to make and you can just plop them right into the stocking for easy gifting. What I really love about these surprise balls is because they are lumps of coal, they don't have to be perfect! In fact if they are too perfect, they wouldn't look like coal. Awesome. These might be my favorite surprise ball DIY to date. If you would like the step by step, you can see the how to over here. Basically, you just cut up thin strips of black crepe paper folds and one by one wrap your little gifts inside. They are always a blast to unravel and I think they would be perfect for stockings. Especially if your little ones are a teensy bit naughty. With these they get a lump of coal and a treat! It's a win, win all around.

IMG_4392.JPG
IMG_4394.JPG

SNOWMEN WINDOW CLINGS + HAPPY WEEKEND

IMG_3837.JPG

I am so ready for the weekend. Today, Elliott and I are taking off early for a play date and some much needed mom and me time. Most of this weekend will be filled with Christmas preparations, a couple of parties and hopefully a little relaxing. But before we head out for the weekend, we wanted to leave you with a little DIY you can do over the next few days with the kids. Snowmen window clings! We love us some window clings. These little snowmen are so easy to make and the kids will absolutely love them. You can make some accessories like a top hat,  scarf and  pipe for the kids to help decorate them too. Check out the full tutorial and make your own over here on Momtastic. Happy weekend!

SHRINKY DINK GIFT TAGS

IMG_4314.jpg

I wanted to make some fun gift tags for Elliott and his favorite little people for their gifts this year and I came up with these! Aren't they fun? The kids will love them and will have a blast rummaging through the piles of gifts looking for their faces. They are perfect for any age too. I think I might make some for everyone on my gift list this year! Oh, and they are super easy to make. So that's a definite bonus! Here's how you make them.

IMG_4248.JPG

Find some good front on pictures of your loved ones. I actually had to do a mini photo session with my niece to get a good one! Print them out onto the shrinky dink film and cut them out.

IMG_4254.JPG

Next, punch a hole toward the top of the heads. Keep in mind the whole will shrink considerably during the baking process so make sure the hole is big enough to be usable.

IMG_4259.JPG

Now it's time to bake! The directions on my shrinky dink film said to lay the images out on cardboard or parchment paper. I went with cardboard and they turned out perfectly! Just be sure to follow the directions on your packaging and you'll be fine. Bake them at 350 degrees for 2-3 minutes and they should come out all tiny and cute.

IMG_4295.JPG

Now add some twine and wrap them up! So easy and the kids are really going to love this little touch. Happy gifting!

IMG_4279.JPG
IMG_4351.JPG

ADVENT CALENDAR JAR

IMG_3309.jpg

We really love advent calendars around here. I think this will make our third one! This one might be my favorite though. So far. If you have a jar, some paper and a couple of paint pens, you can make this and enjoy it with your little ones counting down the days to Christmas! You can see the full tutorial over here on Handmade Charlotte. Happy counting!