FRINGY PENCILS DIY

I guess I have been on a pencil revamp kick lately. I made these just for my daily use and I have been loving them. They would be awesome to have at a party that might be in need of some pretty pencils (hello, game night!) Make them in any colors to match your party decor, or make a rainbow of them and keep them for yourself! Either way they are super easy to make and a lot of fun to use. You can see the full tutorial over here on Momtastic.

ALPHABET FUNNEL CAKES DIY

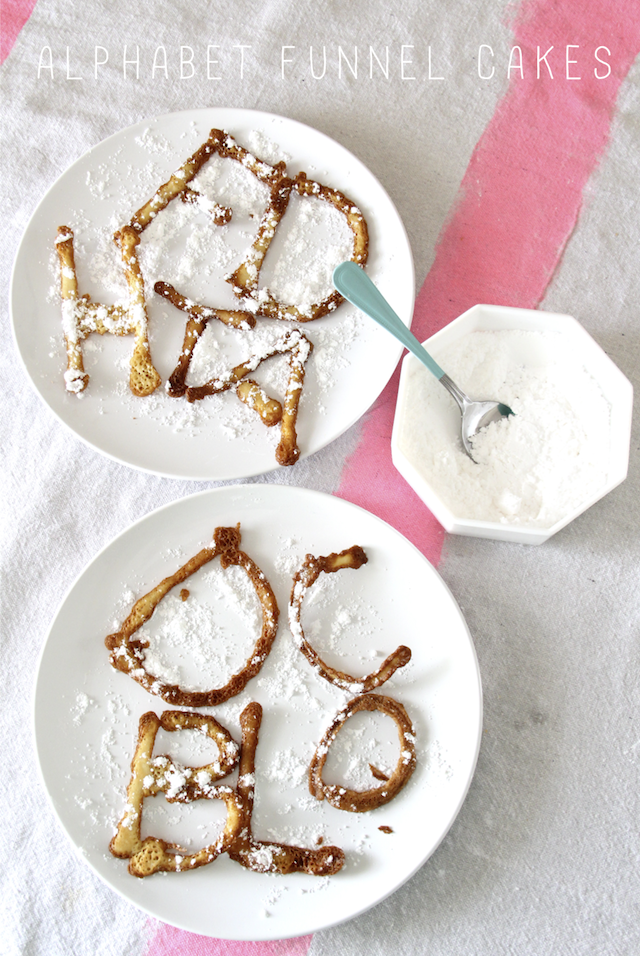
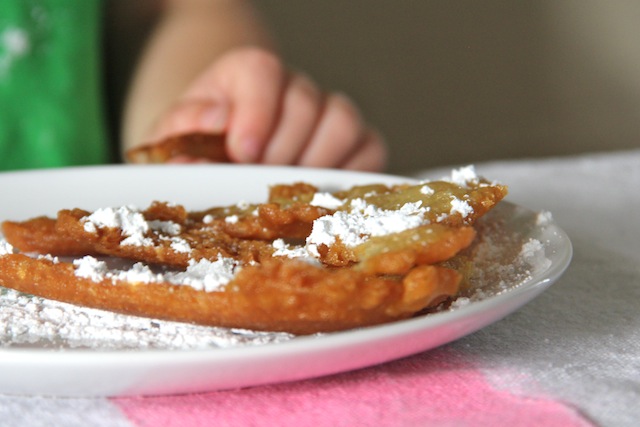
When we went to the fair last week, we decided against the $7 funnel cakes. $7! Sheesh. Instead, I thought we could make our own at home and make them even more fun! What's more fun than learning while snacking? These funnel cakes are crunchy goodness on the outside and fluffy heaven on the inside. This is more of a recipe than a DIY, but you know how it is. Here's what you'll need:

1 Egg
2 C Milk
1 Tsp Vanilla
2 C Flour
1 Tbs Baking soda
1 Tbs Salt
1 Tbs Sugar
1/2 Stick of Butter
Powdered Sugar (to sprinkle)

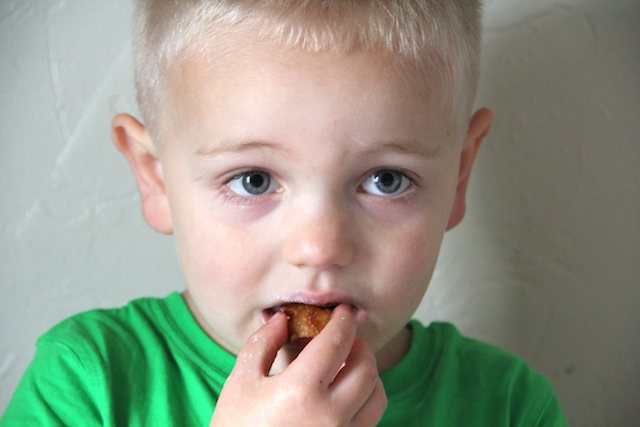
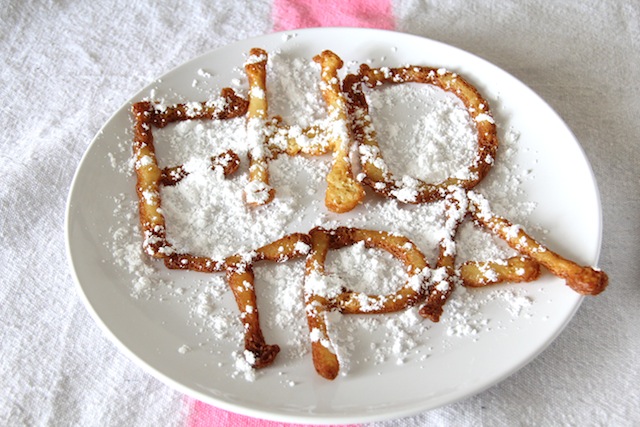
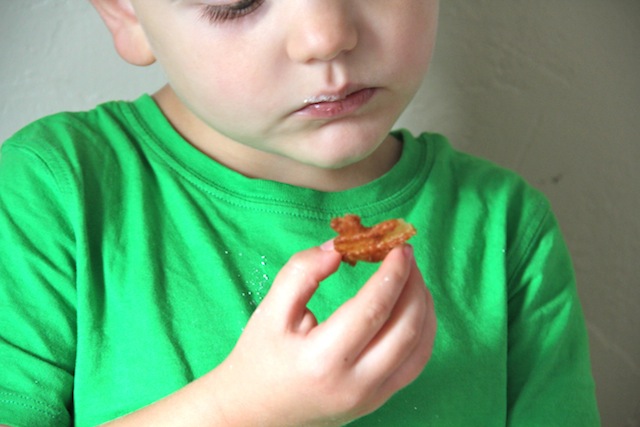
First mix the wet ingredients in a mixer, then slowly add the dry ingredients till you have a nice smooth batter. Next, melt your butter and fold that into the batter. It wouldn't be worth eating if it didn't have butter, right? While your butter is melting, now is a good time to heat up your oil. I used coconut oil (yum!) but you can use whatever kind you like. Once your butter is folded in, pour your batter into a squeeze bottle. I know these are called funnel cakes, but ours our squeeze bottle cakes. Once your oil is nice and hot, start squeezing out your letters! Let them cook for a minute on each side (until golden brown) and set them out to dry. Once their all done, sprinkle on some powdered sugar and enjoy! It's a lot of fun and really doesn't take very long at all. Elliott loved recognizing and then promptly eating the letters. These would be really fun to have at a circus or ABC themed birthday party too!

HEY, BYE SHIRT DIY + DOWNLOAD

I made this shirt the other day for Elliott. It's kind of perfect for his personality and his inability to stay still. Moms, can you relate? It's a simple freezer paper shirt (man do I love those). If you would like to make your very own you can download the graphic here. Just place a sheet of freezer paper over the image, cut it out with an exacto knife, iron on and paint! It's easy and pretty perfect for rambunctious little ones. It would be really cute on a onesie too! Of course you can do any color combo you want. I went with black and white because I love how bold and clean it looks. Point is, we love it and we're pretty sure you will too. 

Again, you can download the template here.

.

RAIN CLOUD NOTEBOOK DIY

I made this notebook for Elliott with the intention of him using it to draw in, but he decided to take it a step further. He filled every page with pictures illustrating a story about him and his cousins becoming bad, robots, monsters and then good again. It's hilarious to hear him tell you all about it! Now I just have to write it down for his new book to be complete. Look for it in your local Barnes & Noble soon! The notebook is pretty easy to make. You probably have all of the supplies laying around the house so if you have a few minutes, make a couple! The rain cloud is of course optional. But we like it. You can see the full tutorial here on Momtastic.

EASY DUCT TAPE BOOKMARKS DIY

I hope you all had a fantastic long weekend! It feels like forever since I blogged. Maybe the sign of a blogaholic? We recently bought some classic books with newly designed covers for Elliott. They were in the Target $1 bins (go Target!) and we love them. Pretty much every night, we read a chapter from one of the books to Elliott and we thought we could use a bookmark or two to keep our place. These bookmarks are great for your little avid readers in the family. Especially those who are still getting back into the whole school thing. 
I used a cereal box as the base of the bookmark. You can use any cardboard really. Cut it to size and place it on the sticky side of some duct tape. If you are going to use a lighter color, you may need to double up on the tape.
Now for the fun part! To make the decorations, just place a strip of duct tape on a cutting mat and cut the shapes out with an exacto knife. 
Then peel up the tape and you should have your design ready to peel off and stick on your new bookmarks!
Happy reading!