Along with some valentine cards I made, I wanted to make some fun surprise balls for Elliott and his cousins. Surprise balls are so much fun, and not just for kids. These would make a great gift for anyone!
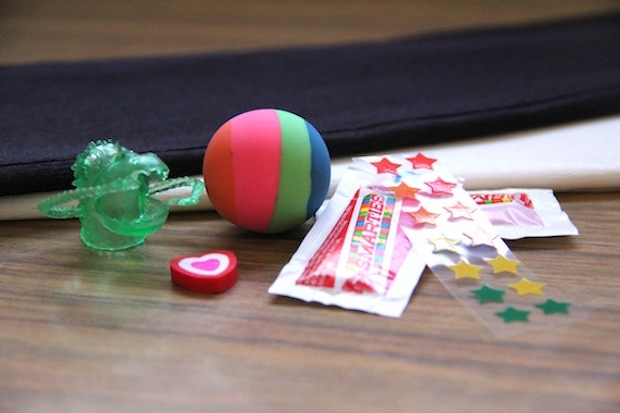
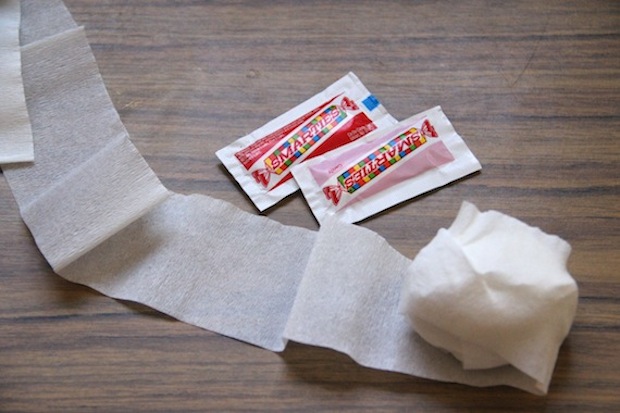
You'll need: Crepe paper, scissors, double sided tape, small trinkets and goodies.
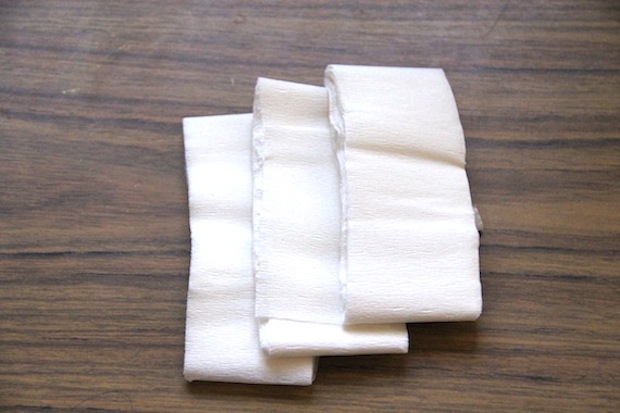
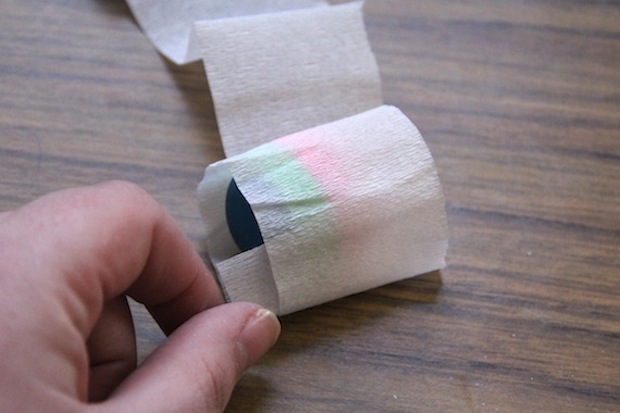
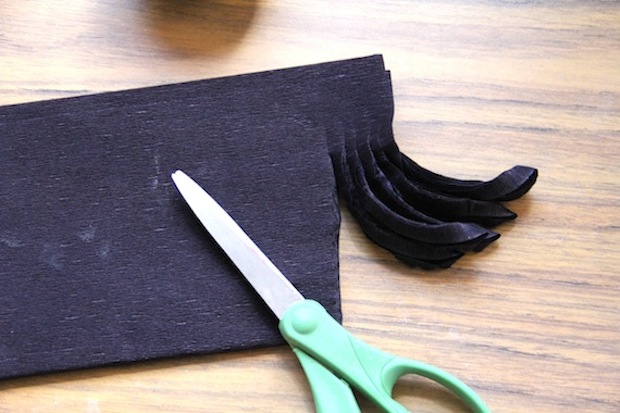
Cut several strips of crepe paper, about 2 inches wide.
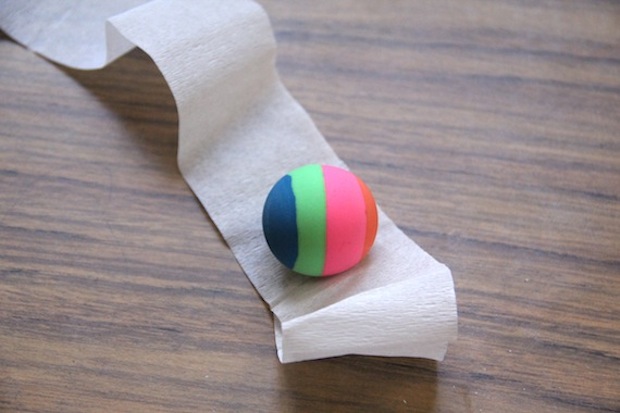
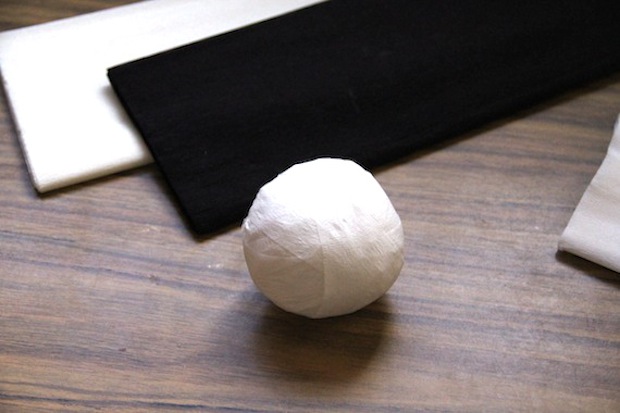
It's best/easiest to start with something like a bouncy ball. Start wrapping the crepe paper around the goodies!
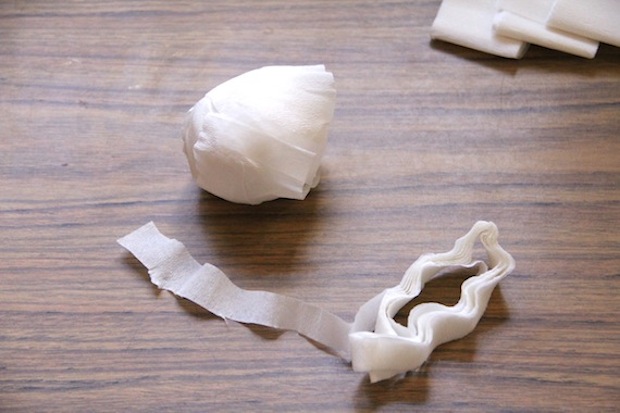
To get the finished, smooth, round ball look, cut a small strip of crepe paper (about 1/2 inch wide) and wrap that around the ball. It works, trust me.
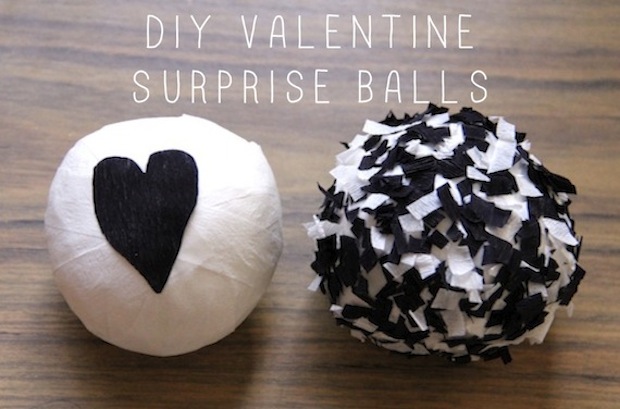
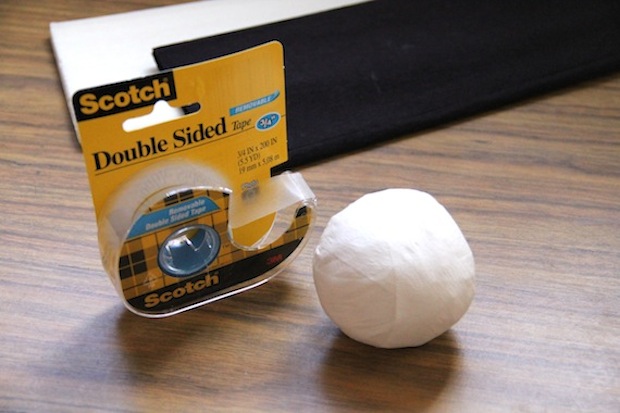
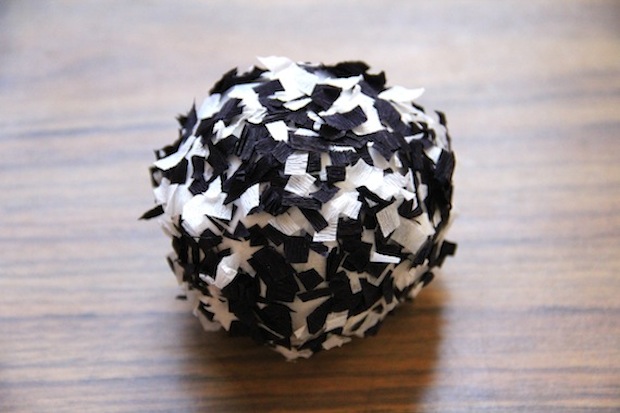
See? Now here is where you can go one of two ways. This first way requires a bit of double sided tape. Wrap your ball in the double sided tape. Cover it as well as you can.
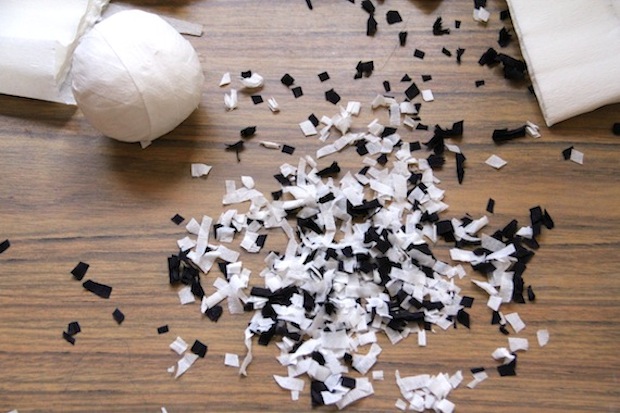
Cut some thin strips of both white and black (in this case) then shred the strips into confetti.
Now roll your tape covered ball in the confetti! When you're done it should look a little like this:
I love it! However, this type can be a little difficult to open. Especially for little hands. So here is the second way...
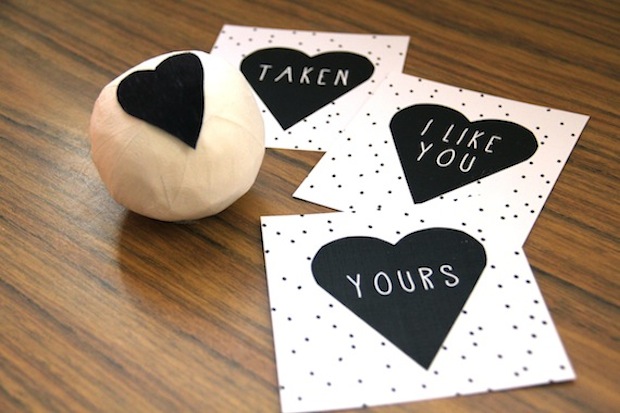
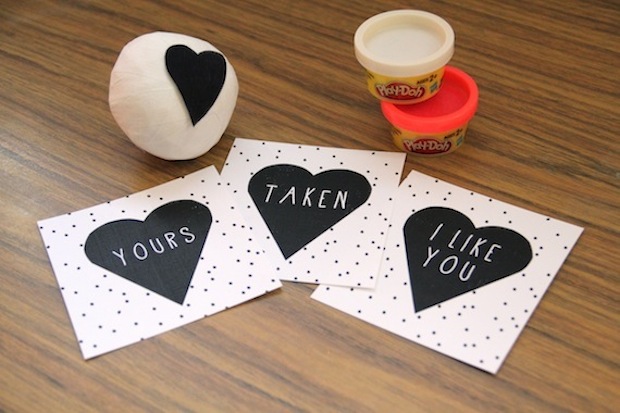
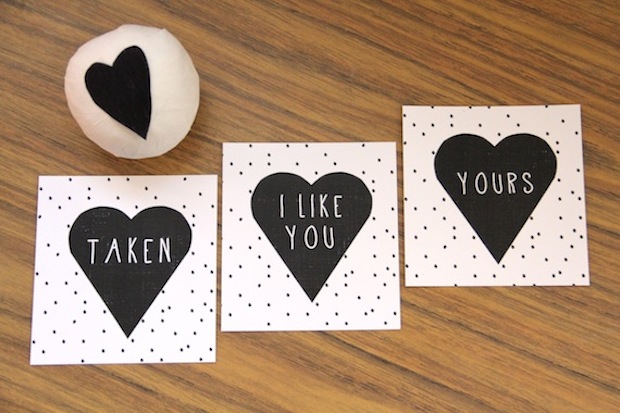
You have your ball of goodies all wrapped up just like the last ball.
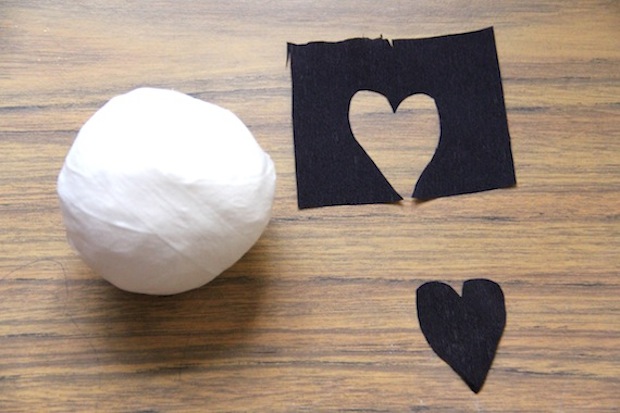
Cut out a heart from a small piece of crepe paper.
Use a small piece of double sided tape to attach the heart and viola!
I love, love them! They were a lot of fun to make and I can't wait to see the kid's reactions as they unravel their little treasures layer by layer.