
PLAY CLOCK DIY
/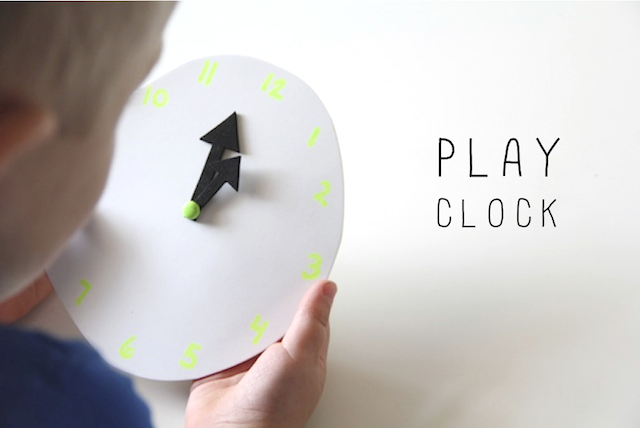
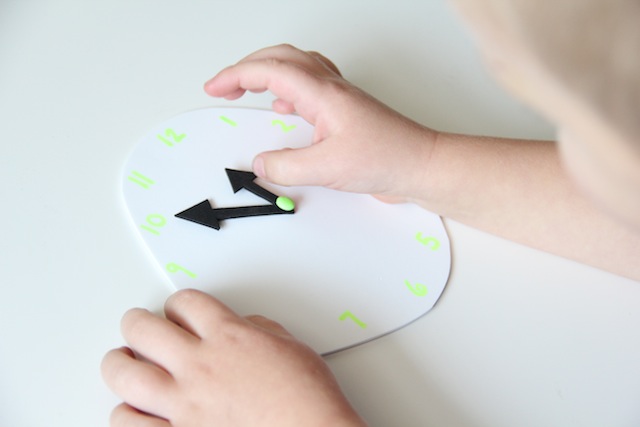
My parents recently came back from a trip and of course they brought gifts for the grandkids. Among those gifts were some pretty rad little watches! Elliott has shown a lot of interest since then on being able to tell me what time it is. He doesn't quite grasp the concept yet - he doesn't even recognize all the numbers - but hey, that's what learning is all about, right? So I made him this simple play clock to practice with. I used foam sheets to make the face and the hands and a regular brad to connect them. Super easy and surprisingly durable! He's not ready to tell time yet, but he's getting there! Here are the instructions to make your own play clock:
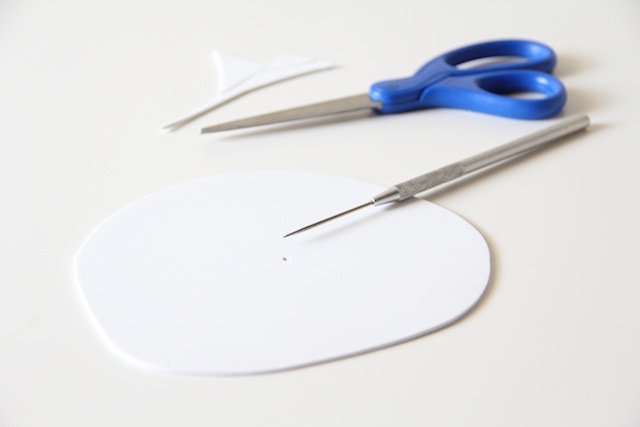
Cut a circle from your foam. You can use something to trace if you want to be more exact. I for one love the sloppy look.
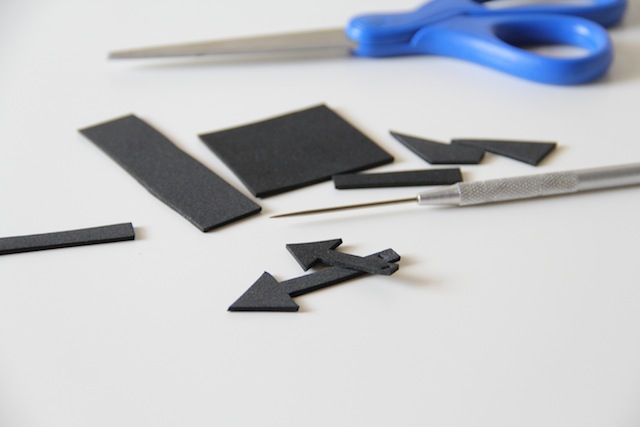
Next, cut out your hands! They don't have to be arrows, you can use whatever you want! Use an awl, or just use the brad to make holes through the hands and the face.
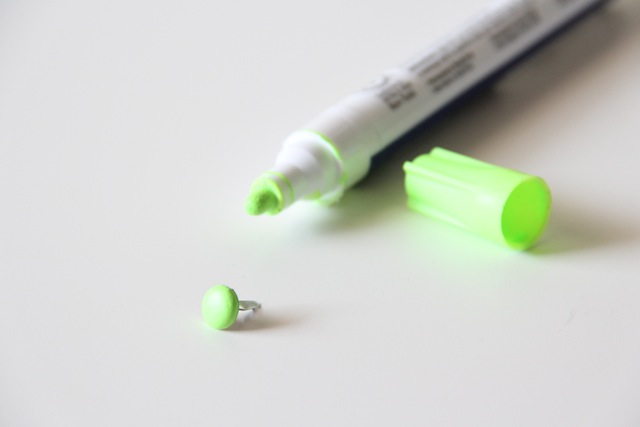
This is just for looks, but I painted the brad to match the numbers. I thought it would be a nice punch of color.
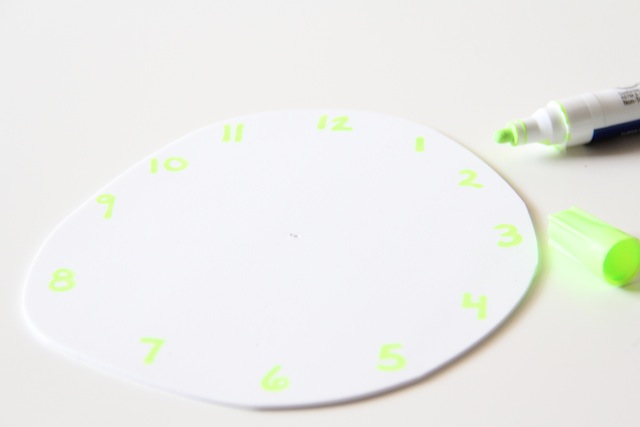
Write the numbers onto the face with a paint pen or maybe a sharpie. The paint pen worked awesome and won't smear or chip off easily. Plus, I love the neon.
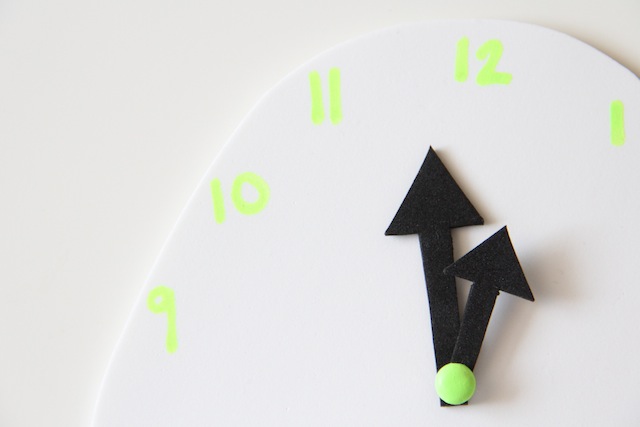
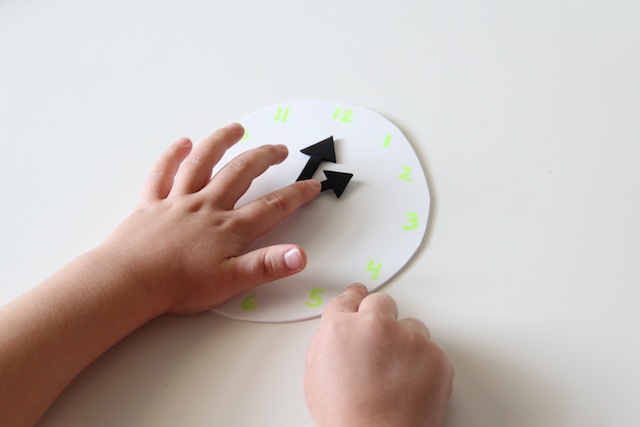
Now just put it all together and you have yourself a play clock!
Hours and hours of educational fun.


