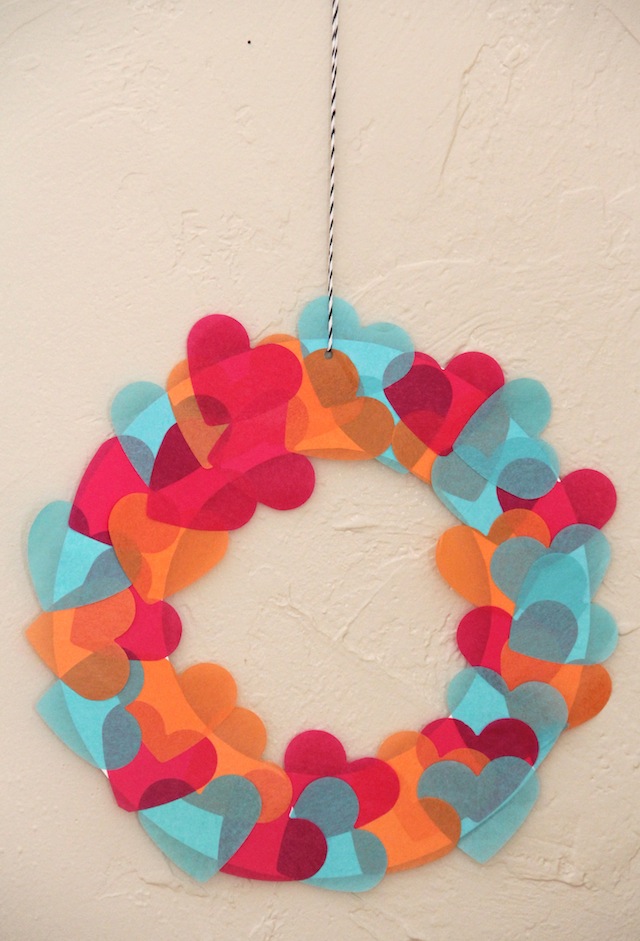
I'm not huge on holiday decor, but every now and then the desire to make and hang/place something festive strikes me. And so, the valentine wreath was born! I really like how the tissue paper colors change as they overlap. I would have had Elliott help me, since this project is so easy, but alas he was napping. But! You can make one. Ready?
Supplies:
Poster board or card board
Tissue paper
Spray adhesive
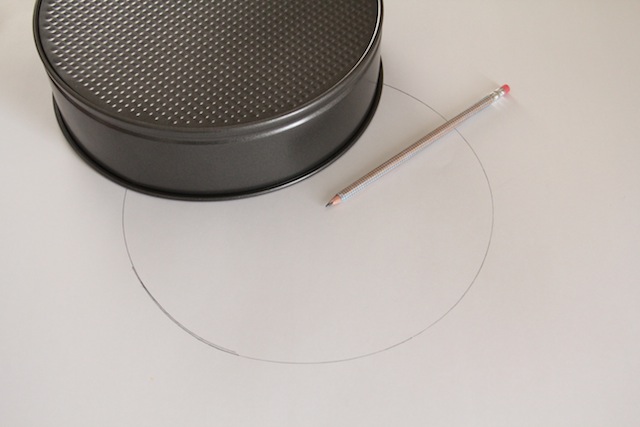
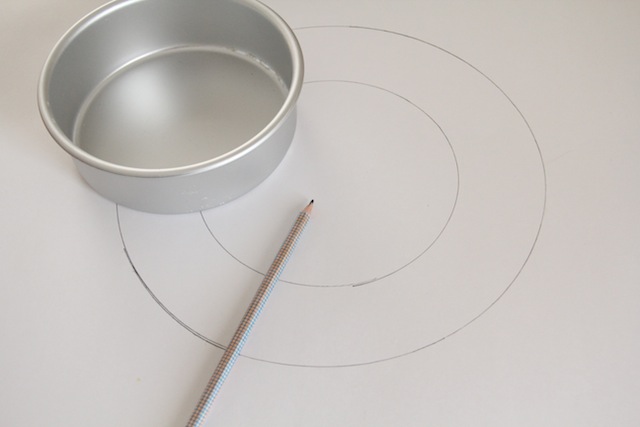
Two different sizes round objects
Pencil
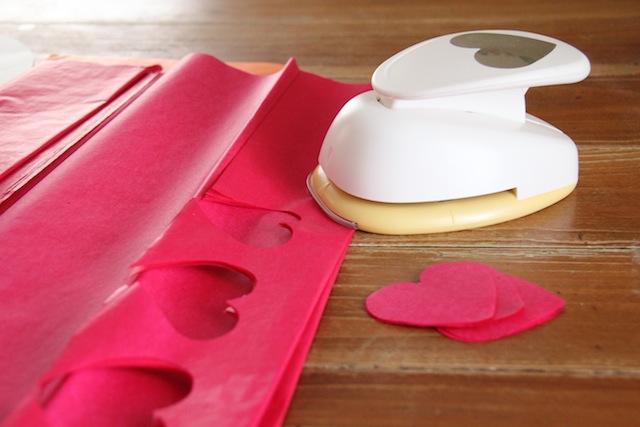
Hole Punch
String
Scissors
Trace the larger round object onto the poster board.
Trace the smaller one inside the larger circle. Be careful to center it!
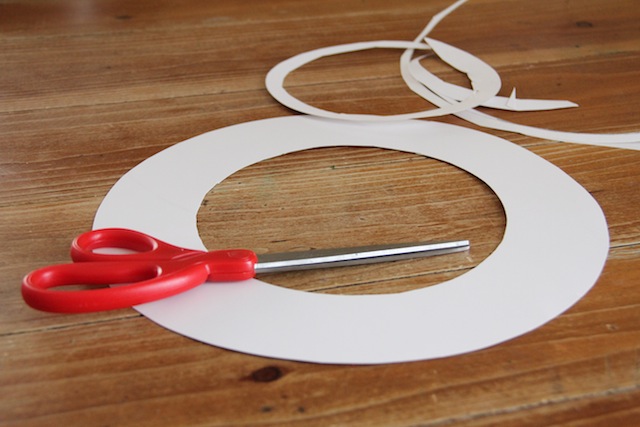
Cut a slit in the center of the smaller circle and cut on the lines to get the wreath shape.
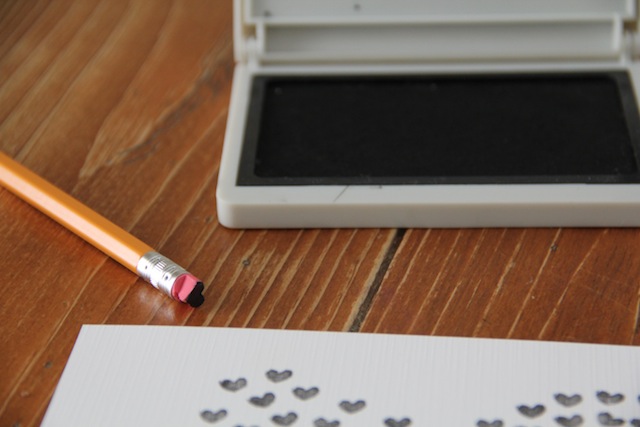
Punch your hearts out! I found that using several layers of tissue paper at a time helped the hearts to turn out great. Sometimes if you are trying to punch through tissue paper, it rips and you cry. It's a fact.
Sort your pretty piles if you are an OCD freak like me.
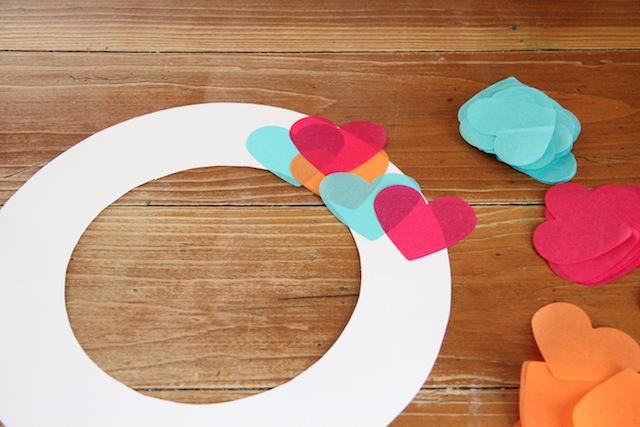
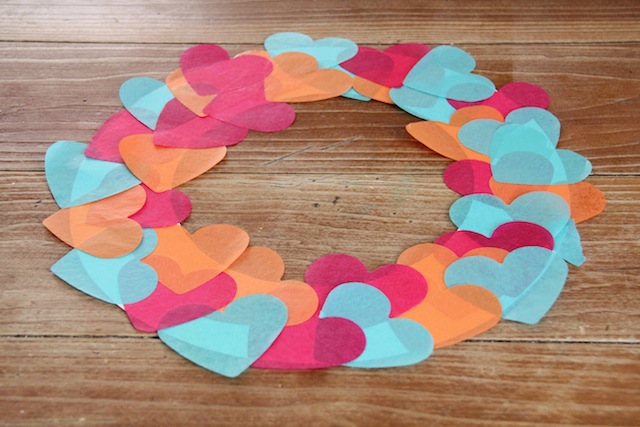
Spray the wreath with the spray adhesive. Not too thick but not to lightly either. One of those just right scenarios. The glue I used is clear and tacky. Perfect for this project! Start placing the hearts on the wreath and press them firmly. You may get some creases. Just "iron" over them with your finger. They'll come out.
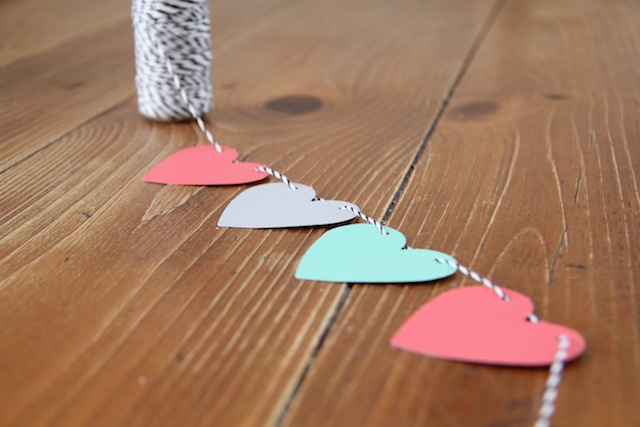
You're nearly done! Just punch a hole where you would like the top to be, string it and hang it!