FINN THE PIÑATA

Adventure Time Piñata
Finn piñata

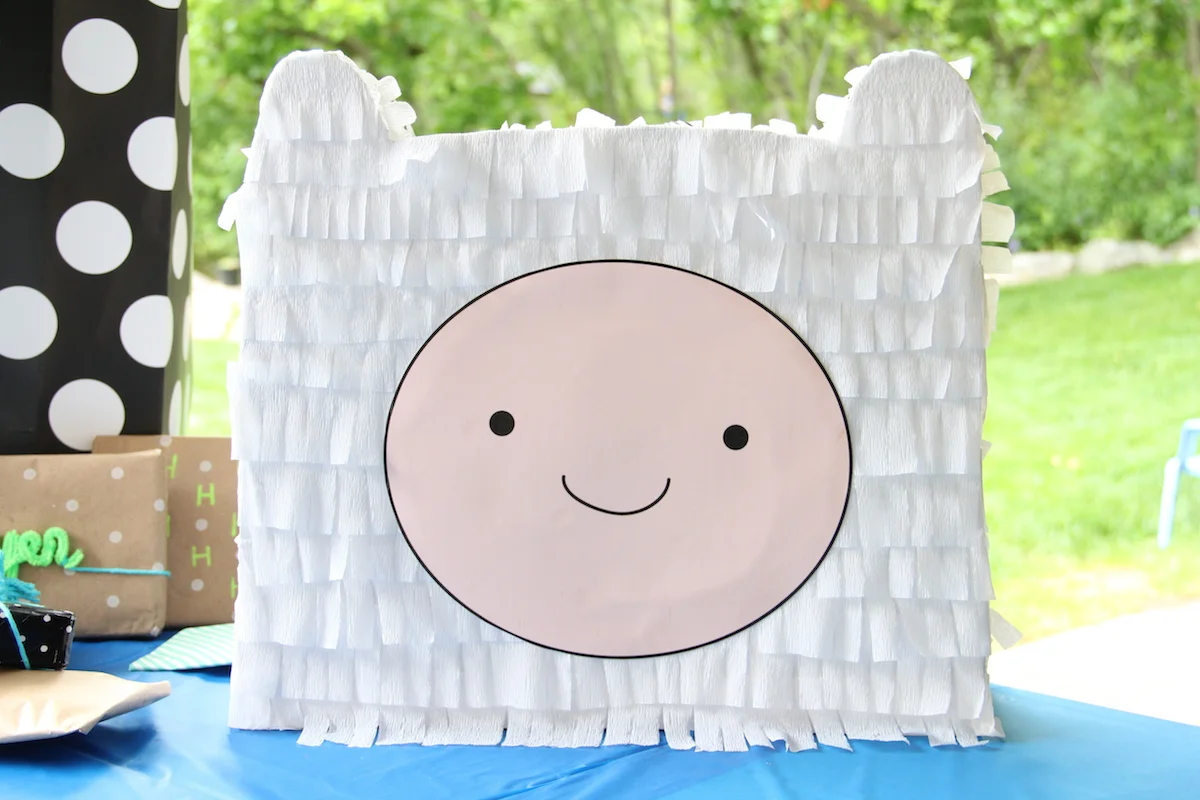
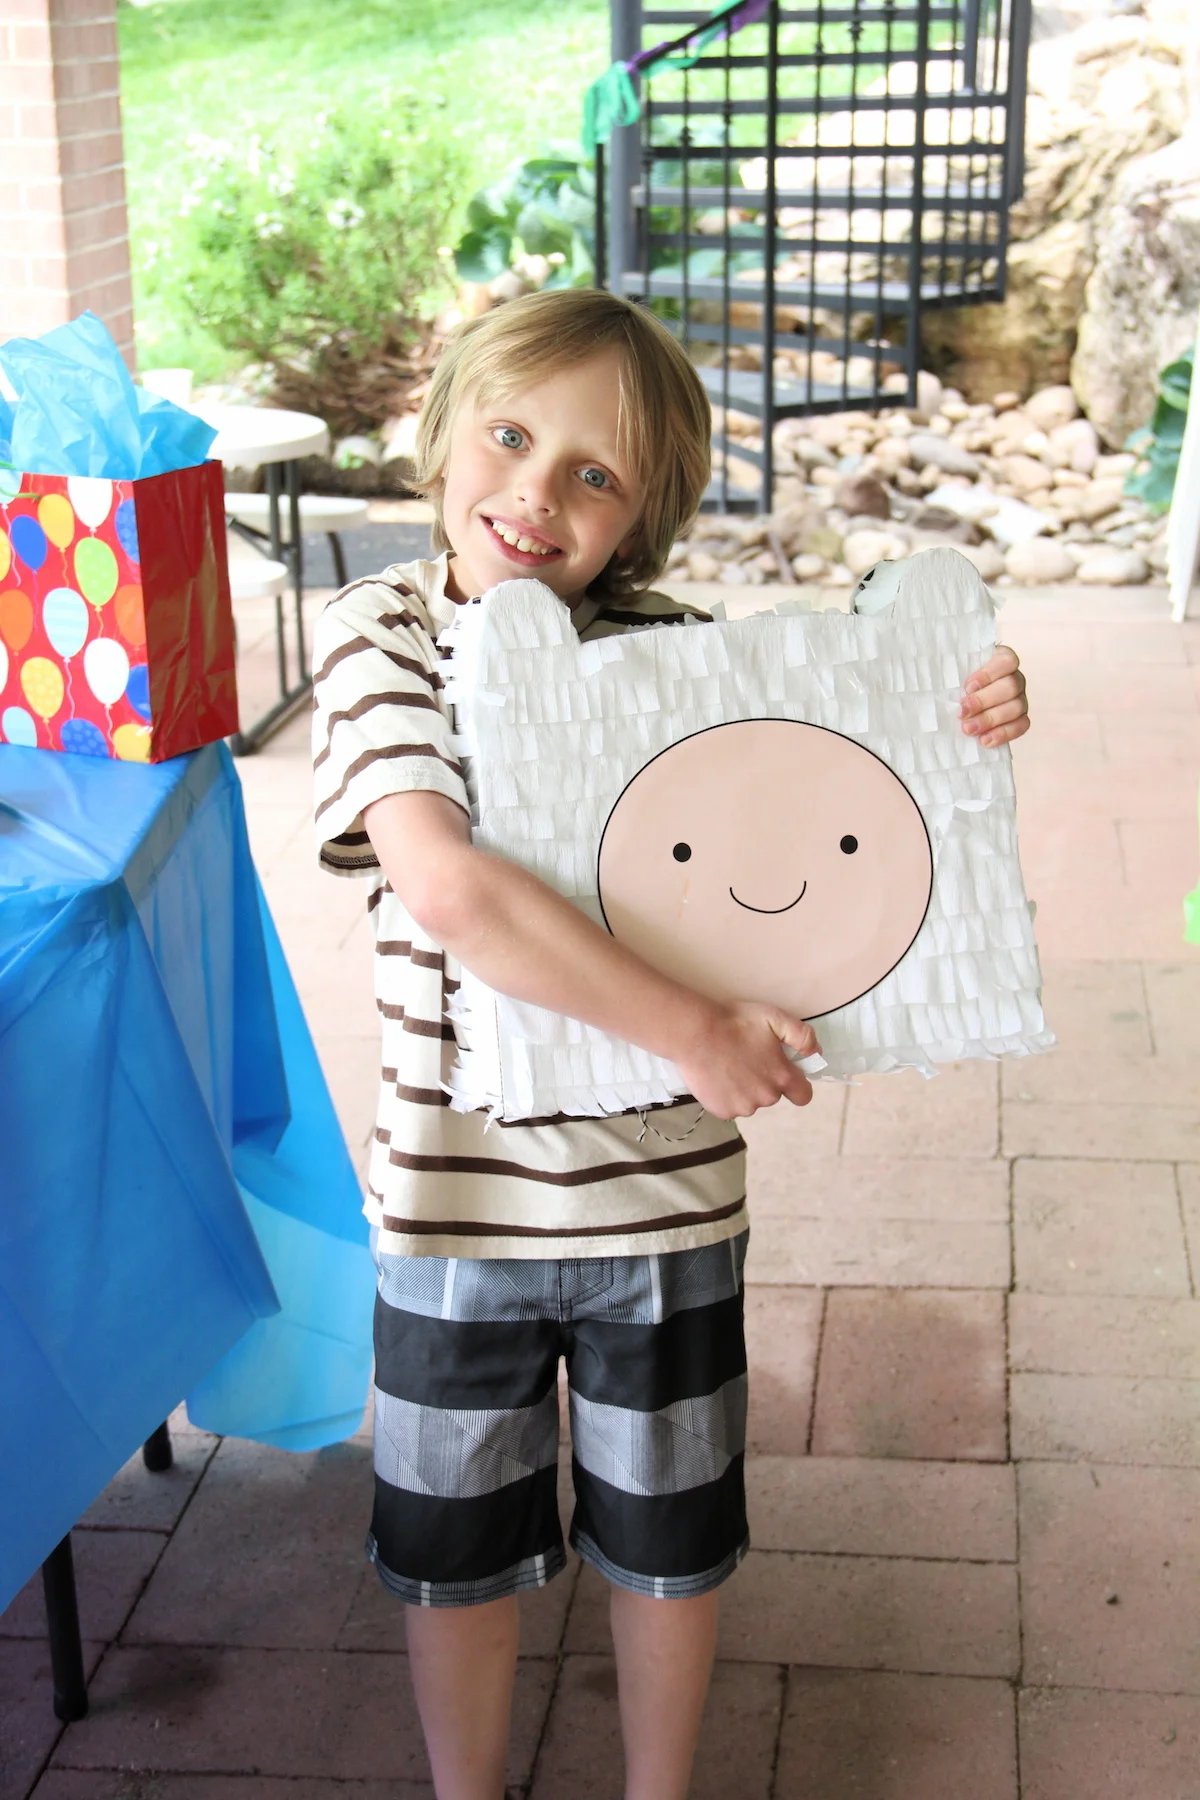
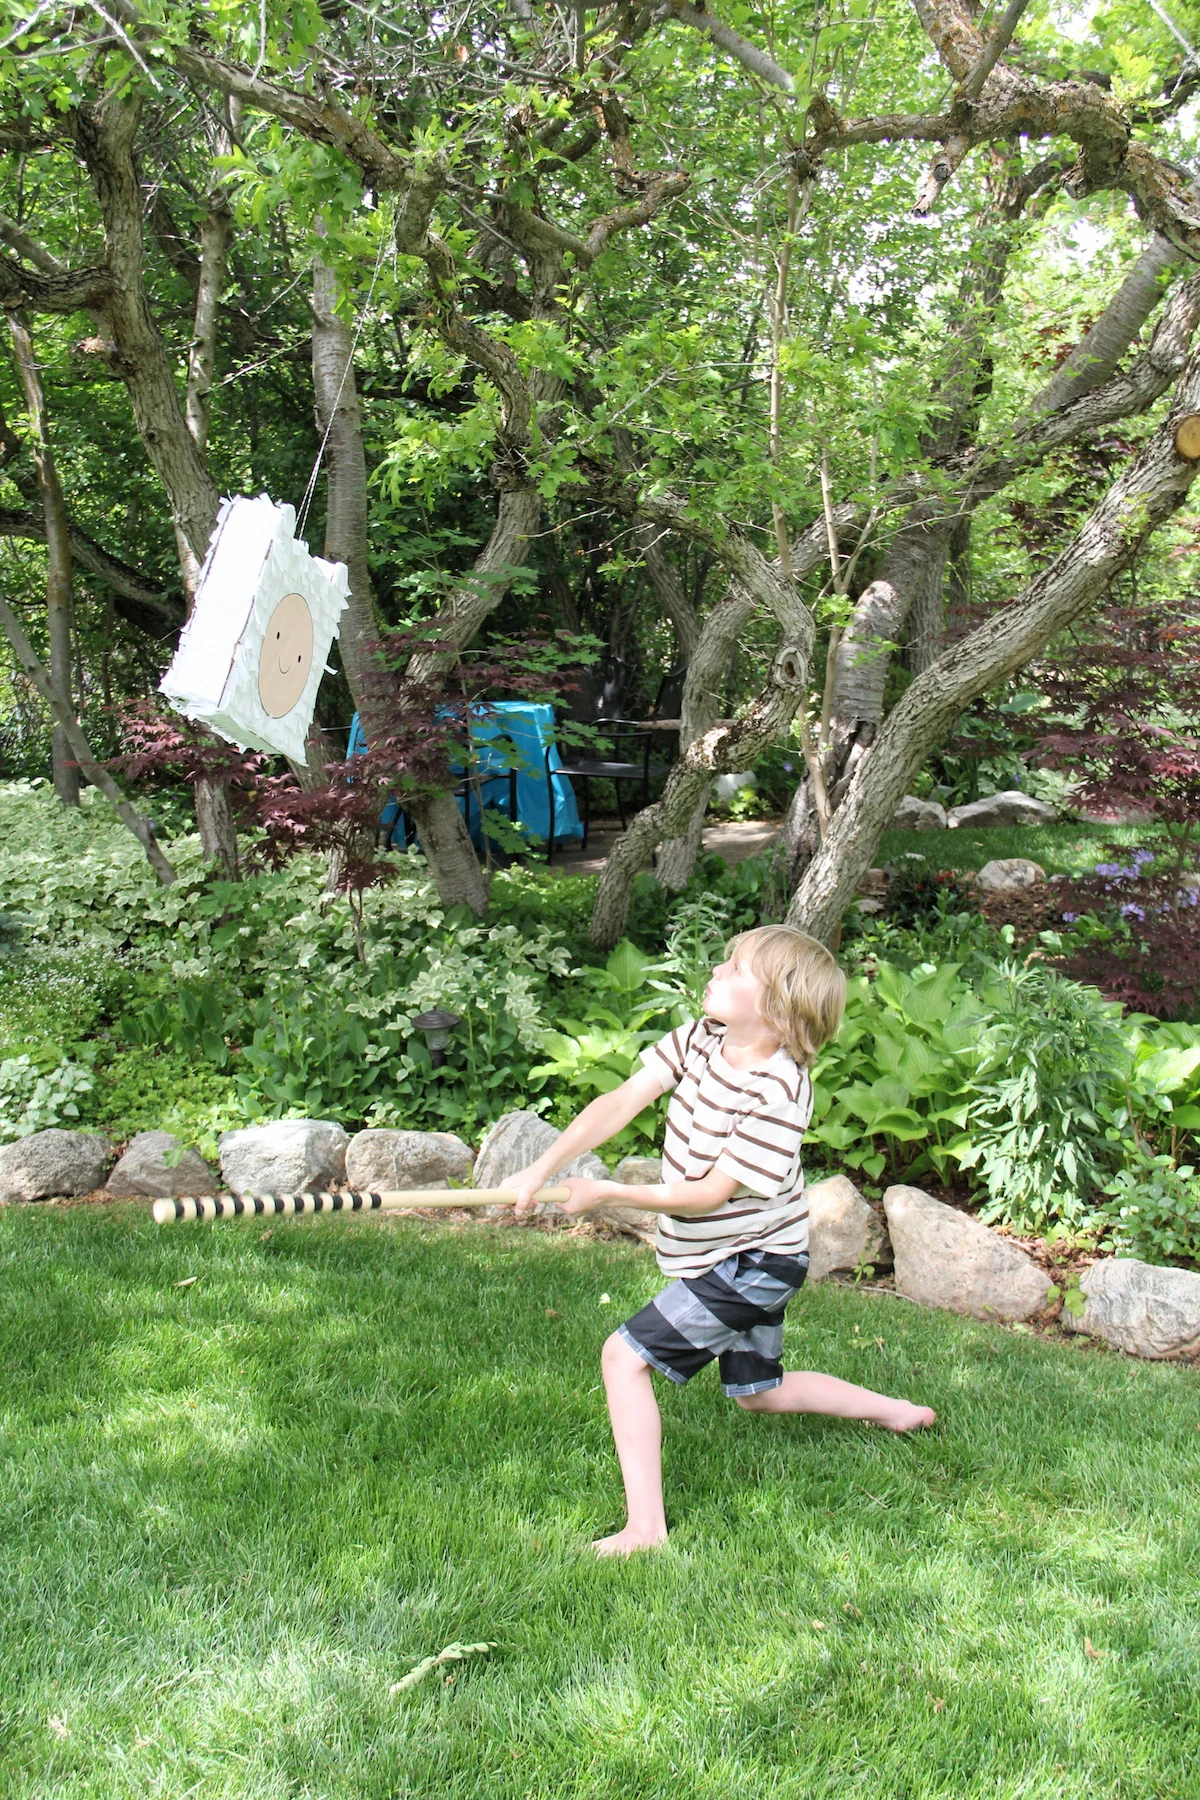
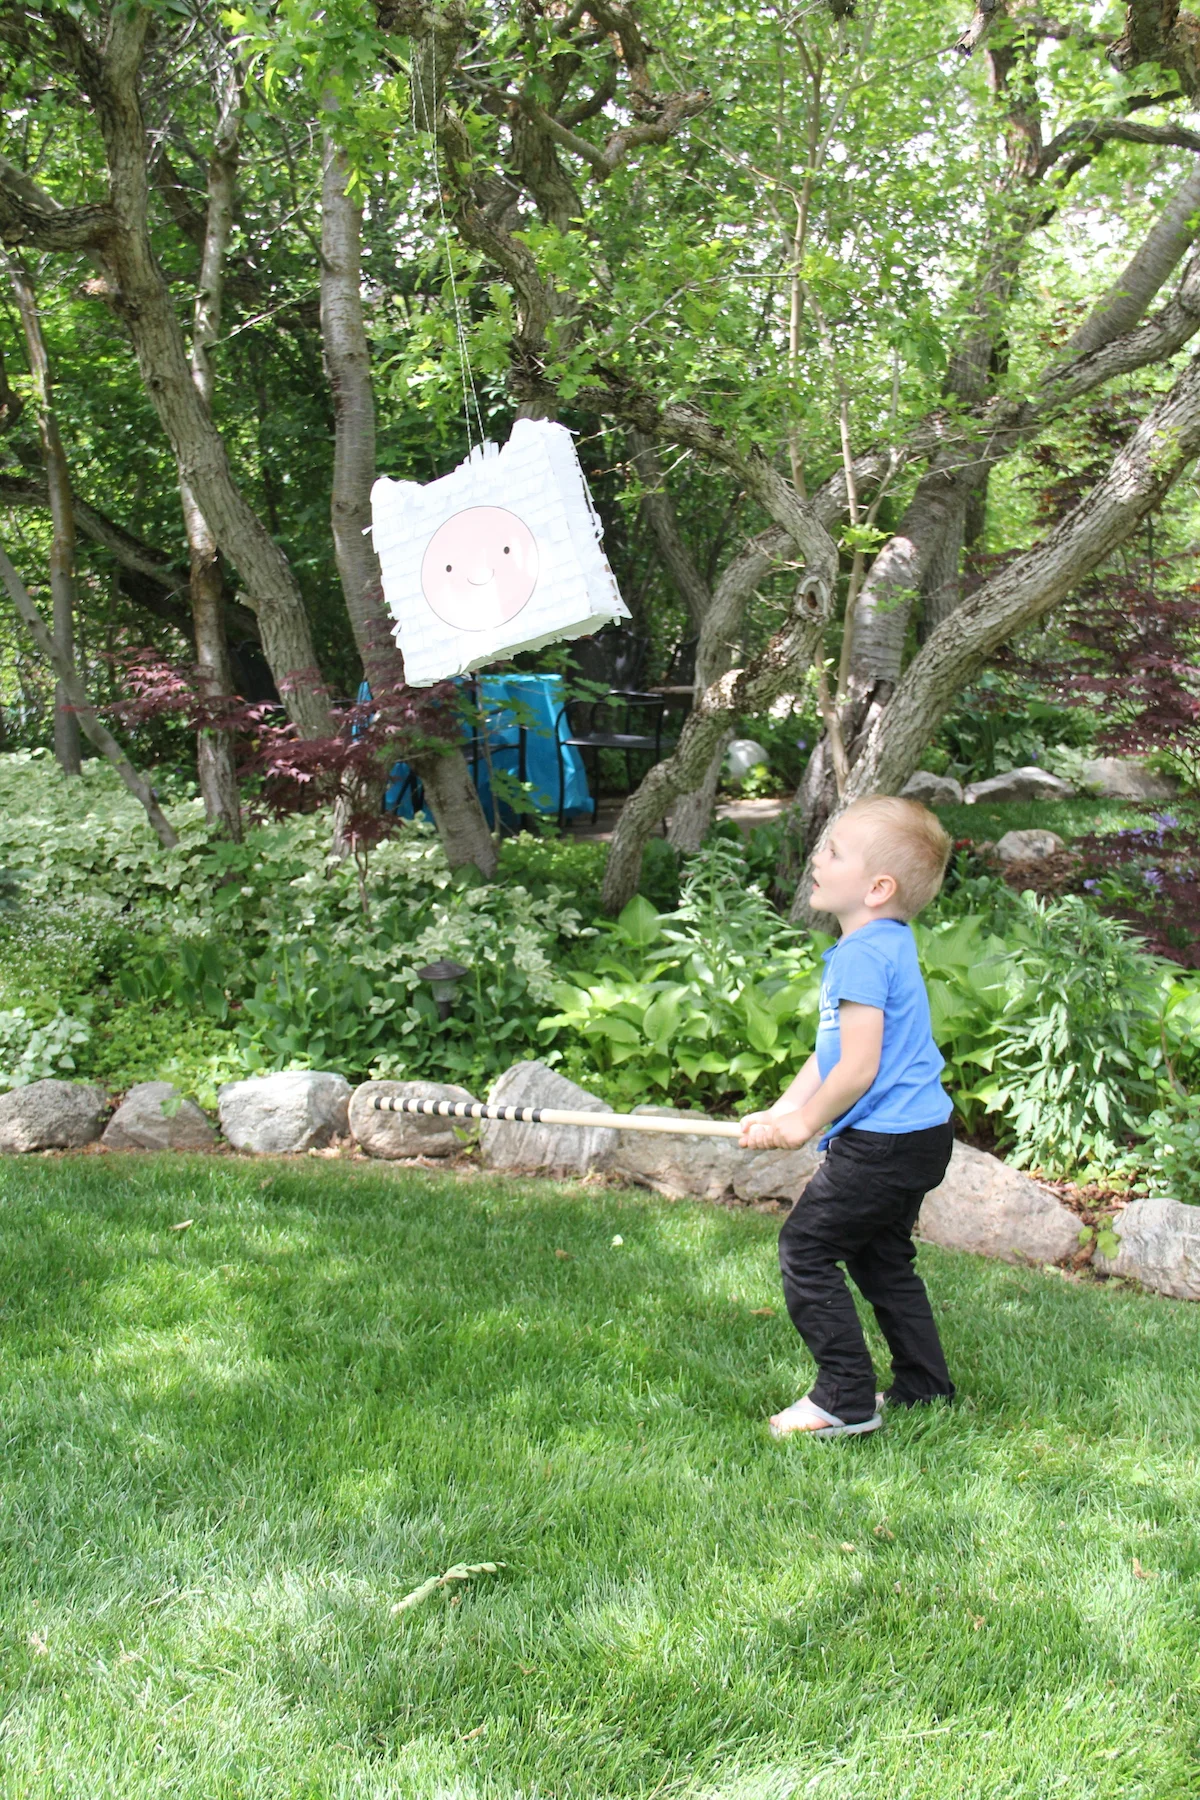
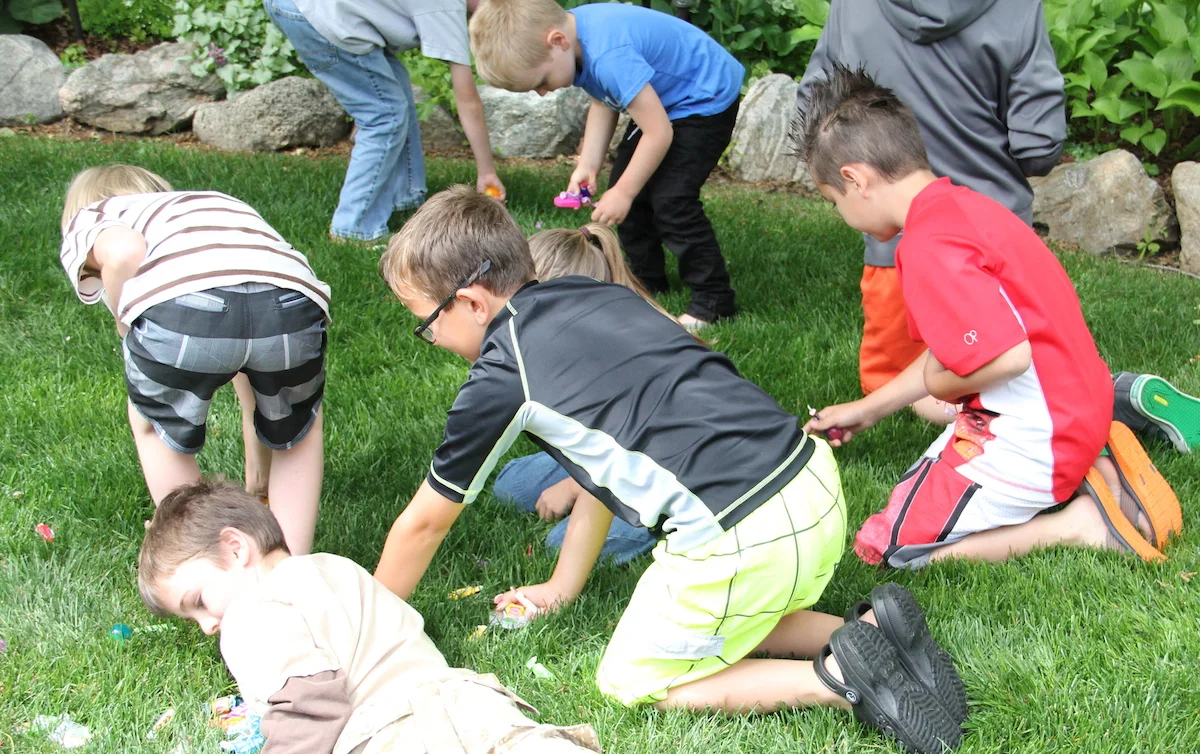
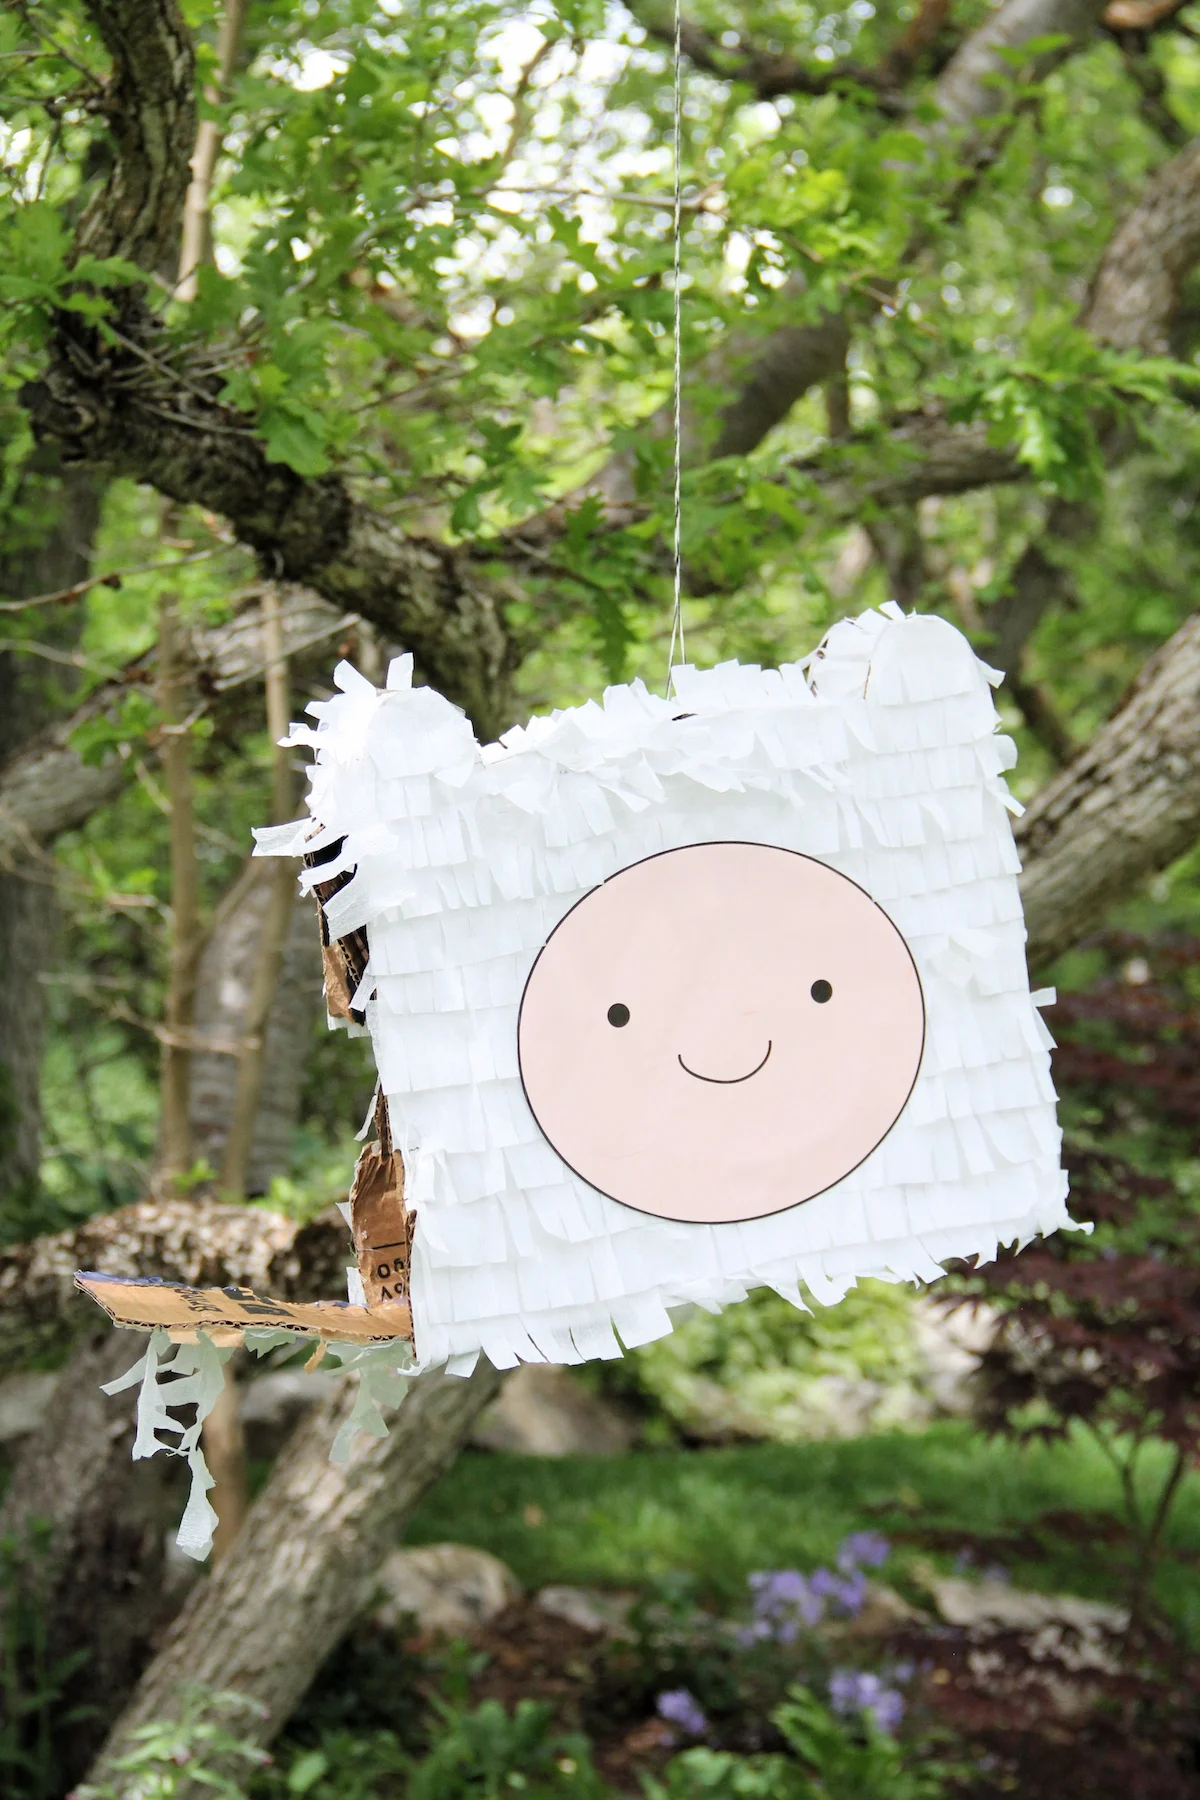
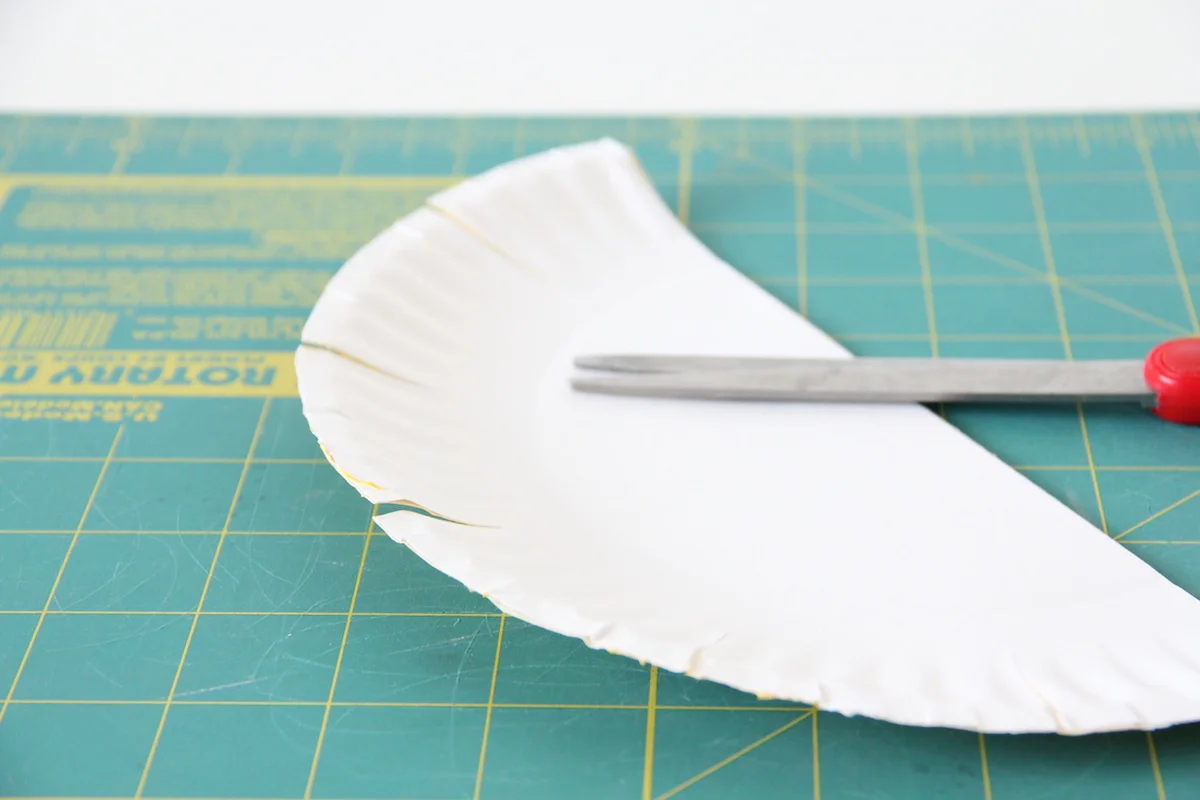
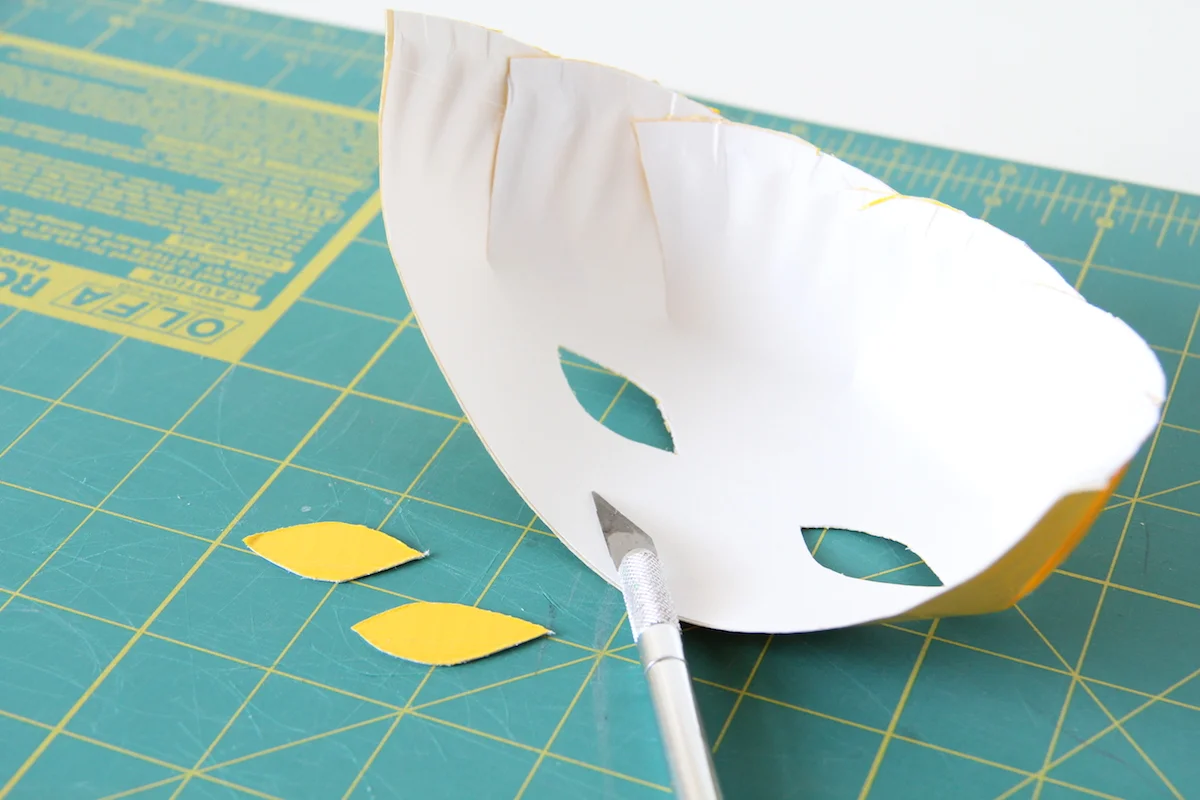
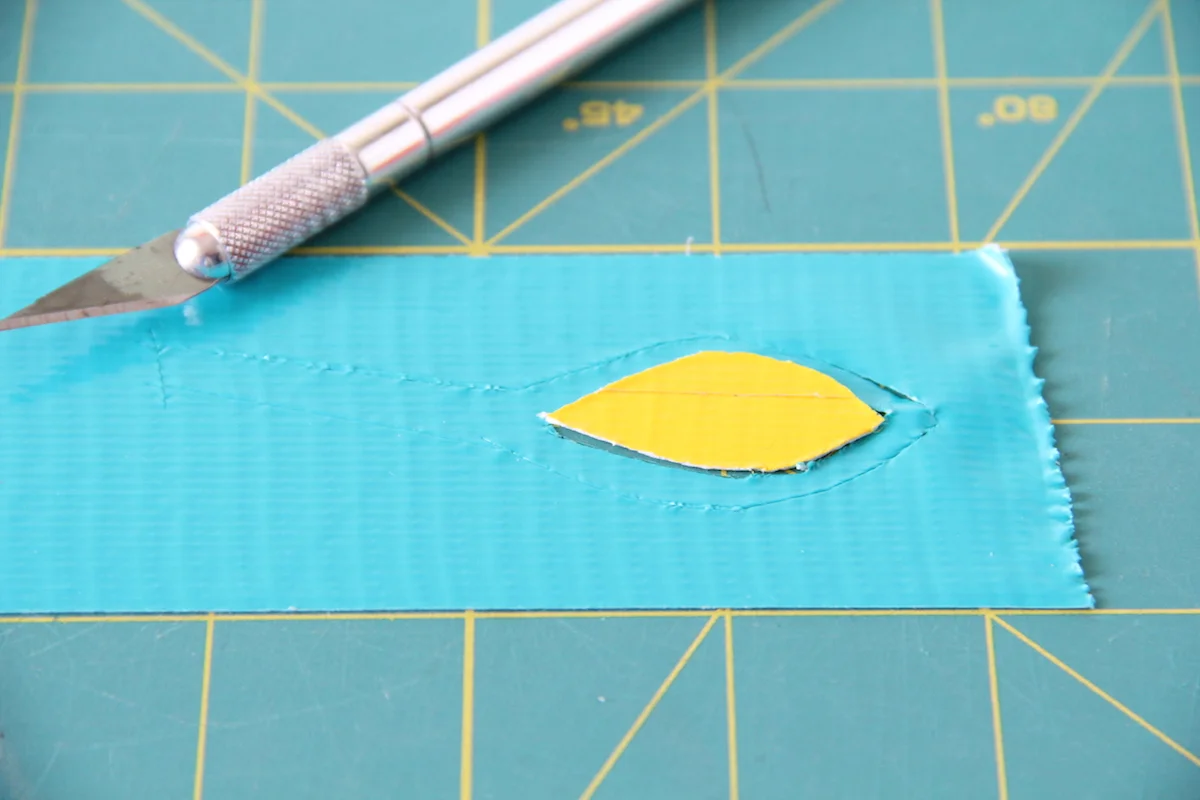
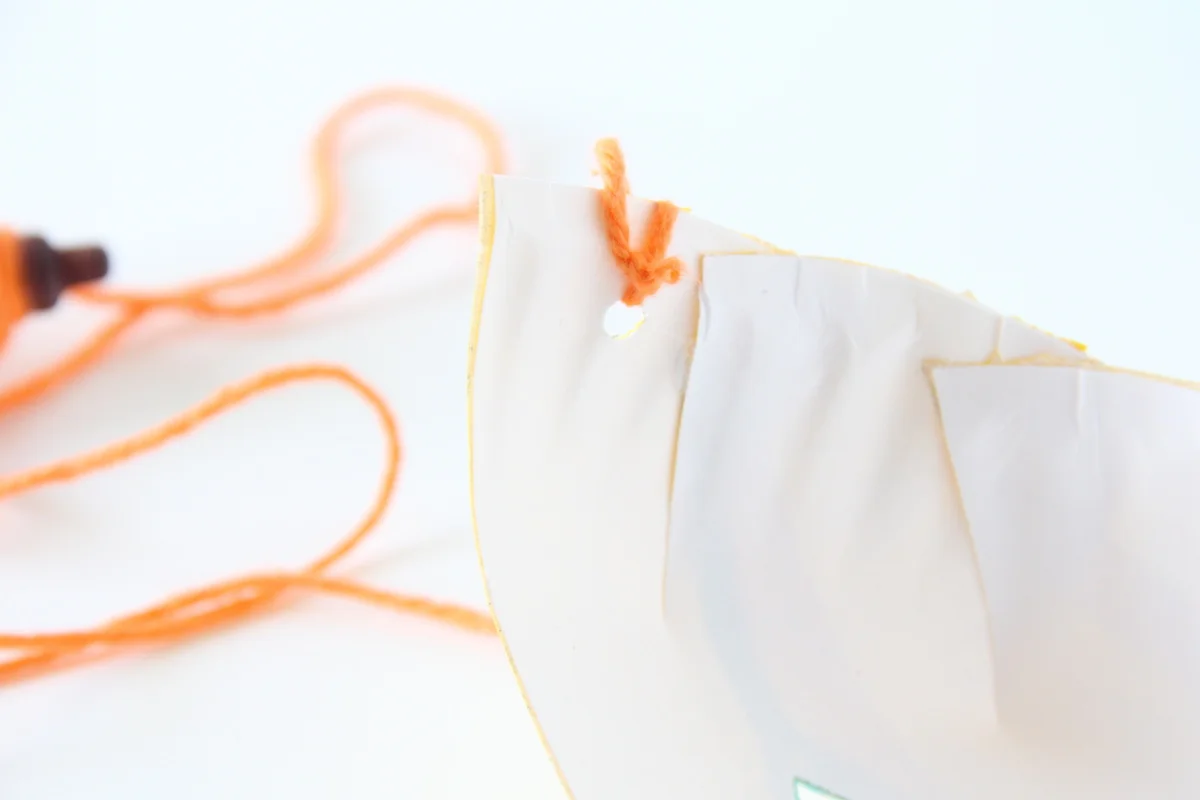
I have never seen the show Adventure Time, but my nephew loves it and when he requested a Finn piñata for his birthday, you know I couldn't say no. Challenge accepted! I think it turned out pretty great and it was so rewarding to see his face light up when I showed it to him. Does a heart good. It's kind of strange making a piñata you know you are going to smash to bits. It gets me excited! You spend so much time on the construction making it perfect, and a few minutes later it's a pile of rubble on the floor. It's totally worth it. To make the piñata, I used the same method as the Jupiter piñata from his party last year. Just with a little more crepe paper. I made the face on my computer, printed it out and drew the shape of his head around that. Then cut it out with a blade or scissors and trace that shape again to make the back. After a ton of hot glue, some cardboard trim to connect the two sides and a whole lot of toys and candy for the insides, we had our piñata! Oh and I poked two holes in the top and pulled some string through for hanging the piñata up. Pretty basic piñata stuff. The kids had a grand time beating the treats out of it. I am finding that the older the kids are, the stronger I need to make it! My nephew loved the piñata. He said it was perfect, except Finn isn't hairy. Ha! Happy birthday to my favorite nephew!

IMG_8608.JPG
IMG_8614.JPG
Piñata
Adventure Time Piñata

PIPE CLEANER GIFT TAGS

DIY pipe cleaner gift tags

I have said it before and I am sure I will say it again and again. Kids love their names! They love to see the letters in their names and they really love to see their name on stuff. Especially gifts! These little gift tags are easy to make and the kids will love seeing their names almost as much as the gift itself! To make your own, you just need some pipe cleaners, preferably in the kiddo's favorite color. Then bend the pipe cleaner to form their name. Told you it was easy. I used some hot glue to attach these, but you could tie yours on with string or tape them on just as easily. Another huge bonus? Pipe cleaners are so, so cheap. You can get a ton for $1 and make one for every little one you know! Or you know, at least a few.

DIY pipe cleaner gift tags

LIBRARY TOTE

DIY book tote for kids

Did you know it's national children's book week? We love books around here. A lot. Our visits to the library usually result in stacks of books that we end up struggling to carry. Enter the book tote! This will be so handy for our trips to the library over the summer. It's a simple freezer paper stencil. I used my Cricut Explore to cut the freezer paper, then just ironed it onto the tote and painted. It was so nice not having to cut out each piece by hand with an x-acto knife! But you could definitely do it that way if you don't have a Cricut handy. You can download the books pattern here and the word books right here. I left them in png form so you can size them however you need to for your own tote. I sized mine to be about 12 inches wide which fit our tote perfectly. I used neon coral fabric paint after the freezer paper stencil was on. I'm obsessed with this color! Elliott loved using his own book tote at the library. And I loved that I wasn't lugging around a ton of books for him. He was in charge of the books so if it got to be too heavy for him to carry, he had to put enough books back so he could carry it on his own. I don't know if that's a mom win or a mom fail, but it worked for me! 

DIY book tote for kids
DIY library tote for kids
Awesome kids library

Our library is the coolest. The kids section is an entire floor of nooks and crannies for kids to read and play one of which is this amazing "attic". I love it when the city designs awesome stuff for kids.

IMG_8196.JPG
DIY library tote for kids

Happy toting!

MOTHER'S DAY SHIRTS

DIY mother's day shirts for kids

Two shirts for one holiday! These shirts are super easy to make and are perfect for your little one to sport this Mother's day. Elliott loves the tattoo design. He thinks it's hilarious! And though I love that design as well, I am partial to the Motherboy one. If you are an Arrested Development fan then you know all about Motherboy. I won't go into plot details here, but basically it is a mother and son obsession fest. Elliott of course doesn't watch the show, but Preston and I are huge fans so this shirt seemed like a no-brainer for Mother's day. You can download the Motherboy design here and the tattoo design here. Both files are in PNG form so you can resize them to fit onto your little one's shirts. I used my Cricut Explore to cut the iron on transfer, but you could also use an xacto knife, some freezer paper and fabric paint to make the same design. As much as I love a freezer paper craft, the Cricut makes the same job so much easier and perfect. I used this iron on transfer also made by Cricut and it worked like a rock star. Again, so very easy.

DIY mother's day shirts for kids

Now to decide which shirt to have Elliott wear this Sunday...

LUCHADOR MASKS

Make your own luchador masks with paper plates and duct tape!
Easy DIY luchador masks with paper plates and duct tape
DIY luchador masks for kids

In honor of Cinco de Mayo next week I give you luchador masks! These are so easy and fun to make, your kids will have a blast with them. Especially if they like Nacho Libre. Which we do. Doesn't Elliott have some mad skills? He loves showing off his muscles. A real luchador mask would cover the whole face, but I think the half version is better for kids. And the best part? You most likely already have everything you would need to make some of your own. So let's get started!

DIY luchador masks

First step! Take a paper plate and cut it in half. 

DIY luchador masks

Next, grab your choice of duct tape and lay strips of tape to cover the plate.

DIY luchador masks

Trim the excess tape along the edges of the plate. You can use scissors or an xacto knife.

DIY luchador masks

This part is important! Cut some slits into the edges of the plate evenly spaced. This will let you fold it over and mold it a little around your kid's face. 

DIY luchador masks

If you need the mask to fit a smaller face, you can fold the slits over each other and hot glue them in place. I tried this for Elliott but ended up having to undo it since he's got a big noggin. 

DIY luchador masks

Cut out your eyes with an xacto knife. Keep the part you cut out!

DIY luchador masks

Use the cut out eyes as a guide to make some fancy detailing around the eyes on the mask. Just lay a strip of tape down on the cutting mat and cut away!

DIY luchador masks

Now grab a hole punch and punch holes on each side of the mask. Try and make them as even as possible. Then tie on some colorful string.

DIY luchador masks

And you are done! If you want, you can cut out a nose hole too. Just use some scissors or your xacto knife. I thought Elliott wouldn't mind having his nose covered by the mask, but he did.

DIY luchador masks