POLKA DOT HOT COCOA BOTTLES

IMG_3766.JPG
IMG_3796.jpg
IMG_3760.JPG

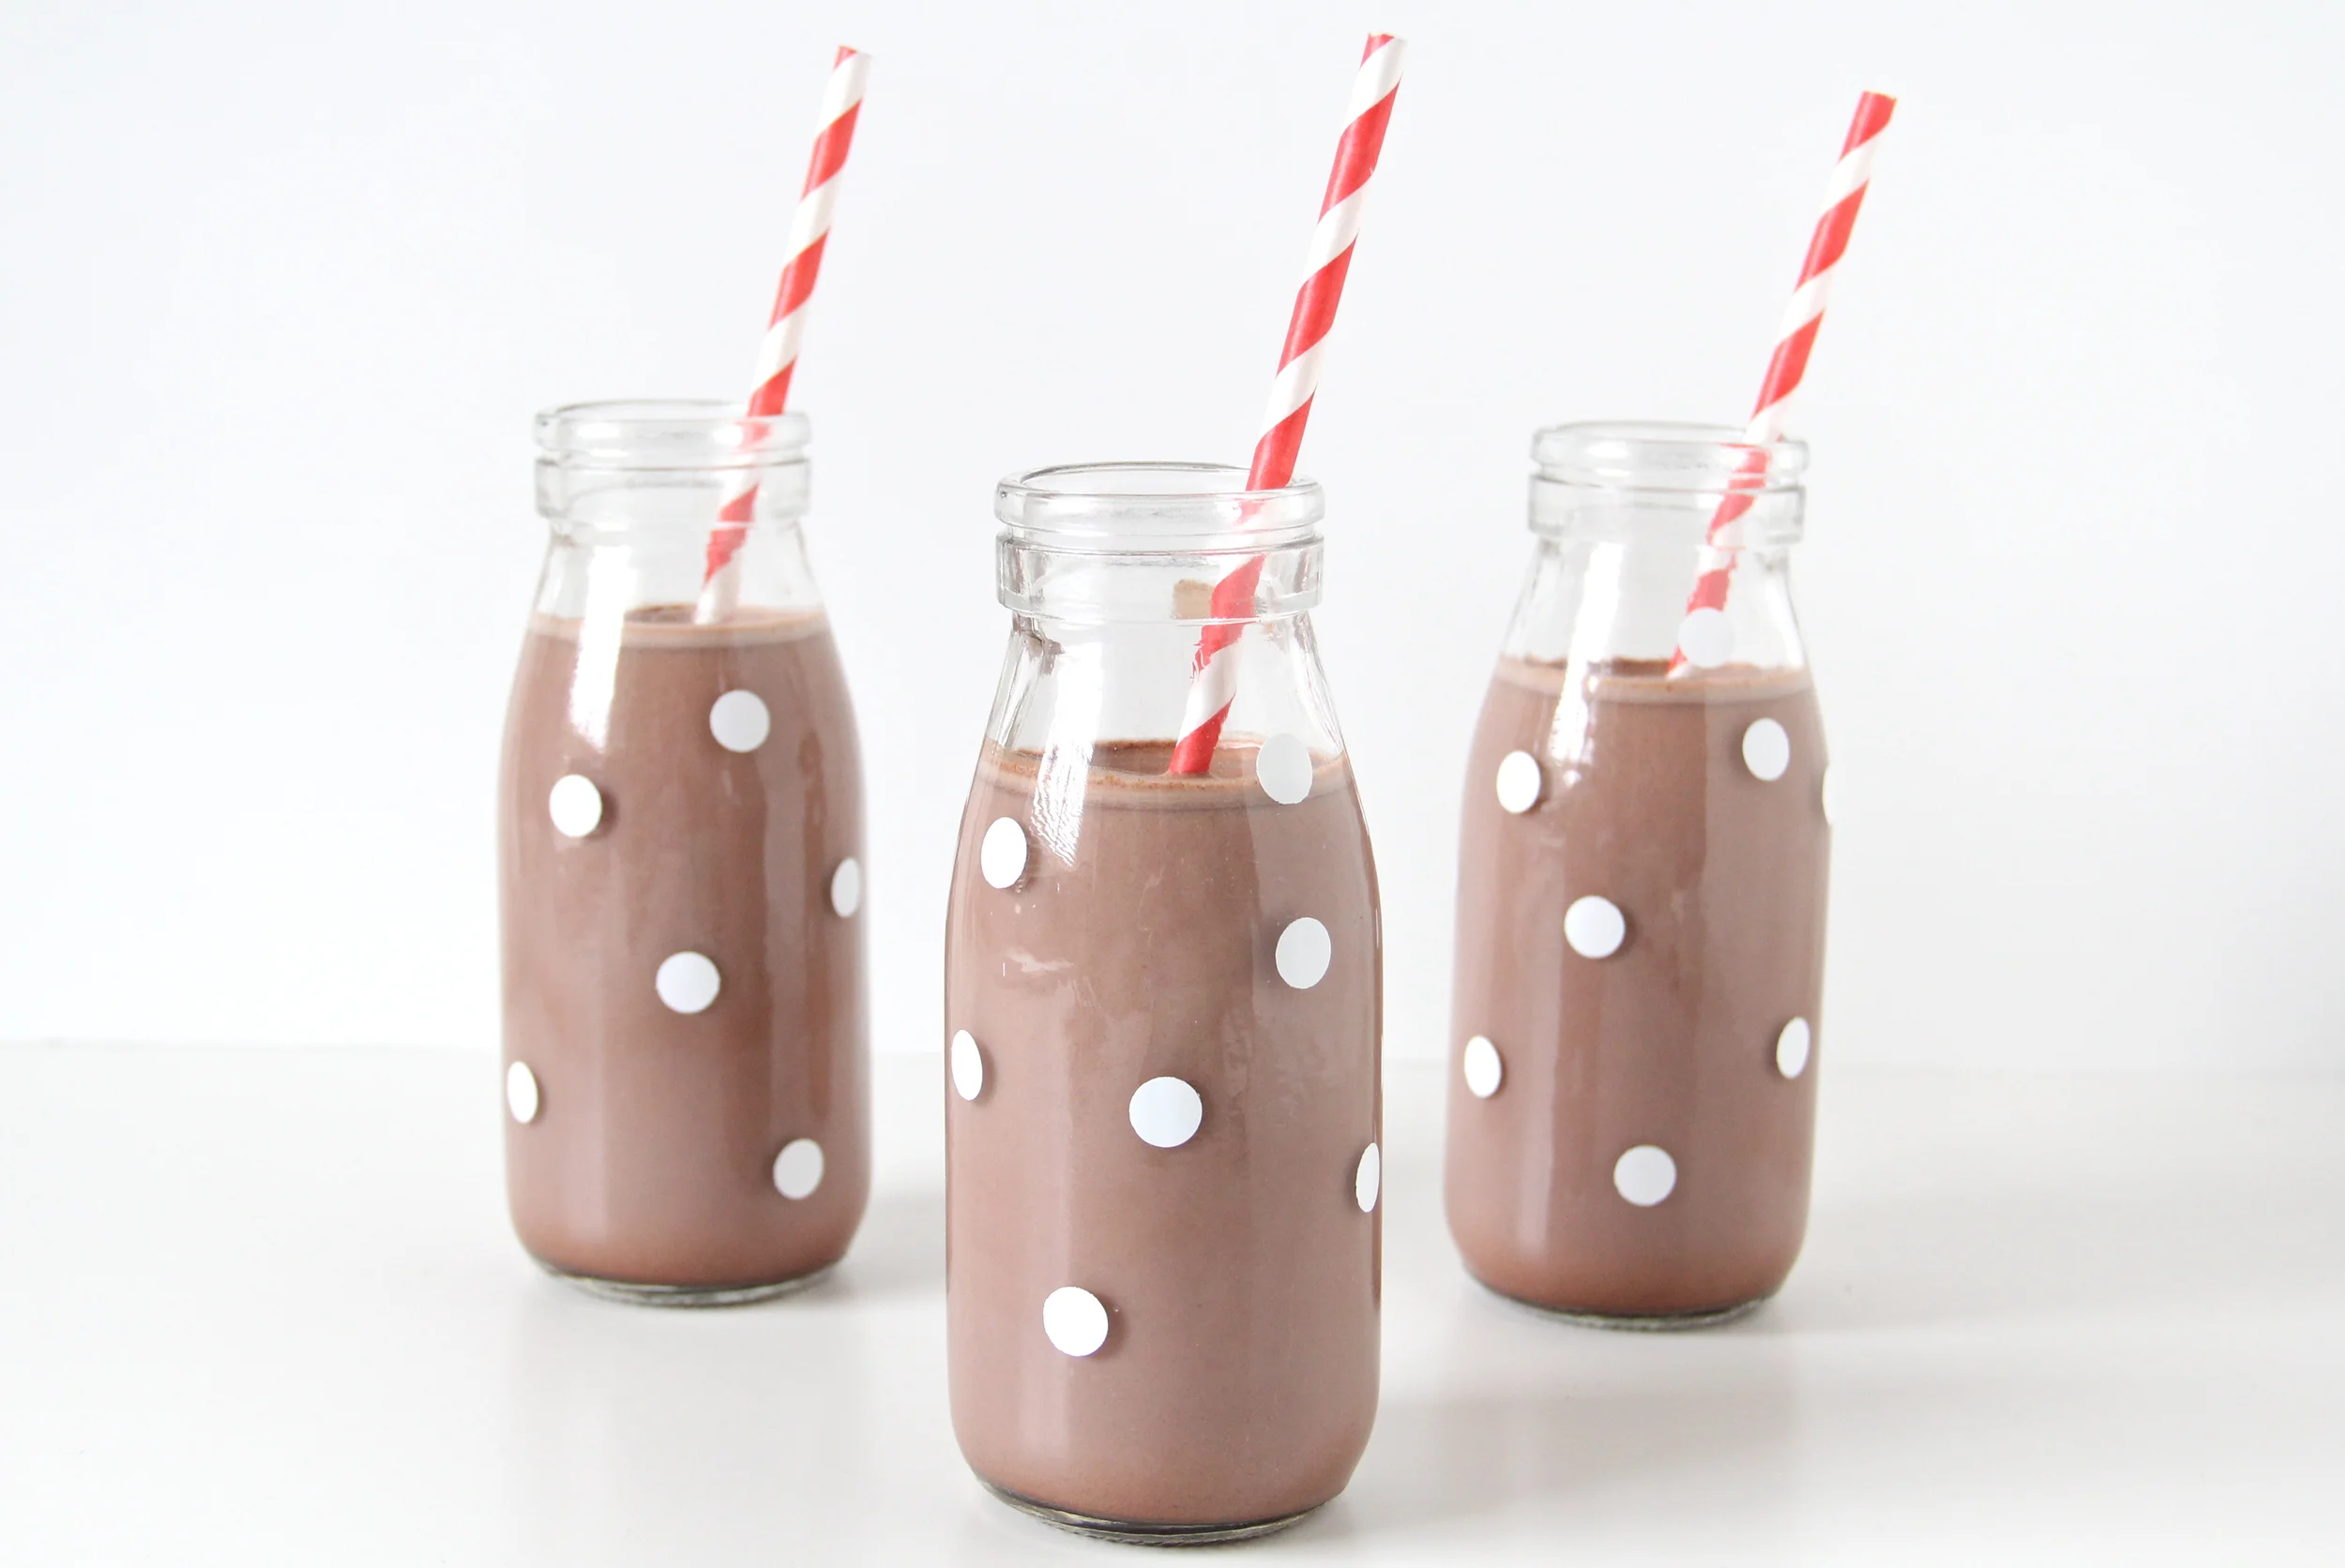
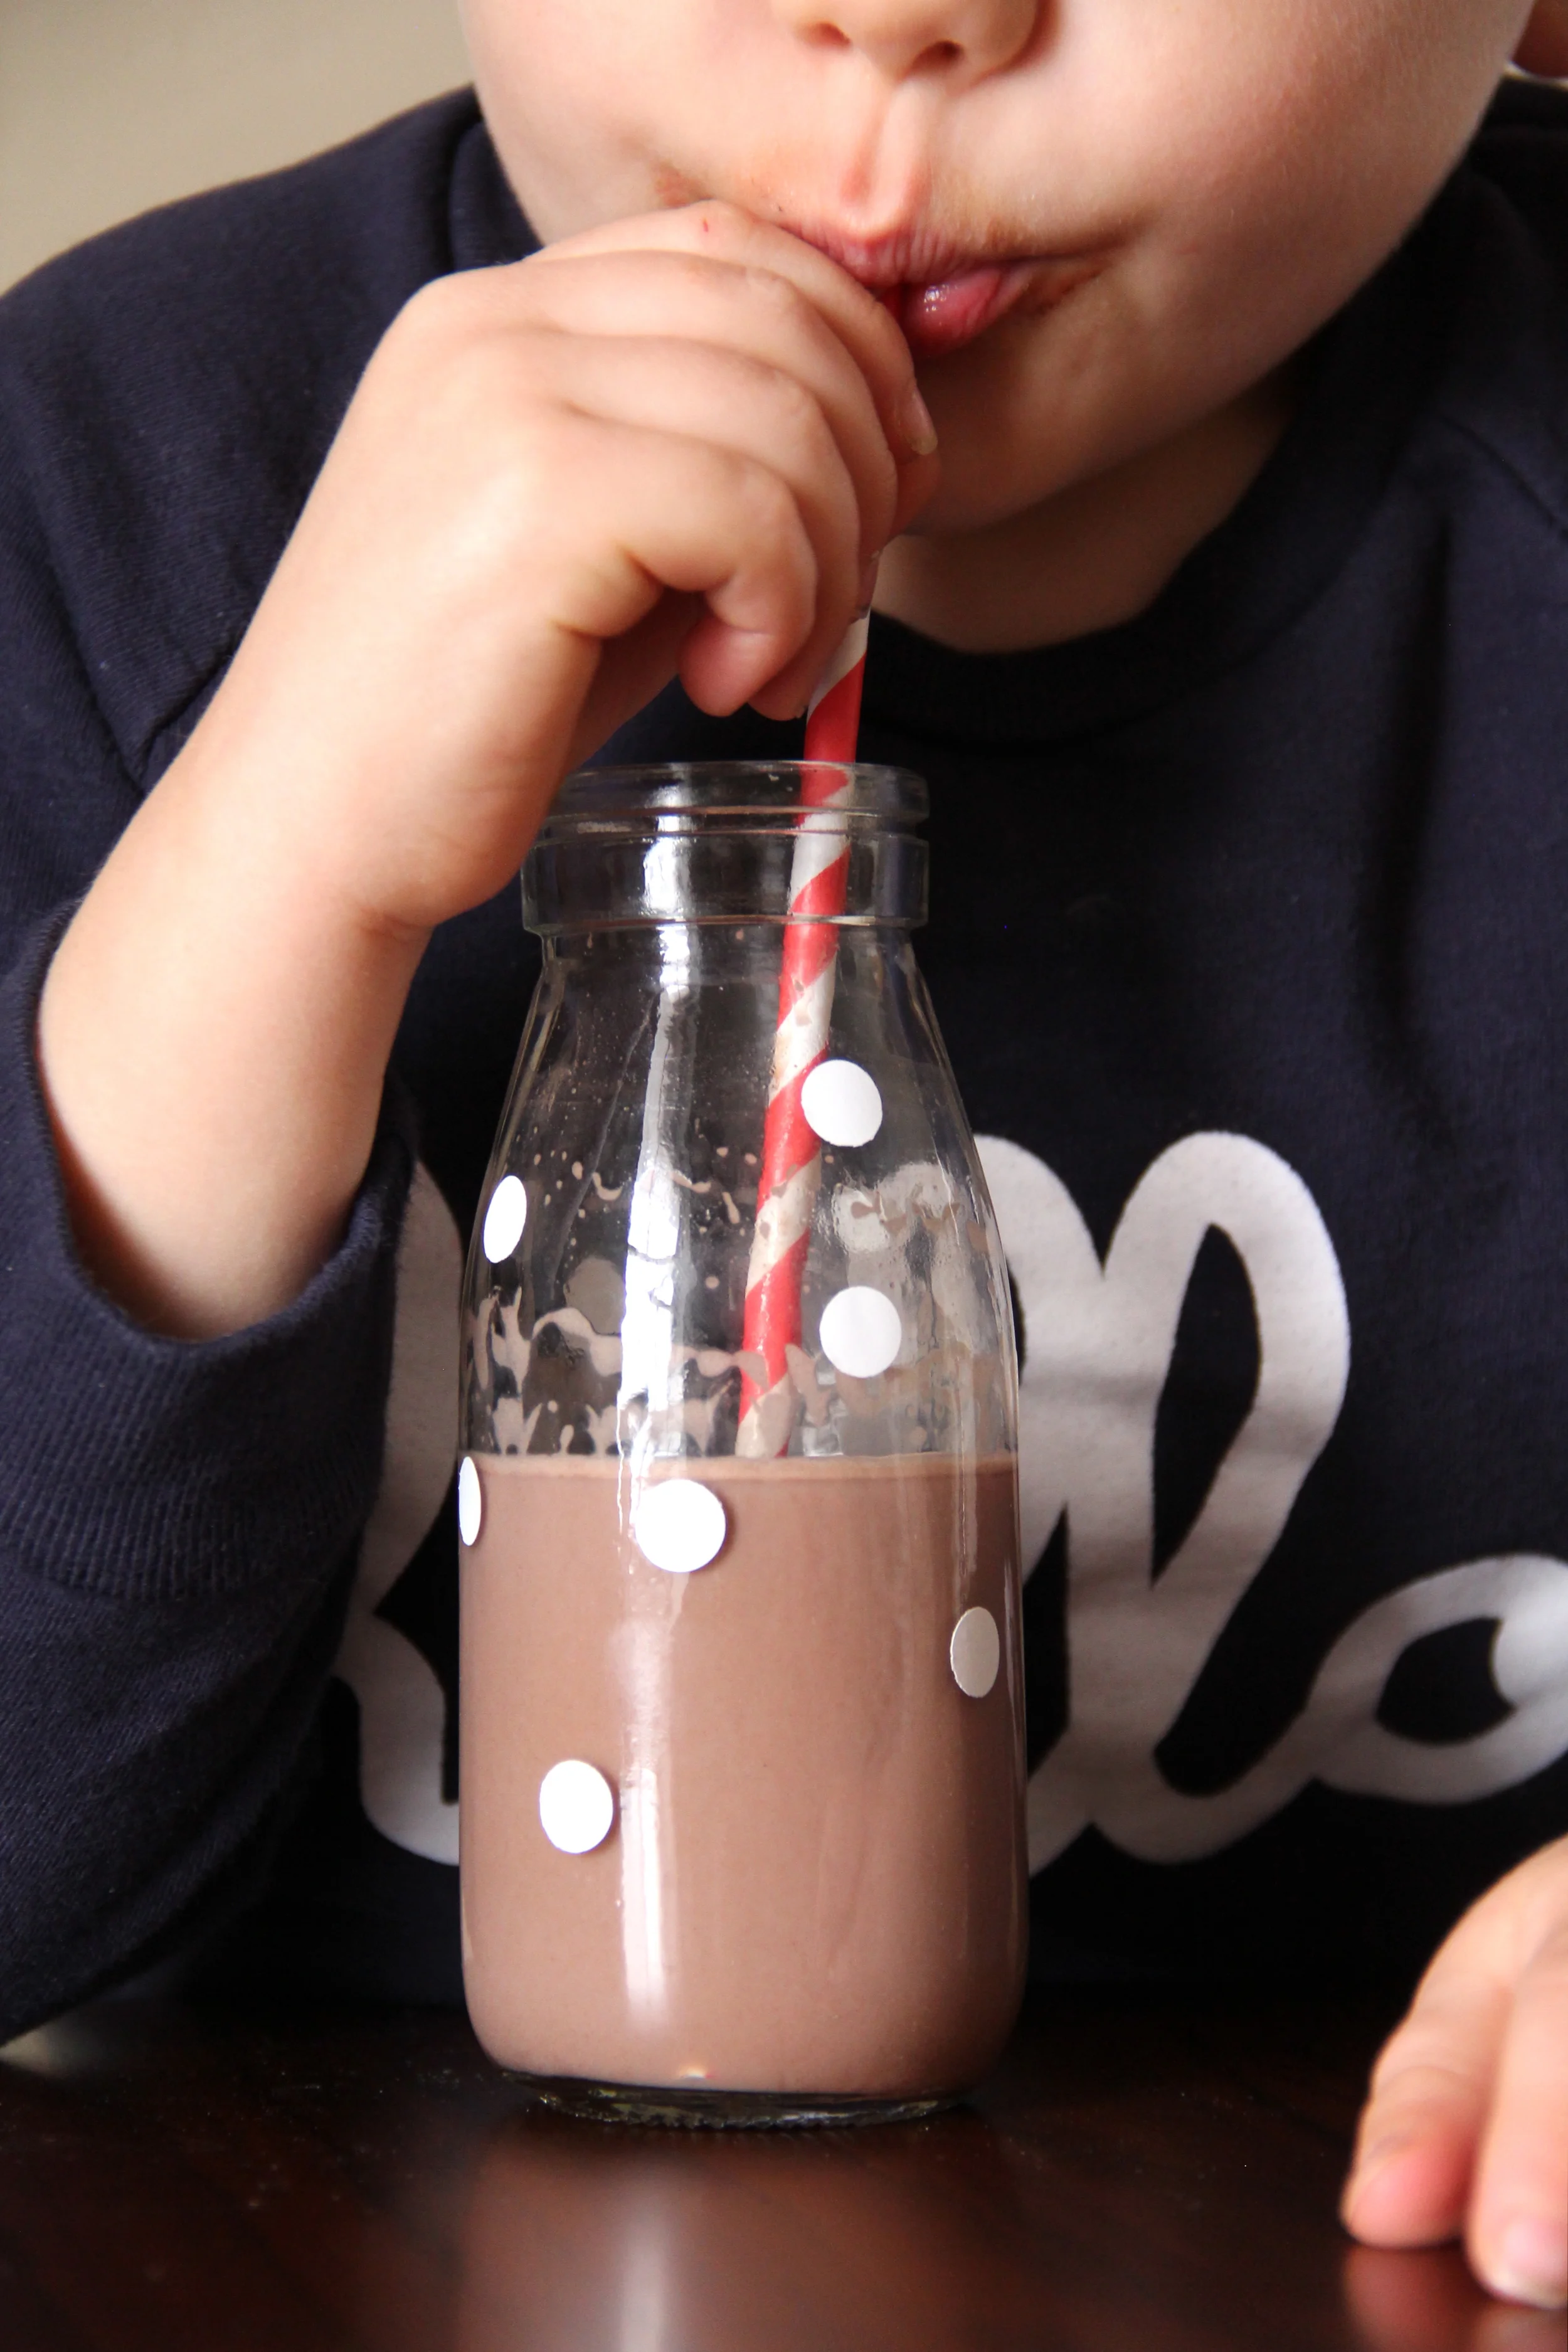
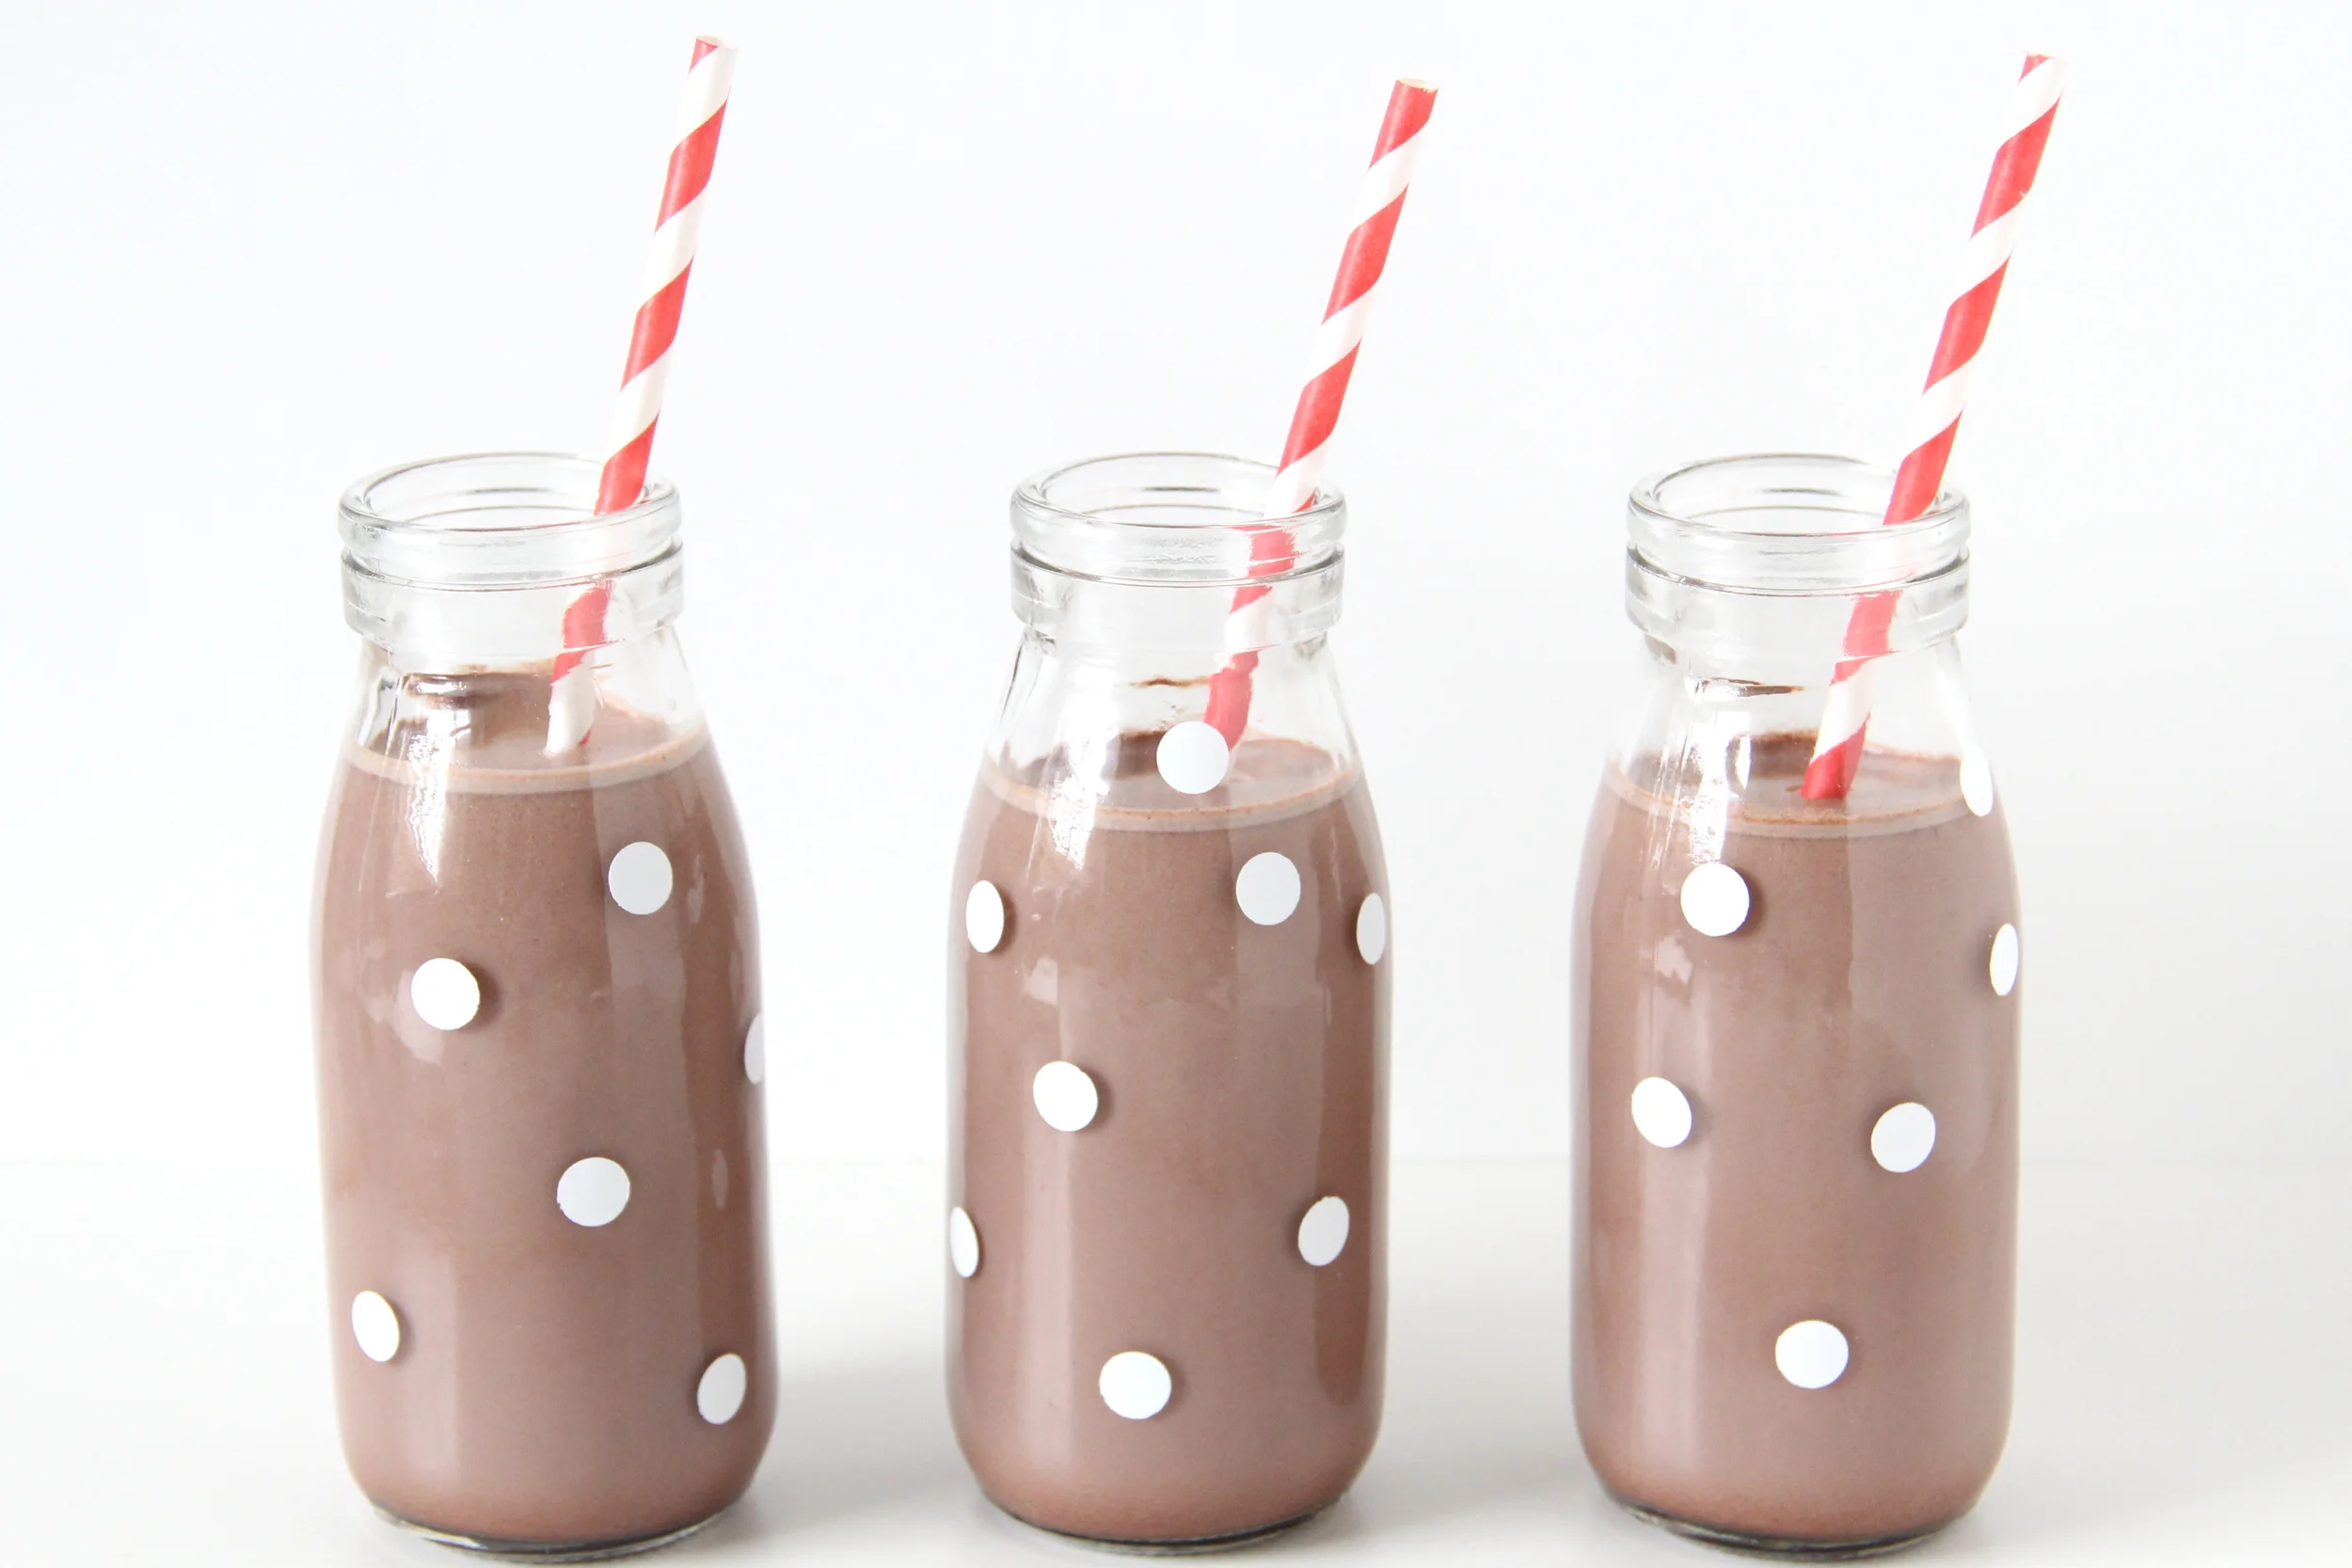
Elliott might be a teeny bit obsessed with hot chocolate. Especially my mom's. But he'll drink mine if he really has to. I have always wanted to throw a little winter bash for some of Elliott's friends complete with waffles, cookies and hot chocolate. These fun polka dot bottles would be perfect for such a bash, don't you think? The best part about these? The dots aren't permanent! That's right folks. You can stick them on for the party and take them off after to redecorate them for another occasion. To see the full tutorial, head over here to Handmade Charlotte. You'll be happy you did. 

polka dot bottles 1.png

THANKFUL PLACEMATS + HAPPY WEEKEND

IMG_3128.JPG
IMG_3132.JPG
IMG_3140.JPG

We are definitely looking forward to this weekend! It'll be the first weekend in a while that I won't be enveloped in blog design. Finally, it's finished and out there and I love it. Before we sign off for the next few days, here is one more fun DIY that is perfect for Thanksgiving next week! This placemat is perfect for helping the kids understand a little better of what Thanksgiving is all about! Let them decide what they are grateful for and write or draw it onto the placemat. And of course, it's laminated so they can erase and be thankful over and over. Pretty great right? Check out all the details over here on Momtastic.

DUCT TAPE HOBBY HORSE

giddy up.png
IMG_3546.jpg

Elliott has pretty much always loved horses. But for some strange inexplicable reason, he has never had a hobby horse! Huge parent fail. So I thought I would remedy that with this! And with the gift giving season coming up, a hobby horse would make the perfect gift for any little ones on your list. It's super easy to make and you most likely have just about everything you will need to make a few. Minus the large dowel rod. But any craft store will have them for super cheap! I even am including a printable horse head template to make things easier on you. You're welcome. Now, let's make a hobby horse!

Here's what you will need:

  • Cardboard 
  • Template
  • Duct tape
  • Large dowel rod
  • Scissors
  • Saw
  • Pencil
  • Xacto knife
  • Industrial glue

Start by printing off the template, tracing it onto some cardboard and cutting the shape out. I used a trifold display board for my cardboard, but anything will work! 

IMG_3496.JPG

Now that we have our heads cut out, it's time to decorate with the duct tape! I went with black and white but you can do any color combo your little one will love. Make it fun with some eyes, nostrils and if you are feeling really ambitious, maybe a mane! 

IMG_3504.JPG

You will want to be sure to make your heads opposite so they will fit together inside the dowel rod creating a two sided hobby horse. Or just do one head and decorate both sides! 

IMG_3650.jpg

Next is a the tricky part. At least for me! You will want to measure and with the saw, cut a slit into the top of your dowel rod just barely thick enough to fit the cardboard heads inside snugly. Try and cut a little deeper than you might think too. The horse head can be top heavy and fall out. Again, tricky. I also decorated my dowel rod with a few strips of duct tape. Totally optional. Once your slit is cut, use the industrial glue to secure the head in place.

IMG_3523.jpg
IMG_3638.JPG
IMG_3509.jpg

And that's it! Now have fun being chased by a cute kid on a good lookin' horse all day.

TRIM THE TREE ADVENT CALENDAR

IMG_3385.JPG
IMG_3379.JPG

So we love advent calendars. They get us all excited for Christmas and all of the festivities that come with it! This one is like half advent calendar, part paper chain, and part coloring sheet. Just download it here, print it out, color it, cut it out and trim off a section every day it gets closer to Christmas! Fun, right? I would love to make a giant poster sized one. Wouldn't that be rad? 

IMG_3343.JPG
IMG_3352.JPG
IMG_3372.JPG
IMG_3377.JPG
IMG_3375.JPG

Easy, right? Have fun trimming your tree and counting down the days!

PAINT CHIP TURKEY TREAT BAGS

IMG_3203.jpg
IMG_3184.JPG
IMG_3189.JPG

I have to admit, I might be a little obsessed with these turkey bags. They were so easy to make and there are a million and one uses for them this Thanksgiving! Doggy bags for Thanksgiving dinner, treat bags for friends (or yourself), lunch sacks for the kids. The list goes on and on! All you need to make them are some paint chips courtesy of your local hardware store and some paper bags. We have been filling ours with popcorn because we are popcorn addicts. But you can put whatever you like inside! We won't judge.

IMG_3167.JPG

Cut out the shapes of the feathers and the faces from the paint chips. You can use a stencil to make them more uniform, or you can wing it! I used a hole punch for the eyes. I am a hole punch hoarder.

IMG_3173.JPG

Next, glue your cute faces onto the bags! Then arrange your feathers however you like and glue or tape those on as well.

IMG_3189.JPG
IMG_3197.JPG