GREAT NEWS + A STRIPY MONEY BANK

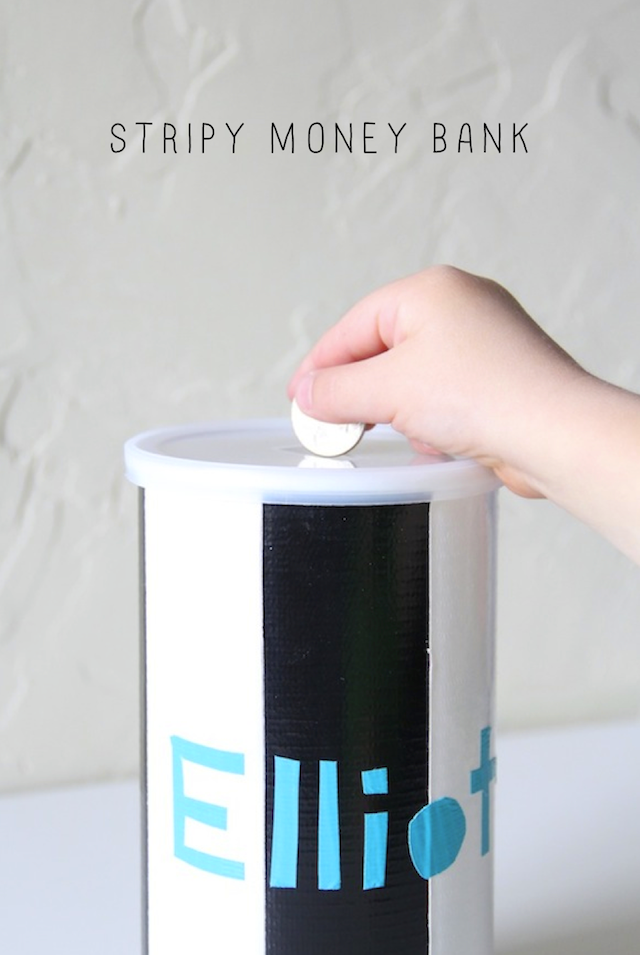
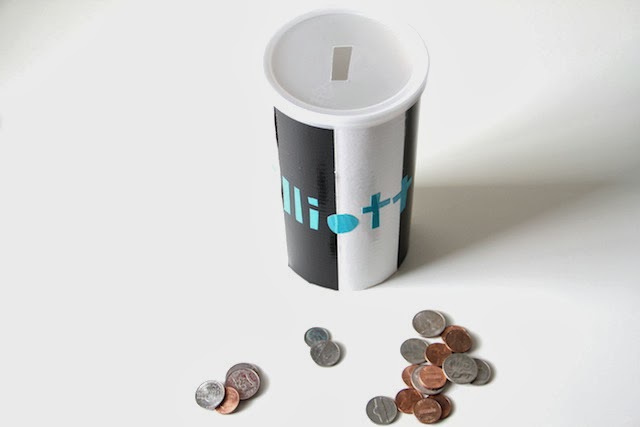
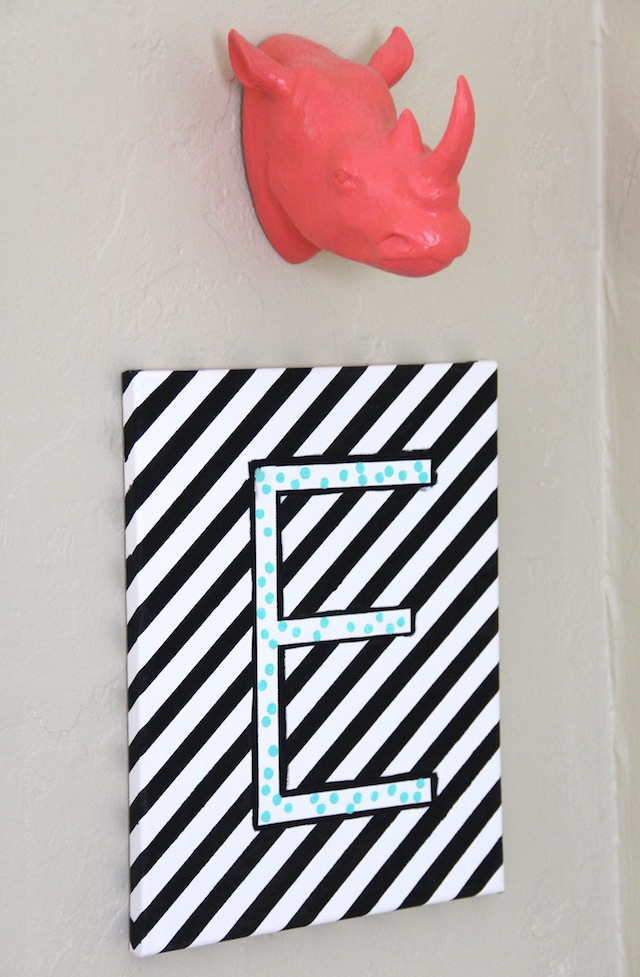
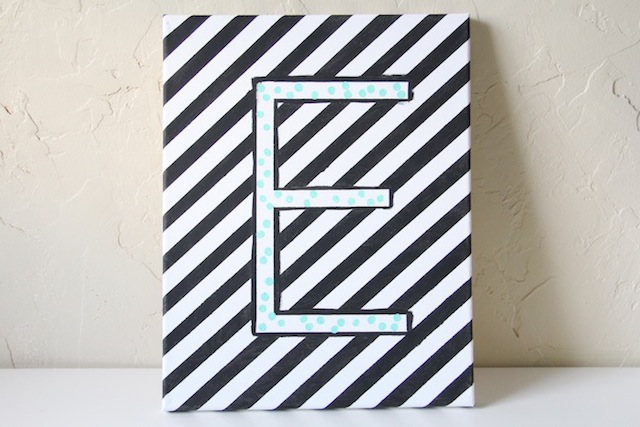
Great news! I recently became a contributor for none other than Handmade Charlotte! I am thrilled to be working with them and hope you love the posts I make for their site. The first DIY I did for them is this easy money bank! If you are looking for an easy and useful DIY this weekend for you and the kiddos, this is it. This money bank is so simple to make and Elliott has really been loving hoarding all his coins in it. Check out all the details to make your own over here on Handmade Charlotte. Have a great weekend!

WINDOW SPIDER WEB DIY

Our first Halloween project of the year! It's a good one. So easy and takes almost no time or skill set. My kind of DIY! It's so much fun to play with, Elliott has been having a blast. I even made a few little flies to get stuck in the web. Creepy, right? We love it!
To make your own, all you need is some white tape, plastic spiders, mini suction cups and glue. It's pretty self-explanatory. Just glue the suction cups to the underside of the spiders, make the web out of tape and you're done!
Have fun!

I love simple DIYs you can make with things you already have lying around the house. Little tips and tricks for easier and more efficient DIYs are always welcome around our house! If you are planning on doing some DIYs around the house and would like some easy and genius tips, try these ten. Keep refreshing the page to watch all ten videos. They are seriously easy and just might blow your mind. 

This is a sponsored post. Thank you so much for supporting the companies who help make Ardor possible!

KIDS SUSPENDERS DIY

A few weeks ago I posted a picture on Instagram of Elliott wearing suspenders and I had a few requests for a suspenders DIY. So, here you go! They were easier than I thought they would be to make. I actually made two pairs in the time I thought it would take to make one. It was pretty easy to find the supplies too. They sell the fasteners and elastic in pretty much any craft store. I love them and Elliott loves wearing them! 

Measure out the length of elastic to about 30 inches. You might want to make them smaller or bigger based on the size and age of your little one. Depending on the type of fasteners you get, you'll want to loop the elastic through and fold it over and sew, sew, sew! You'll want to make sure it's plenty strong. These are for kids after all! 

Cross over the elastic lengths and sew them together in a diamond shape. This won't be in the center of the elastic, but further down and right square in the center of the back. 

This is totally optional, but I wanted to have some suspenders that would grow with Elliott, not just made for his current shortness. So I added some adjusters to make them...adjustable. Again, you could totally skip this step, but in case you don't, again make sure you sew it over and over to ensure strength. And that's it! Not too hard, right? Totally worth the outcome.

Despite Elliott's expressions, he really does love his suspenders. He thinks he looks so fancy.

MONOGRAM ART DIY

This little piece of art is so easy to make. It takes no skill set, whatsoever! I wanted to make something mostly black and white, with a tiny pop of color for Elliott's room. I love the way it looks next to the horse! And of course, since it's an "E" Elliott couldn't be more thrilled about it. To make your own, check out the full tutorial over here on Momtastic

BIKE BELL MAKEOVER DIY

Elliott has been asking for a bell for his scooter for forever. And frankly, I was sick of hearing about it. Ha! I found this really ugly "I love my bike" bell with the plan of painting over the ugly. Turns out, the ugly part was a sticker! So after removing it and cleaning it, I decided to spruce up the plain white with some dots. I love how it turned out! More importantly Elliott loves it. Even though the dots didn't go anywhere after I rubbed them, I still added a little bit of sealant just to be sure. I think it would be the perfect bell to paint like a donut too. Wouldn't that be cute? You can find a similar bell here. But trust me, the one I bought was even uglier.