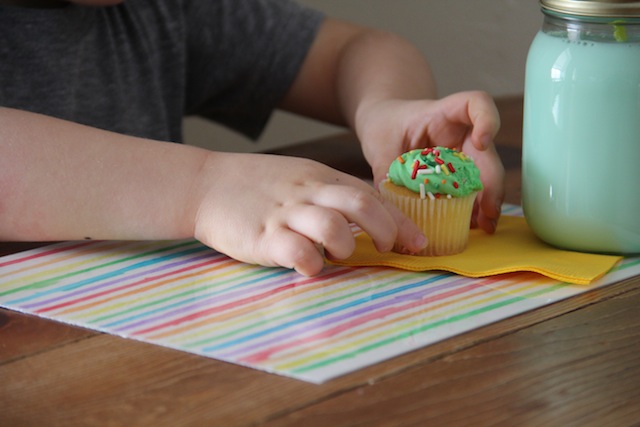
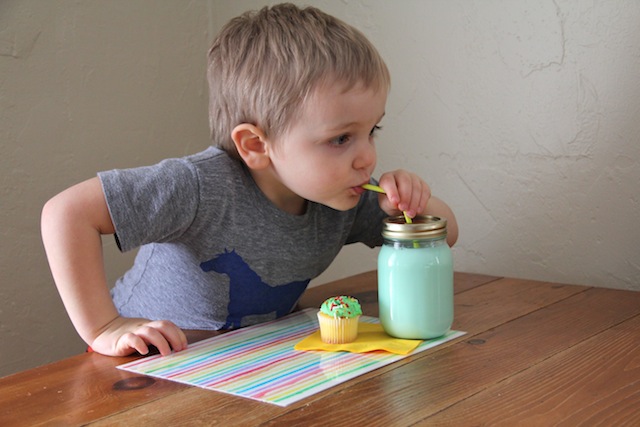
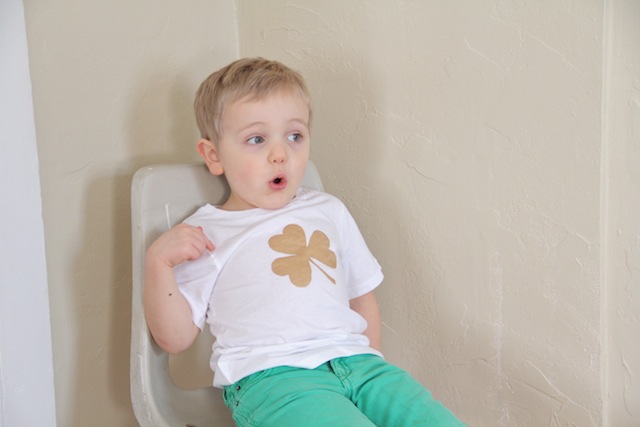
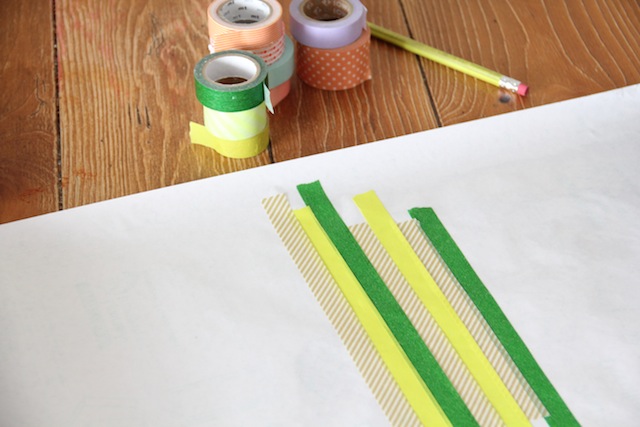
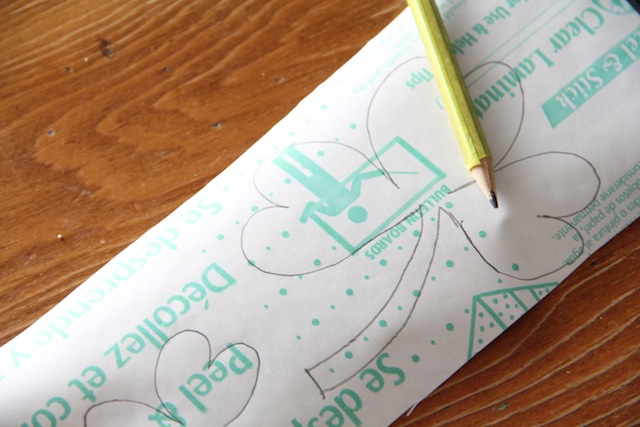
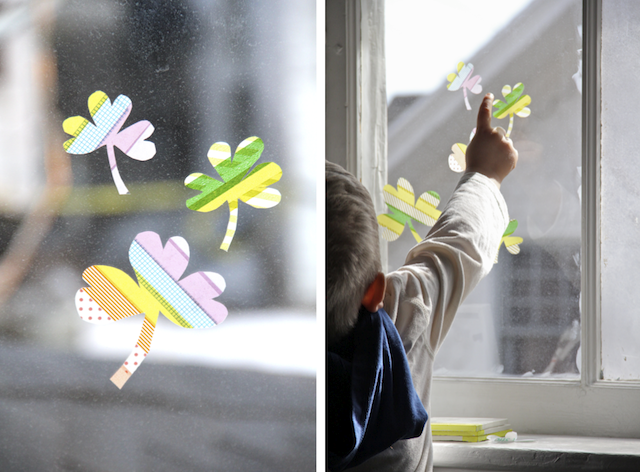
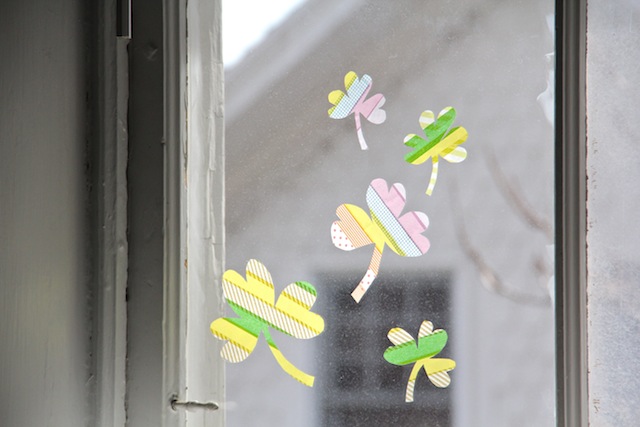
DIY ST. PATRICK'S DAY RAINBOW PLACEMAT

When I was growing up, my mom would make us kids green pancakes with green milk for St. Patrick's day. I loved it! So I tried to do something similar, but ended up just buying green cupcakes (mom fail!). Another reason I like St. Patricks's day is for the rainbows! Here is a super easy (like your toddler could do it) placemat to add to the festive St. Patrick's day grub. AND, it's washable! Whhaat? Yes. Check out the details over on Momtastic

DIY SHAMROCK SHIRT

When Elliott was a baby we used to call him a little leprechaun (among other not so cutesy names i.e. little old man boy, big belly round face). Thankfully he has outgrown that resemblance but since we do have quite a bit of Irish in our blood (my first name is an Irish last name after all!) I thought we should represent with a little shamrock shirt DIY. He of course thinks the gold is pixie dust and that it means he can fly off of the couch. So he loves it endlessly. You can see the whole tutorial over here on Momtastic

And in case you missed it, check out more shamrockin' DIY action here.

DIY SHAMROCK WINDOW CLINGS

I was staring out the window the other day and thought "my windows are filthy!" Then I thought "I should make something cute to cover them up." Enter the shamrock window clings! If you have washi tape, a pencil, clear contact paper and scissors, you can make your own clings in literally minutes. Here's how!
Lay your tape to the clear side of the contact paper. Use any color combo!
Draw your design (in this case shamrocks) on the paper side, then cut it out, peel off the paper backing and stick to your window!
Easy, right? Bonus: they are totally removable and come off clean. You can even store them on a sheet of plastic until next year to use them again!

DIY HOT CHOCOLATE ANIMAL STIRRERS

More plastic animals from yours truly. We are still experiencing a pretty harsh winter around here and have been consuming a lot of hot chocolate. So I thought I would make some fun stirrers for us to enjoy along with the chocolatey goodness. I did them all white, but Elliott wanted a pink one so a pink one he got! You can see the whole tutorial over here on Momtastic.

DIY PERFECT CONFETTI

After I posted about Elliott's birthday party, one of you fine readers emailed asking how I made the confetti so perfect. So I thought I would respond with a little DIY! Really, the only trick to getting perfect tissue paper confetti is to use several sheets of tissue paper at a time. If you use only one sheet it will catch on the paper punch and ruin the tissue paper. It's awful! Just put a few sheets in the punch at a time and not only will the confetti turn out great, you will also get more confetti a lot faster! Hope that helps! Have fun!