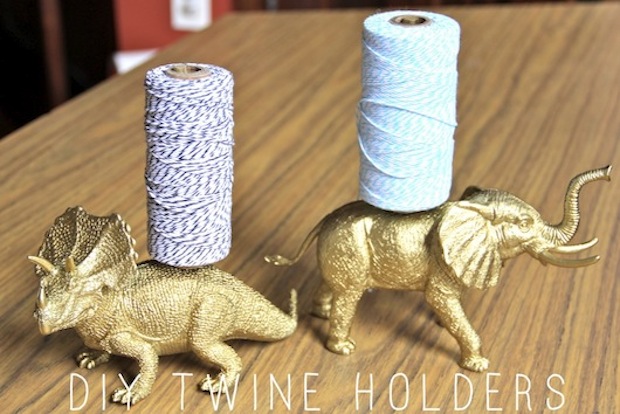
We all know and love
bakers twine and it's endless uses. I don't know about you, but my twine ends up everywhere. The spools fall over and the twine gets tangled and well, it's a hot mess. SO, I decided to make my own twine holders! It's pretty easy and I love the result! Ok, here we go!
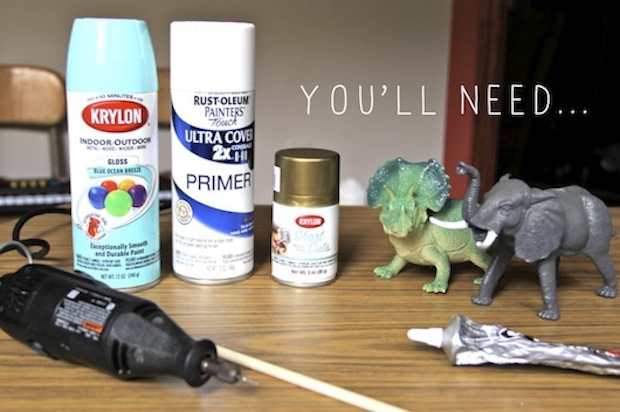
- A drill
- Largish plastic animals - preferably hallow
- Dowel rods
- Strong glue
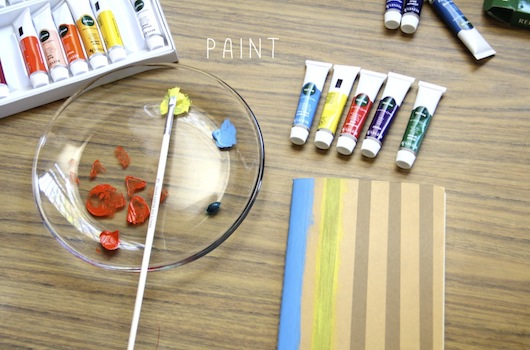
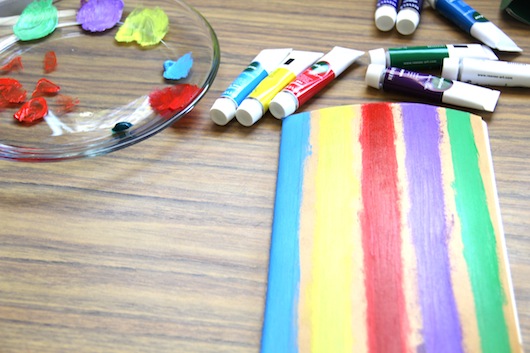
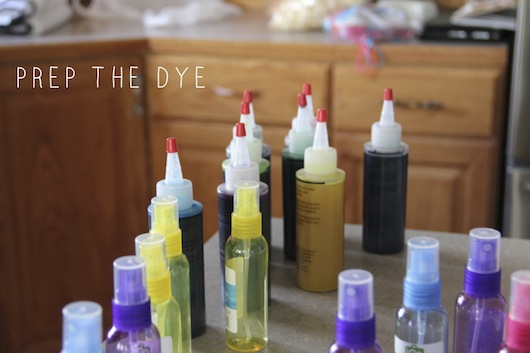
- Spray paint
I show here two kinds of paint as well as some primer. I thought I would need the primer, but it turns out, I didn't! As for the blue paint, well...I just decided these little guys would look so cute if they were both gold :)
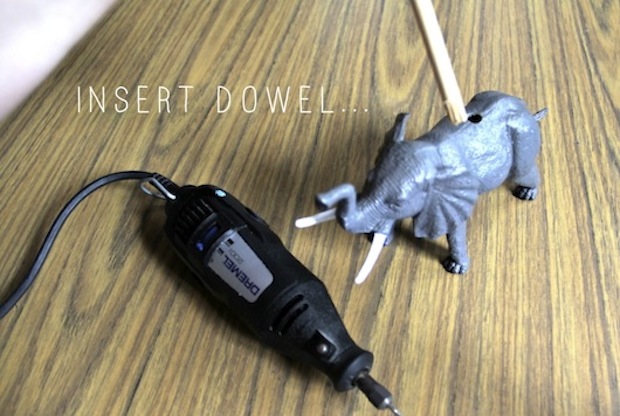
Find a balanced center on your animal and drill just a little at a time, taking time to make sure that the hole doesn't get too big for your dowel rod.
Break your dowel rod (if it's long) in half. You can cut the end to make a cleaner edge or just leave it jagged (like I did). Once the hole is drilled and the dowel is fitting oh so perfectly...
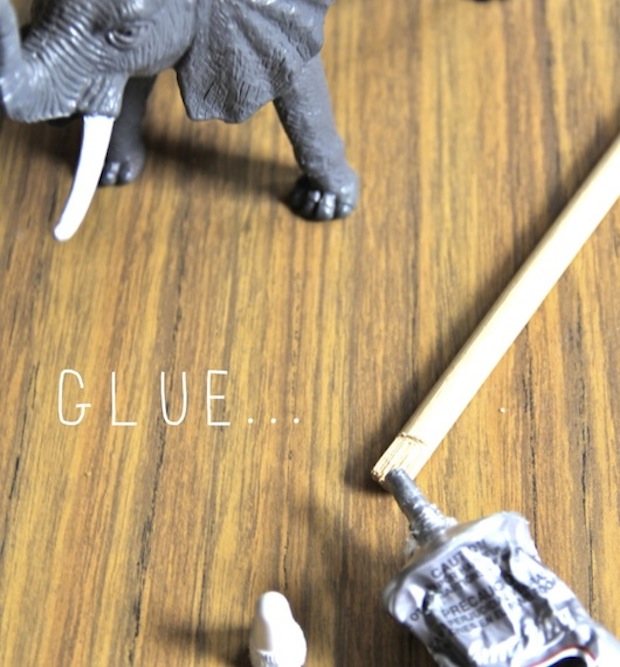
Take the strong glue and secure the dowel rod into the hole.
Let the glue dry really well securing the dowels. Then comes my favorite part.
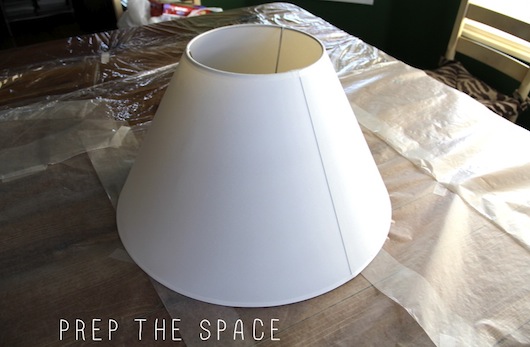
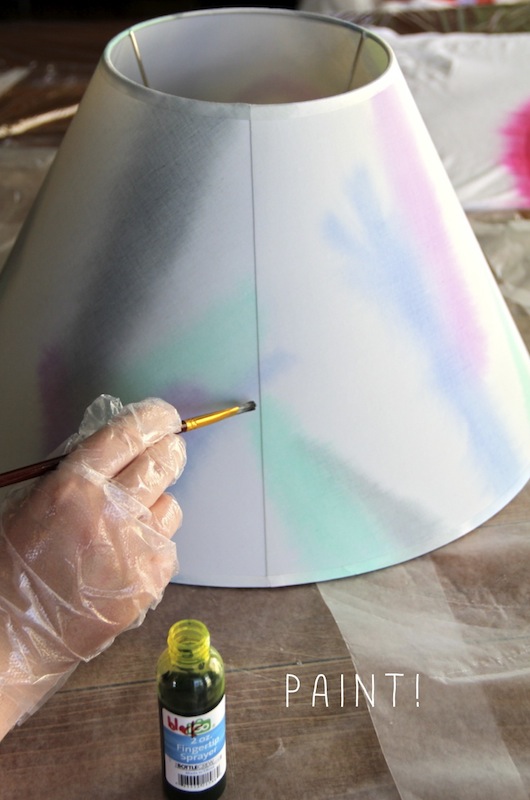
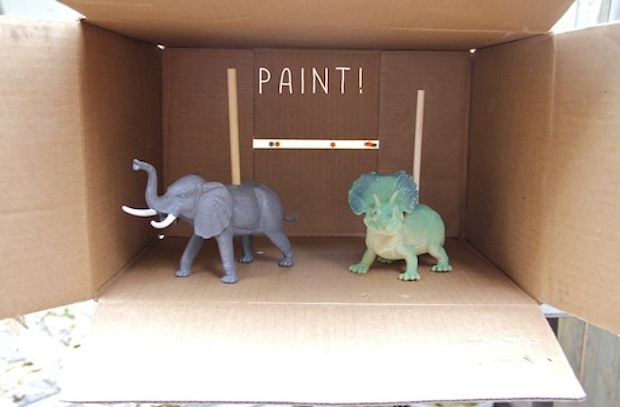
Painting! I like to use a cardboard box because it helps to keep all of the paint (and a lot of the fumes) inside the box. It's also a good way to make sure your items stay protected from falling leaves etc. After two or three coats and making sure to get every nook and cranny, let them dry completely.
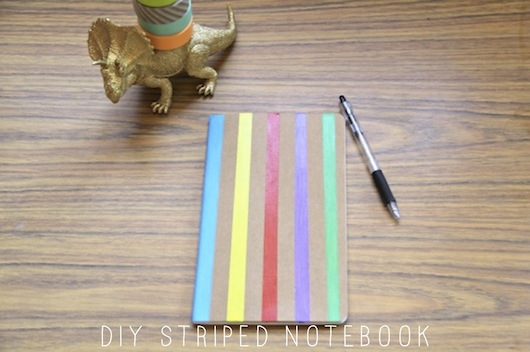
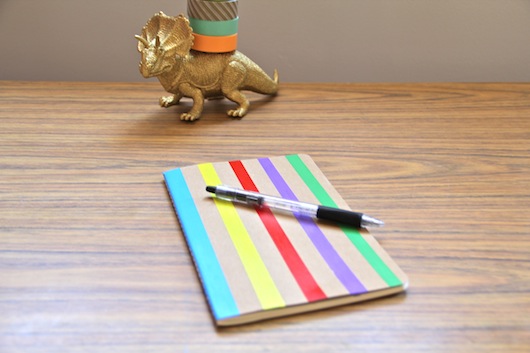
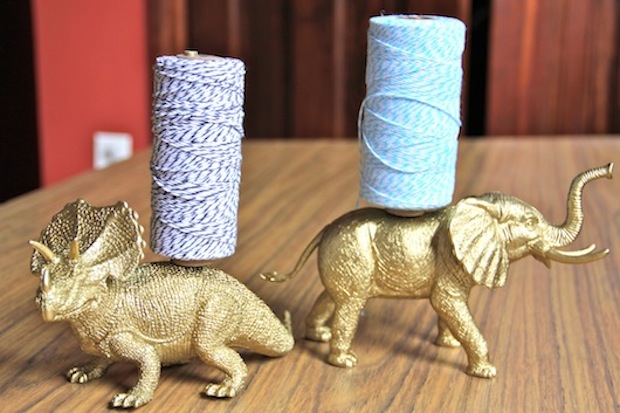
After waiting ever so patiently...your little guys should look something like this!
I seriously love my new twine holders. I think I might have to make a whole stampede of them and line them up along my desk!