MINI TAXIDERMY PINS
/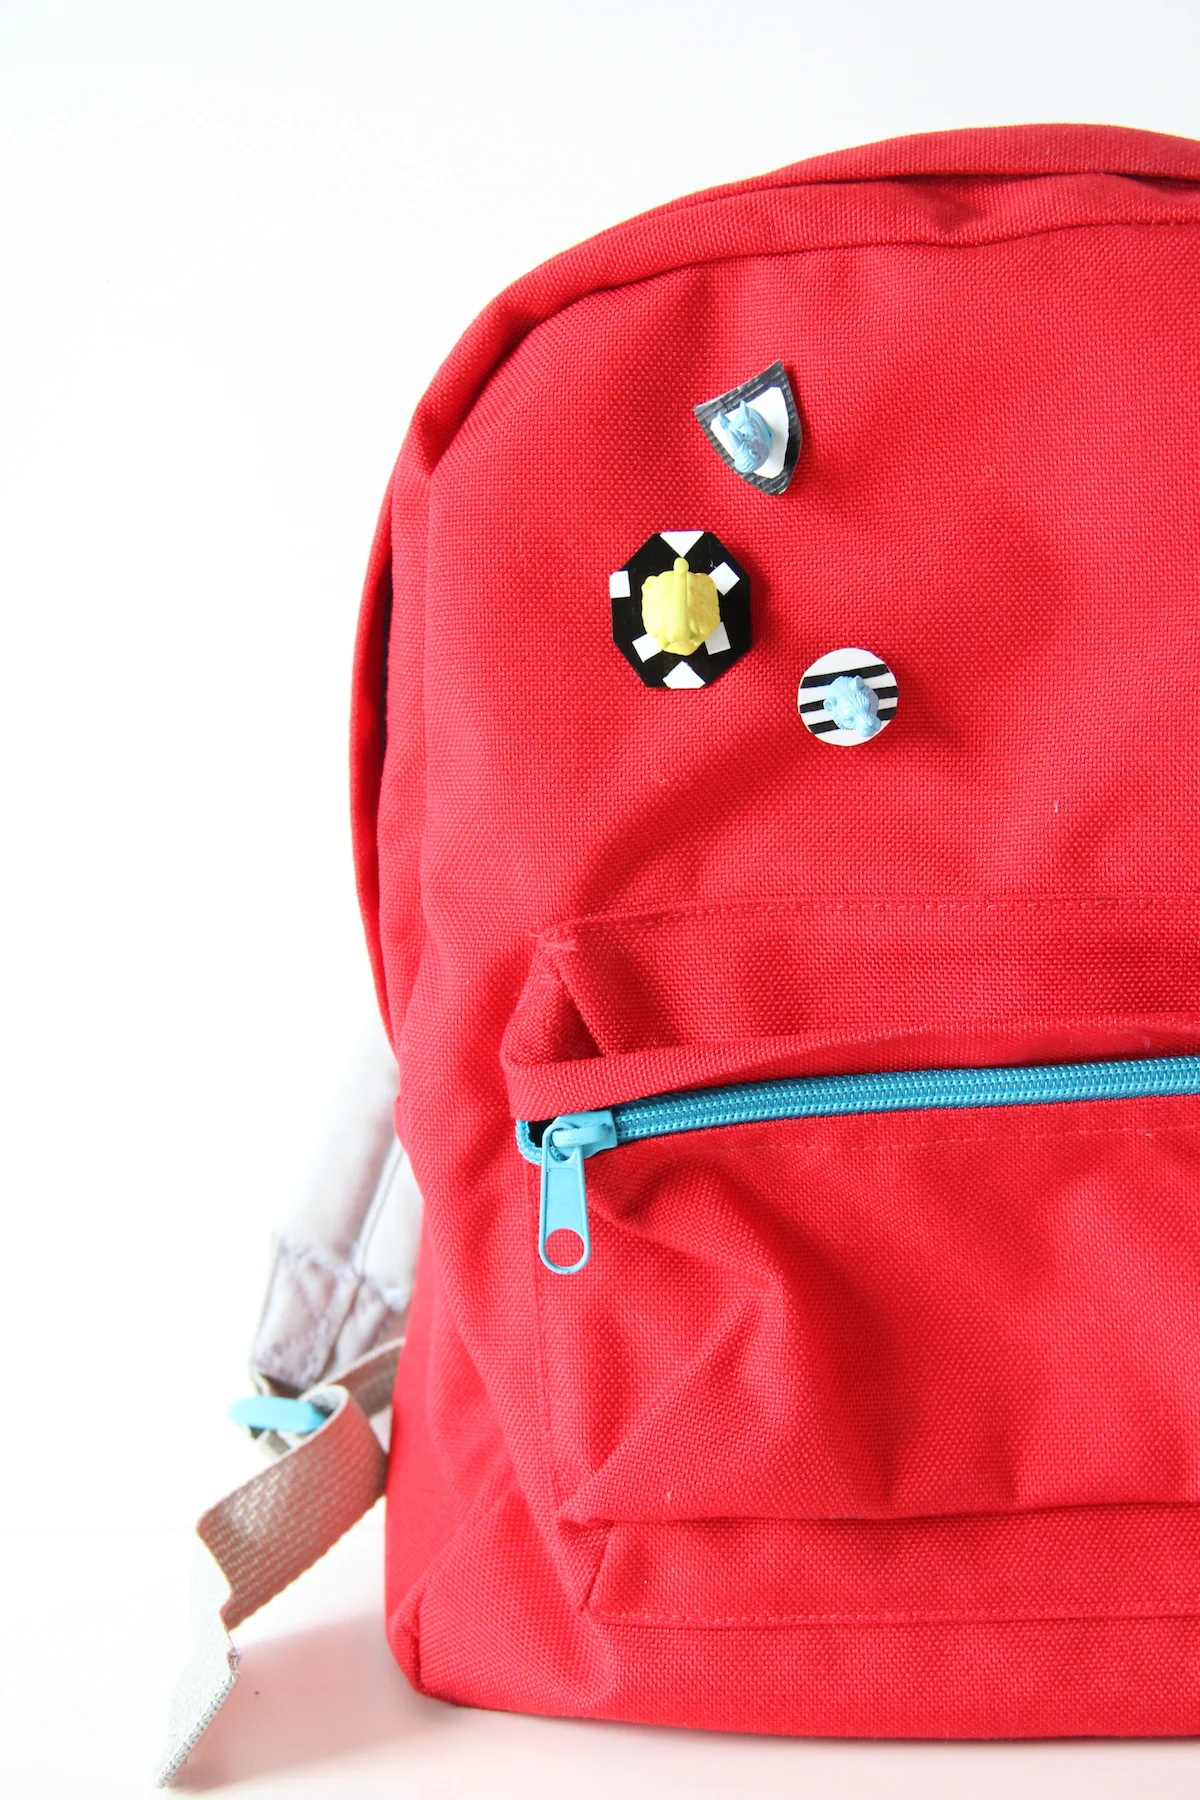

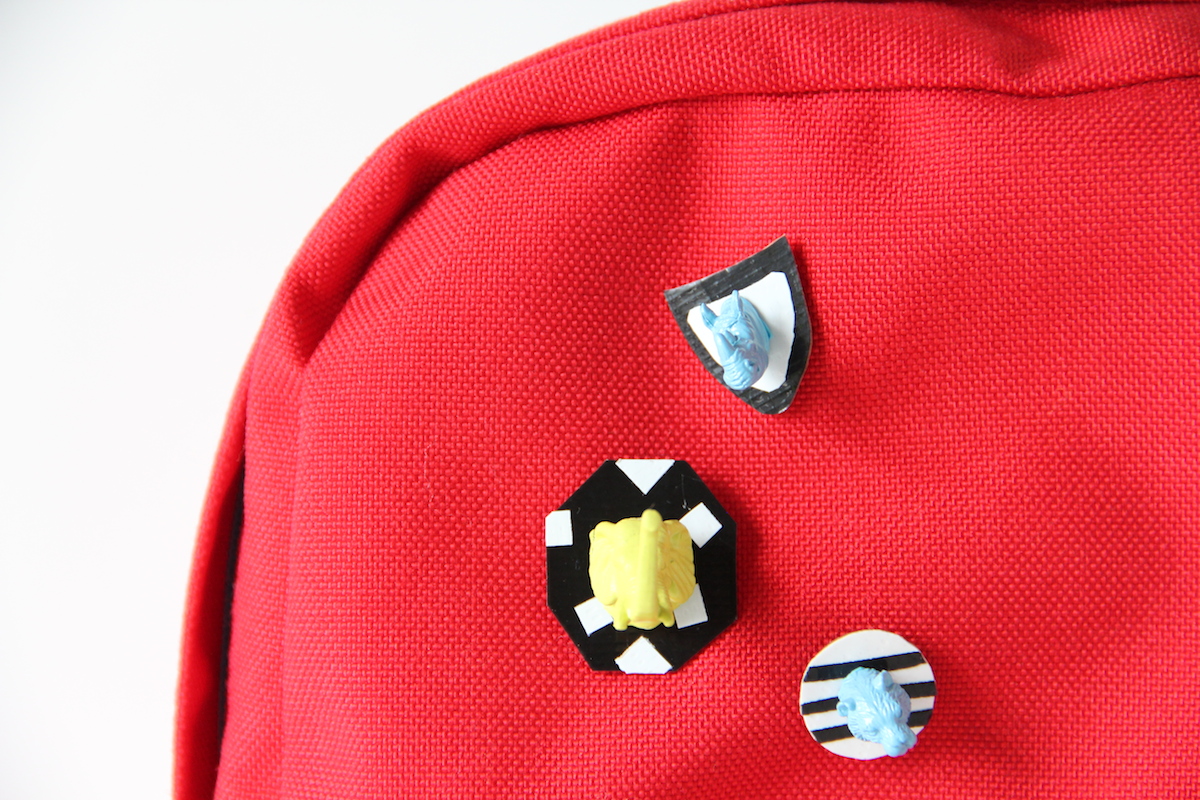
I have thought about making these forever. Like, years! Finally, here they are. This is a great way to re-use those old plastic animal toys your little one might not want anymore. Although, as soon as they see that you want them, they will want them again. But be tough! They will love what you make with them! These pins look so great on backpacks, hats or blazers. I wish Elliott had a blazer because I really, really want to pin one on to a lapel! Someday. You could also make them into some fun magnets for the fridge, or use bigger animal heads and mount them on the wall! Whatever you do, these will be a hit with the littles. Trust me on that. Now, let's make some!
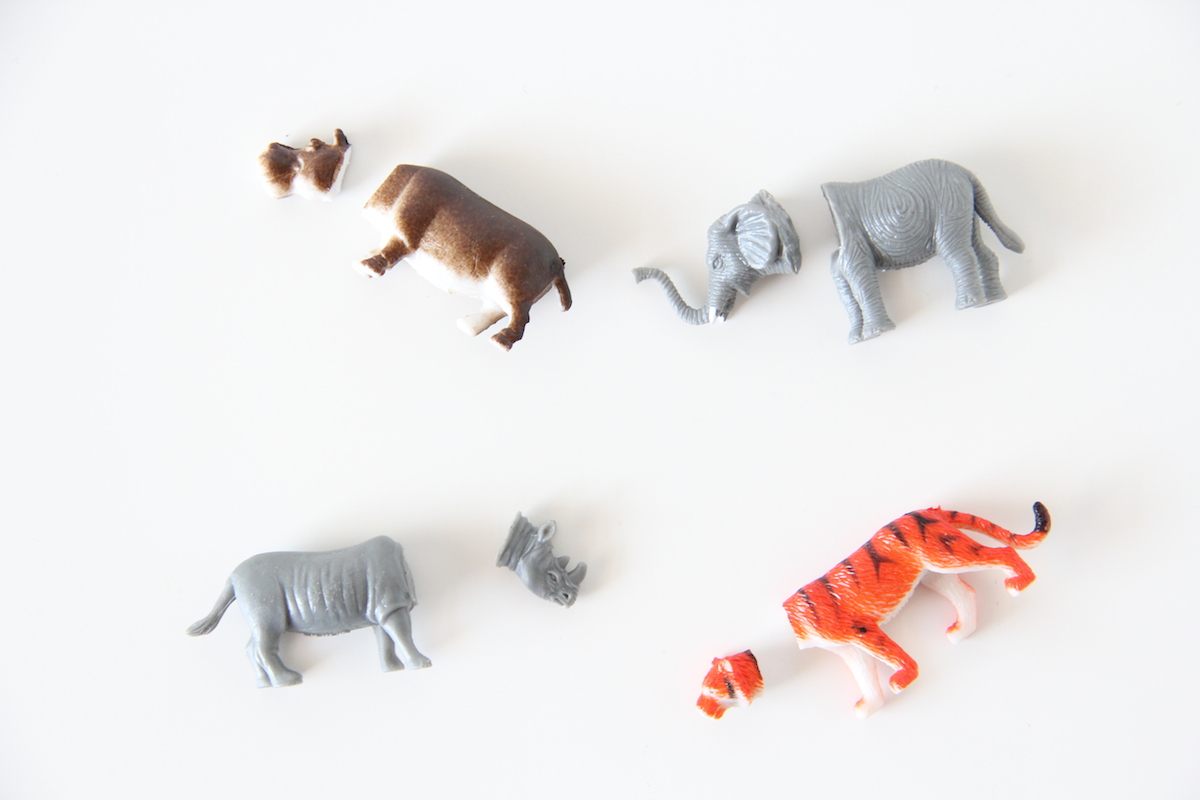
First, let's decapitate our animals. Ha! I used an X-acto knife to get a clean cut.
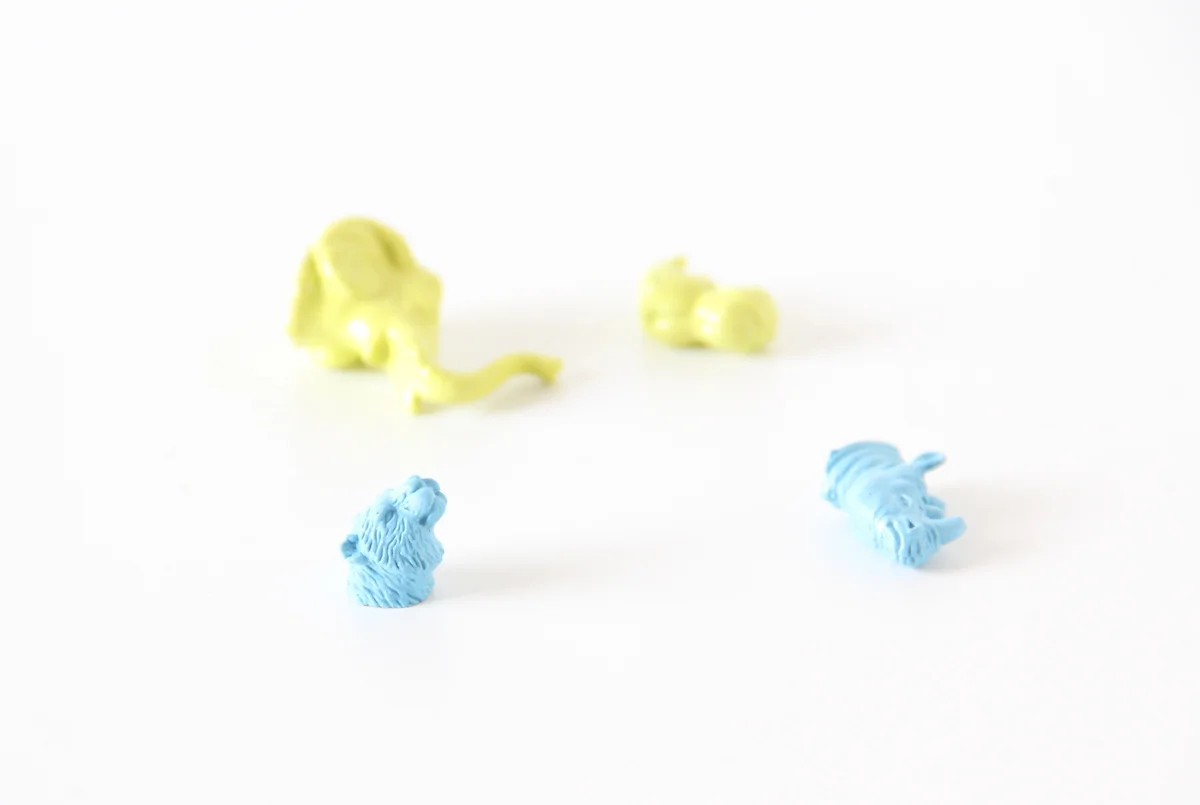
Next, prime and paint! Definitely do this outside and make sure you cover the entire head with the paint. I used two coats on each head to get full coverage.
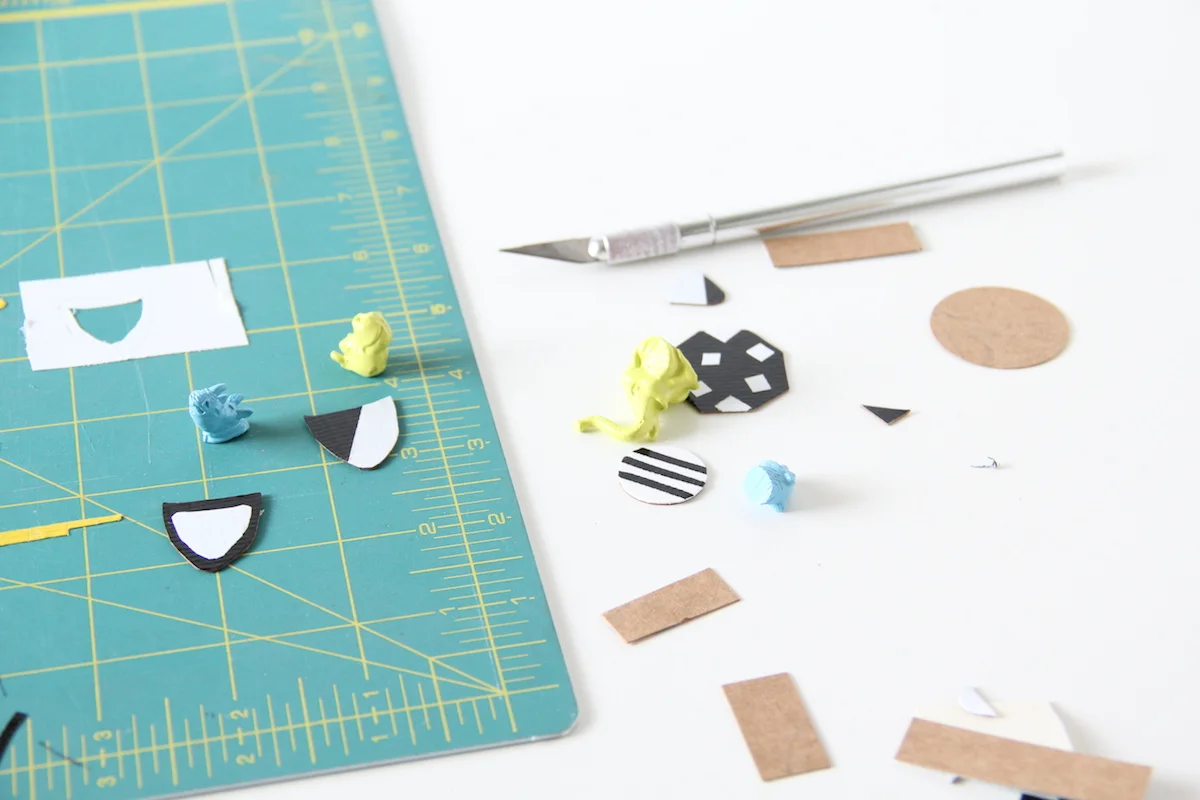
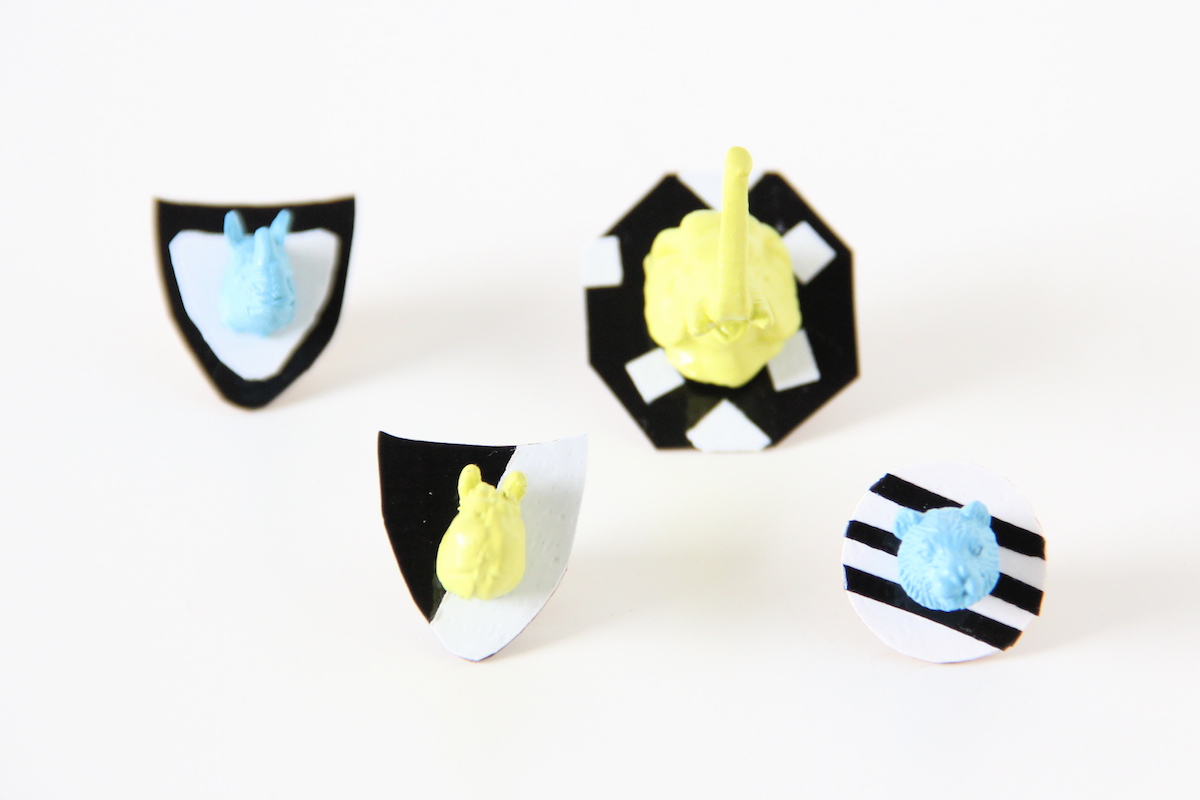
Once your heads are dry, it's time to make the plaques! I used some cardboard and duct tape to make some simple shapes and designs. So easy.
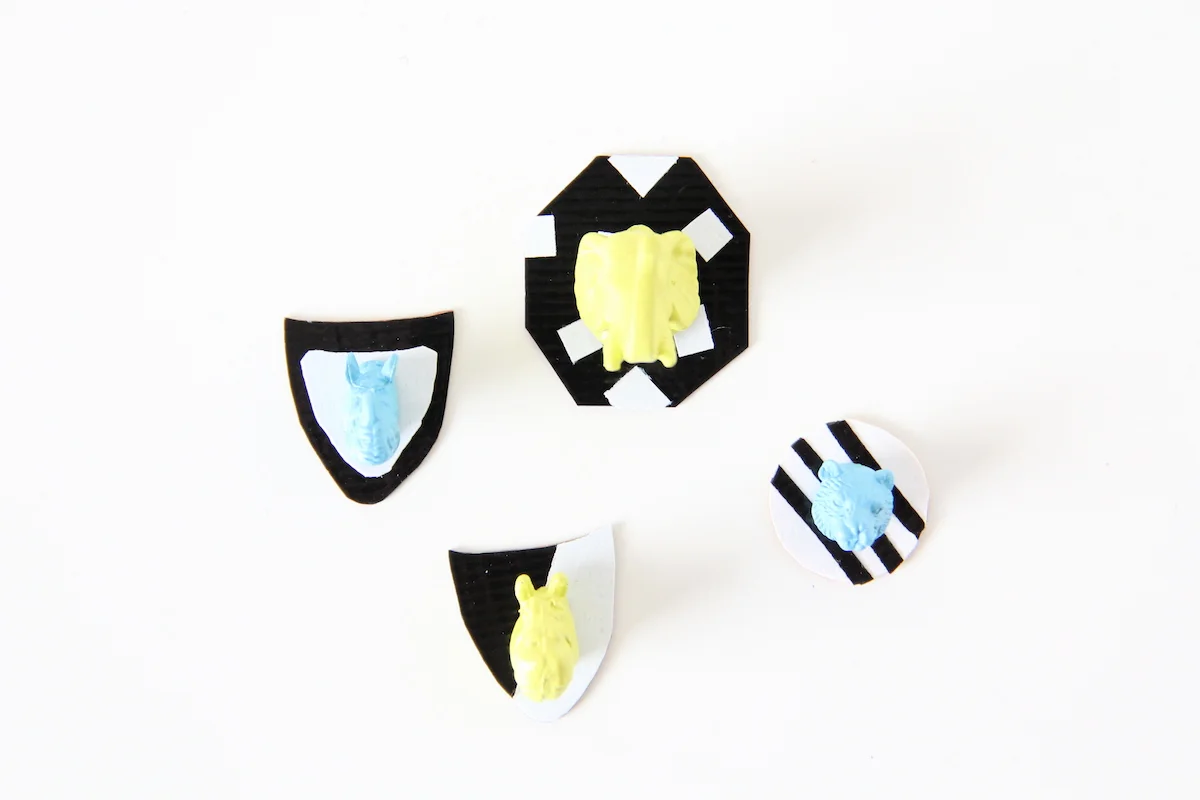
Then center the animal heads and use some super strong glue to glue them on. Wait for them to dry!
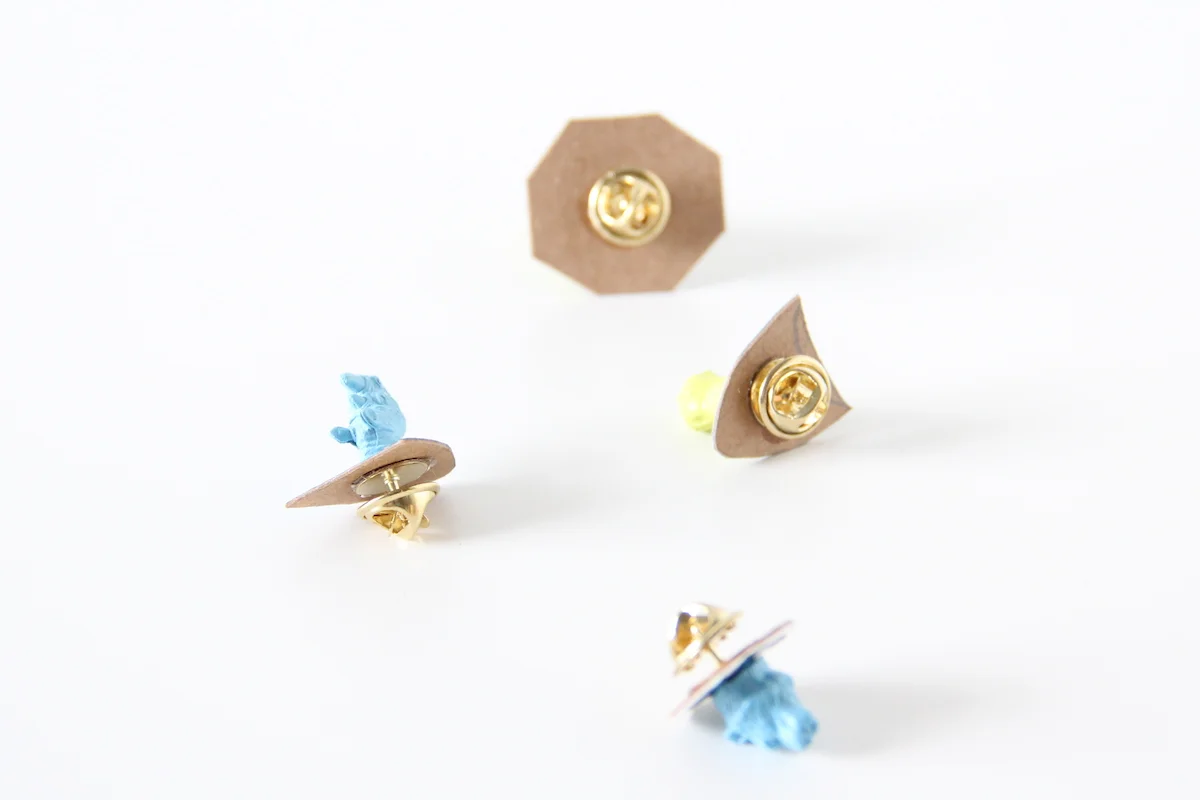
Now let's add the pins. Use that same strong glue and glue them onto the backs. Make sure they are totally and completely dry before you use them! Once they are dry, you are done!