TOY POPSICLES

Toy popsicle DIY
Toy popsicles DIY

These might not help you beat the heat, but they sure are fun to play with! Elliott and I made these popsicles on a day so hot, we didn't dare venture outside. They are really easy (and fun!) to make. I am thinking about turning our puppet theater into a temporary popsicle stand. Wouldn't that be fun? To make them I just used poster-board and duct tape, cut out the shapes, decorated and added some jumbo popsicle sticks tot he backs. We've had a blast playing with them, but now Elliott wants to make real popsicles. These would be great gift toppers too. Just a thought. Have fun and stay cool, friends!

Toy popsicles DIY
Toy popsicles DIY
Toy popsicles DIY
Toy popsicles DIY

MINI TAXIDERMY PINS

Mini taxidermy pins DIY

I have thought about making these forever.  Like, years! Finally, here they are. This is a great way to re-use those old plastic animal toys your little one might not want anymore. Although, as soon as they see that you want them, they will want them again. But be tough! They will love what you make with them! These pins look so great on backpacks, hats or blazers. I wish Elliott had a blazer because I really, really want to pin one on to a lapel! Someday. You could also make them into some fun magnets for the fridge, or use bigger animal heads and mount them on the wall! Whatever you do, these will be a hit with the littles. Trust me on that. Now, let's make some!

Mini taxidermy pins DIY

First, let's decapitate our animals. Ha! I used an X-acto knife to get a clean cut.

Mini taxidermy pins DIY

Next, prime and paint! Definitely do this outside and make sure you cover the entire head with the paint. I used two coats on each head to get full coverage. 

Mini taxidermy pins DIY

Once your heads are dry, it's time to make the plaques! I used some cardboard and duct tape to make some simple shapes and designs. So easy. 

Mini taxidermy pins DIY

Then center the animal heads and use some super strong glue to glue them on. Wait for them to dry!

Mini taxidermy pins DIY

Now let's add the pins. Use that same strong glue and glue them onto the backs. Make sure they are totally and completely dry before you use them! Once they are dry, you are done!

Mini taxidermy pins DIY

EASY STARS T-SHIRT

Easy 4th of July shirt DIY

I wanted a super easy and quick t-shirt for Elliott to wear on the 4th and this is what I came up with! I used a t-shirt of his that may or may not have had some minor stains on it. Ha! He actually helped me make it, so of course he loves it. At first I was going to create a freezer paper stencil but I thought some hand-painted stars would look pretty cute. You could also add some hand-painted stripes too! It's all good. I always tell Preston that I am lucky the whole kid looking drawings style is popular, because that's kind of all I can do! If I can do it, you most definitely can do it. This shirt literally took five minutes, so if you are in a time crunch, it's perfect! 

Easy 4th of July shirt DIY

All you need to make your own is some fabric paint, a t-shirt, a paintbrush and some cardboard to stick inside to prevent the paint from seeping through. See? SO easy.

Easy 4th of July shirt DIY

POP-ITS PARTY FAVORS

Pop-its party favors
4th of July party favors

I can't believe it's already July! We are getting geared up for the 4th this week as I am sure you are. If you are throwing any type of shin-dig or get together, you could probably use these. Pop-its were always my favorite firework type thing for the 4th of July. I was always afraid the sparklers and firecrackers would burn me (I was a paranoid child) so pop-its were right up my ally. They are so fun! Elliott has been having a blast throwing them around our feet. Little stinker. If your family loves pop-its like we do, then this is a printable you will love. Just print off the download onto sticker paper, cut them out and stick them onto some festive boxes or bags to hand out to the kids. It really couldn't be easier! Use them as party favors or just for the kids to play with during the festivities. Either way, they are sure to have a blast with them! 

Pop-its party favors for the 4th
Pop-its party favors (click through for the download!)

PUPPET THEATER

Puppet theater DIY
Puppet theater DIY
Puppet theater DIY

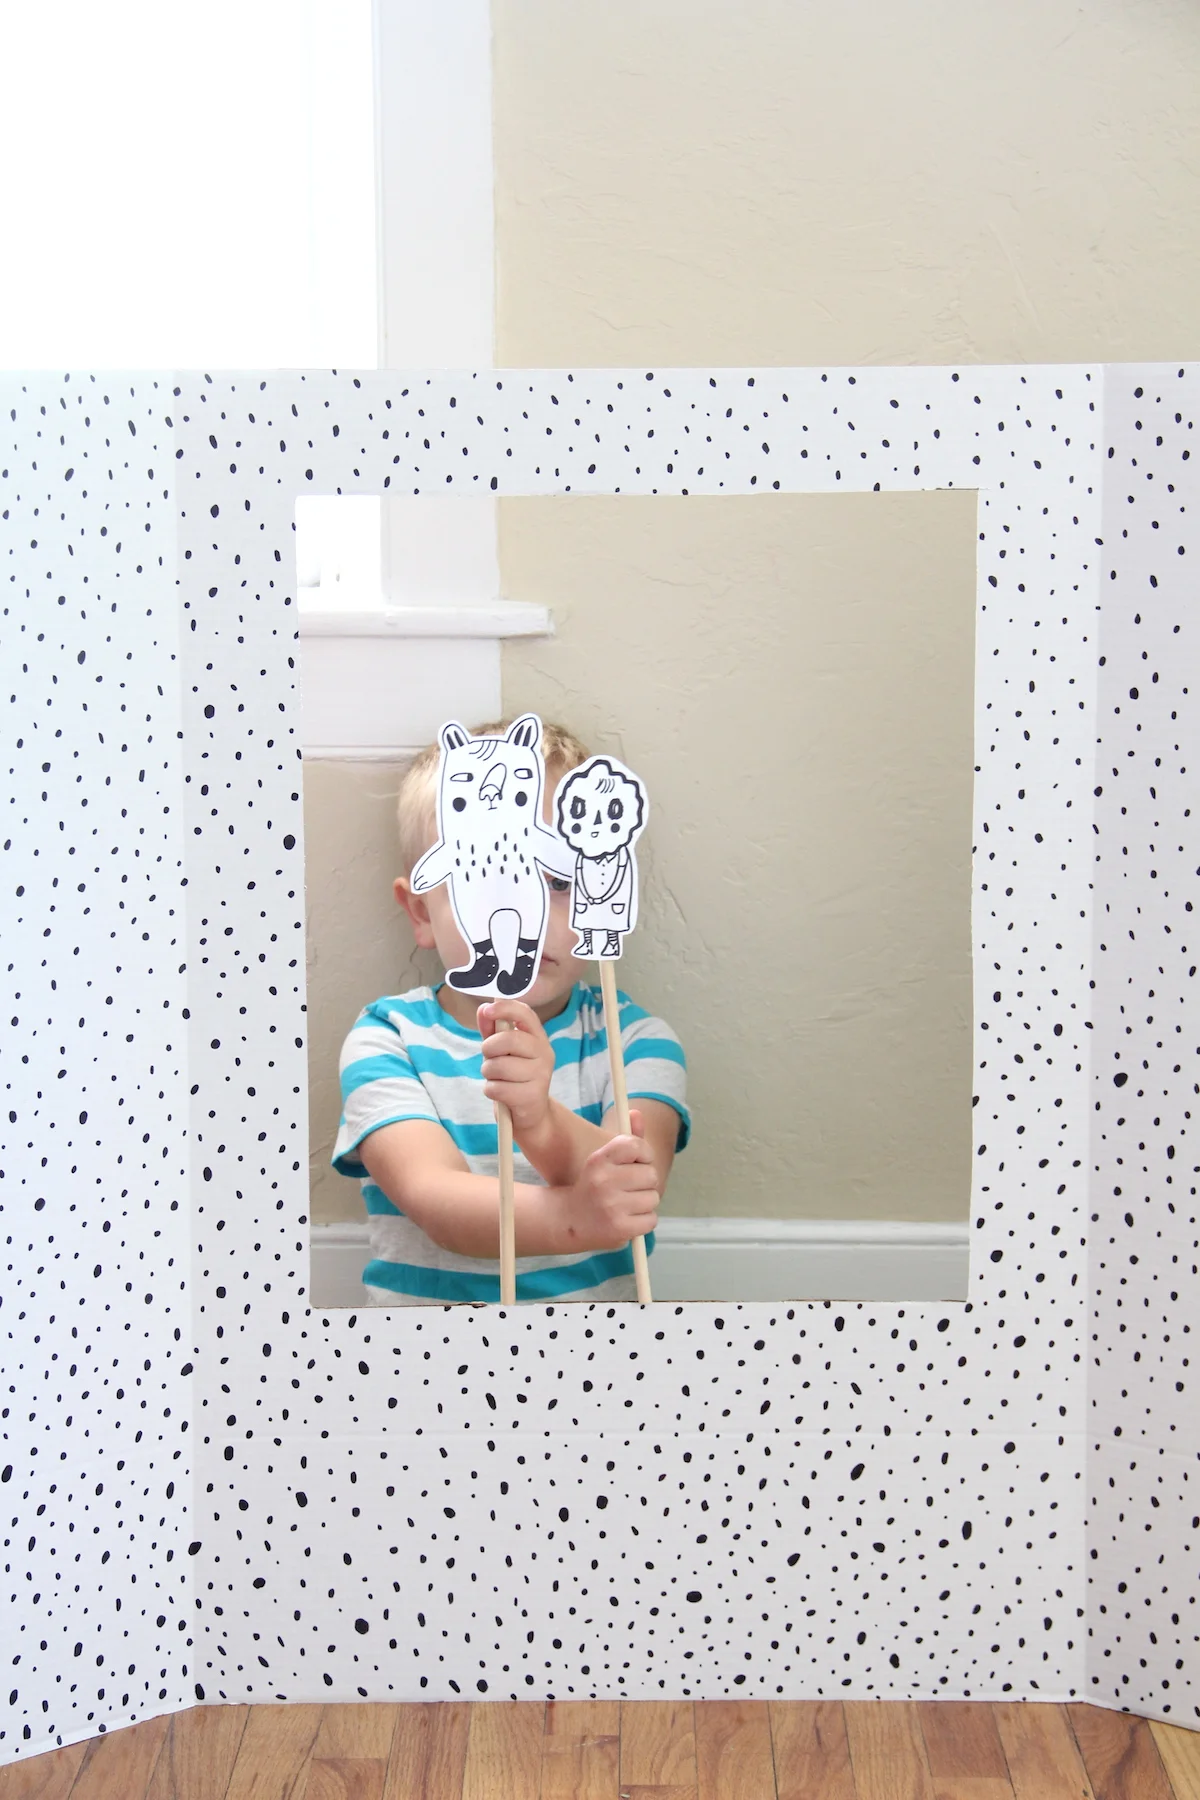
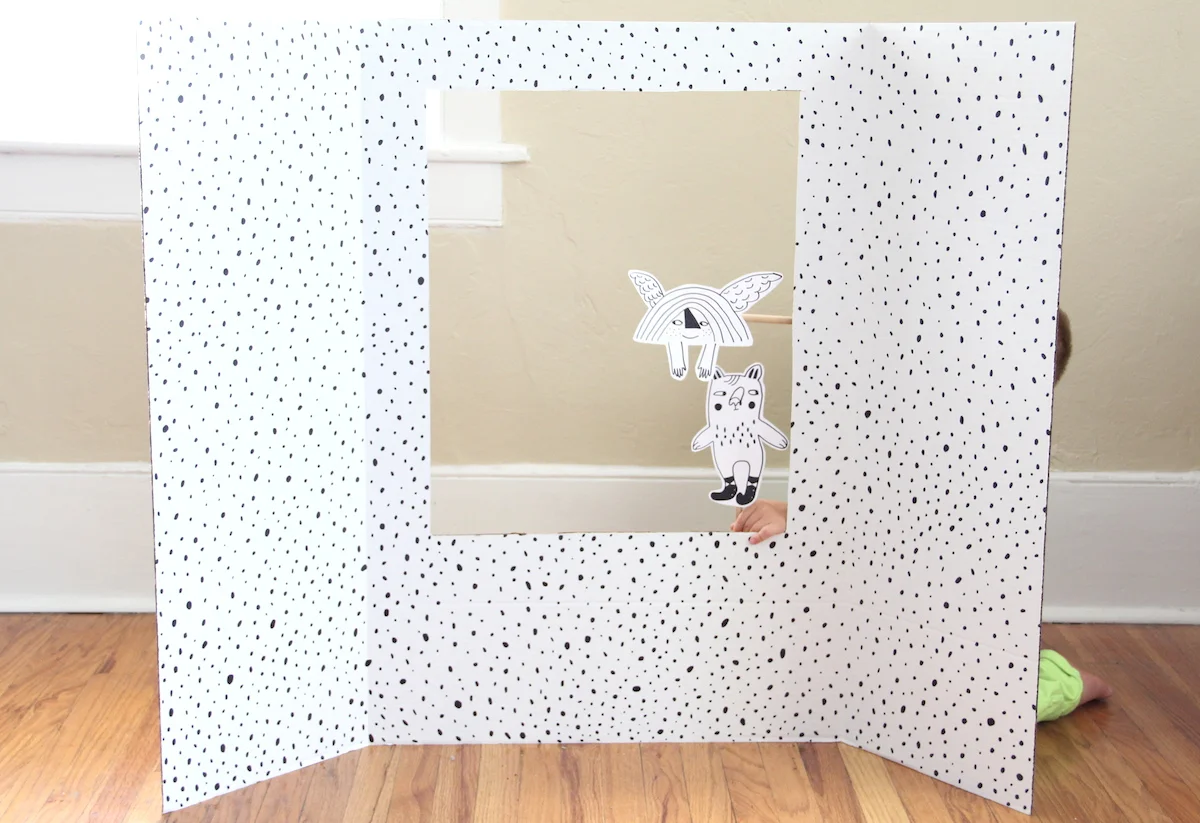
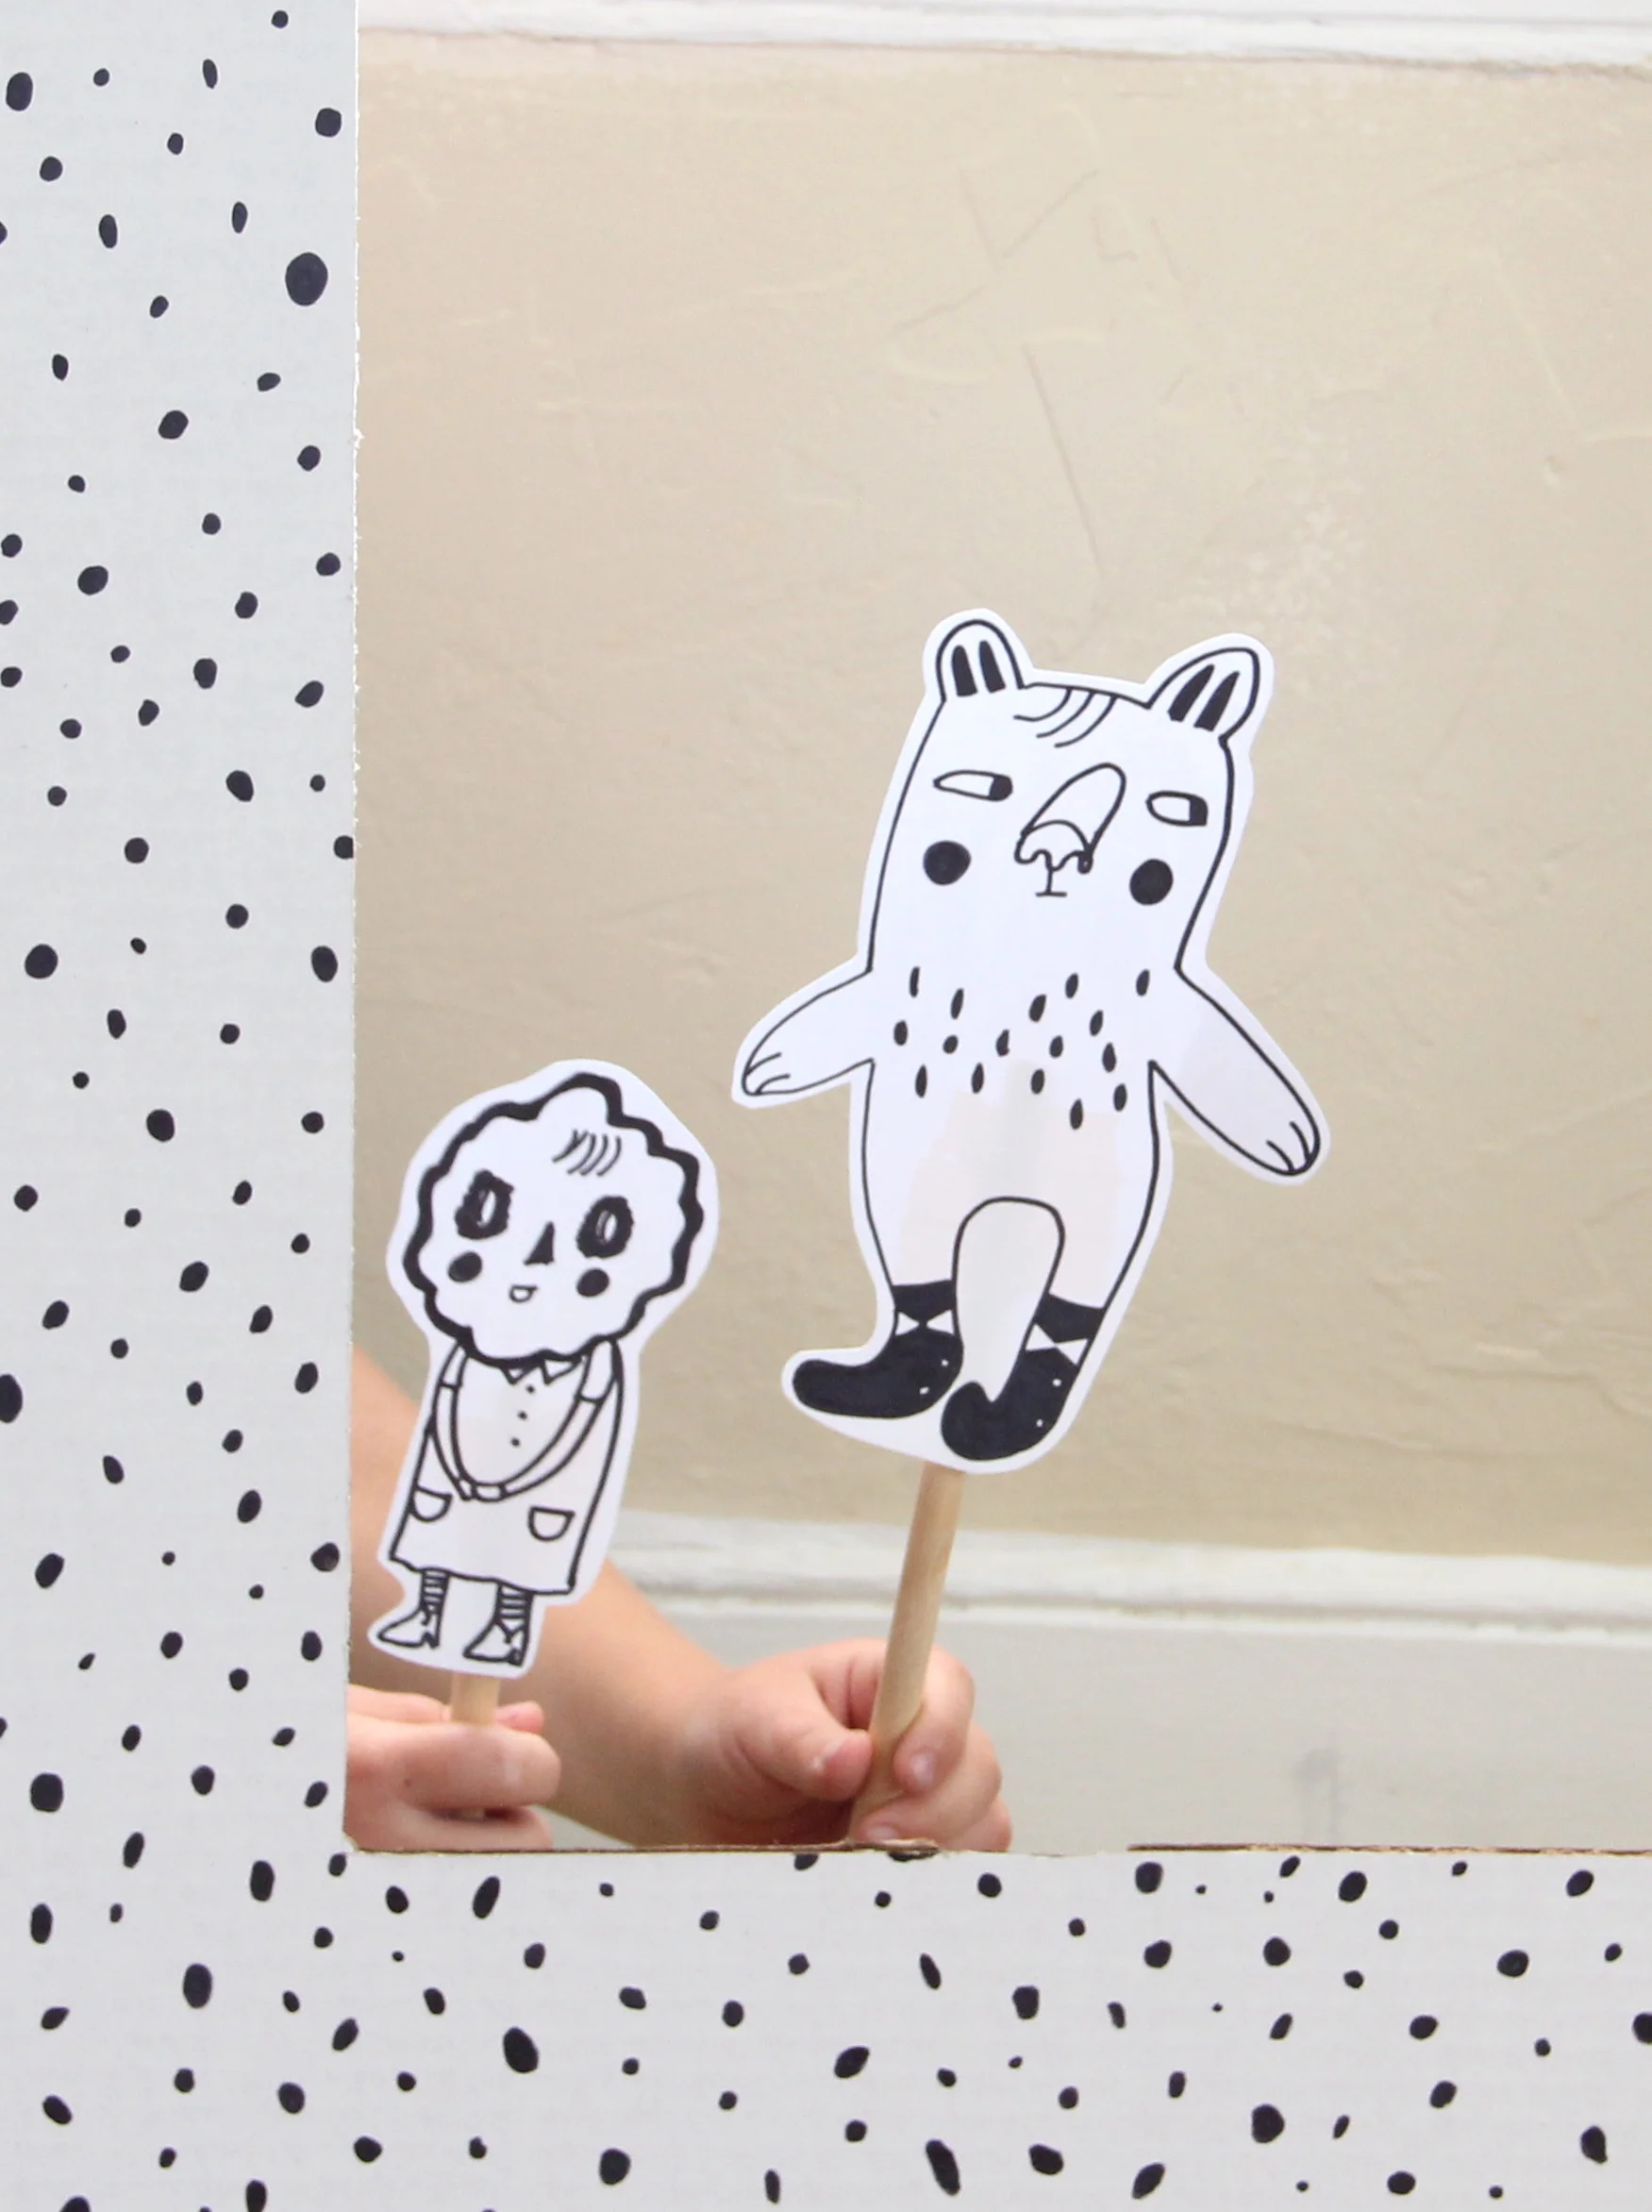
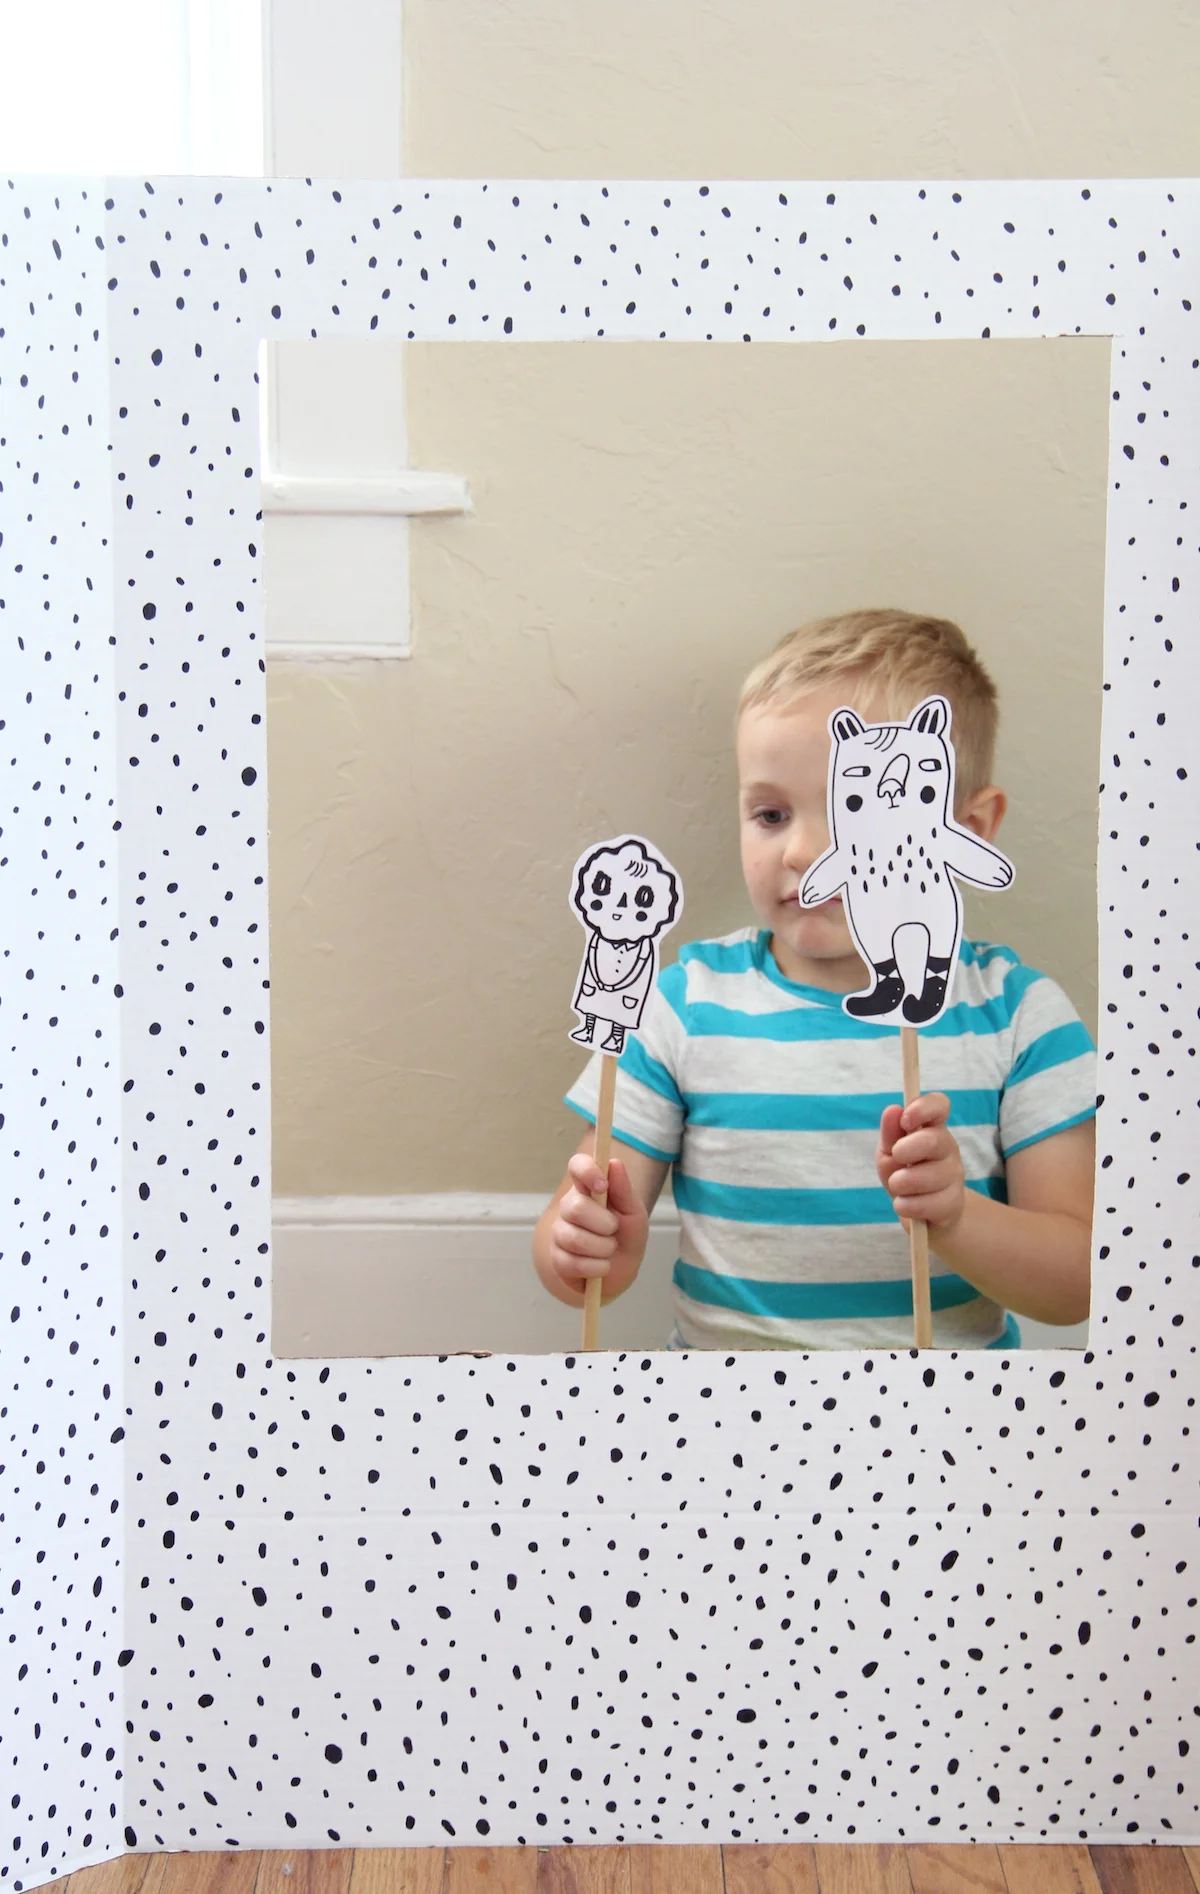
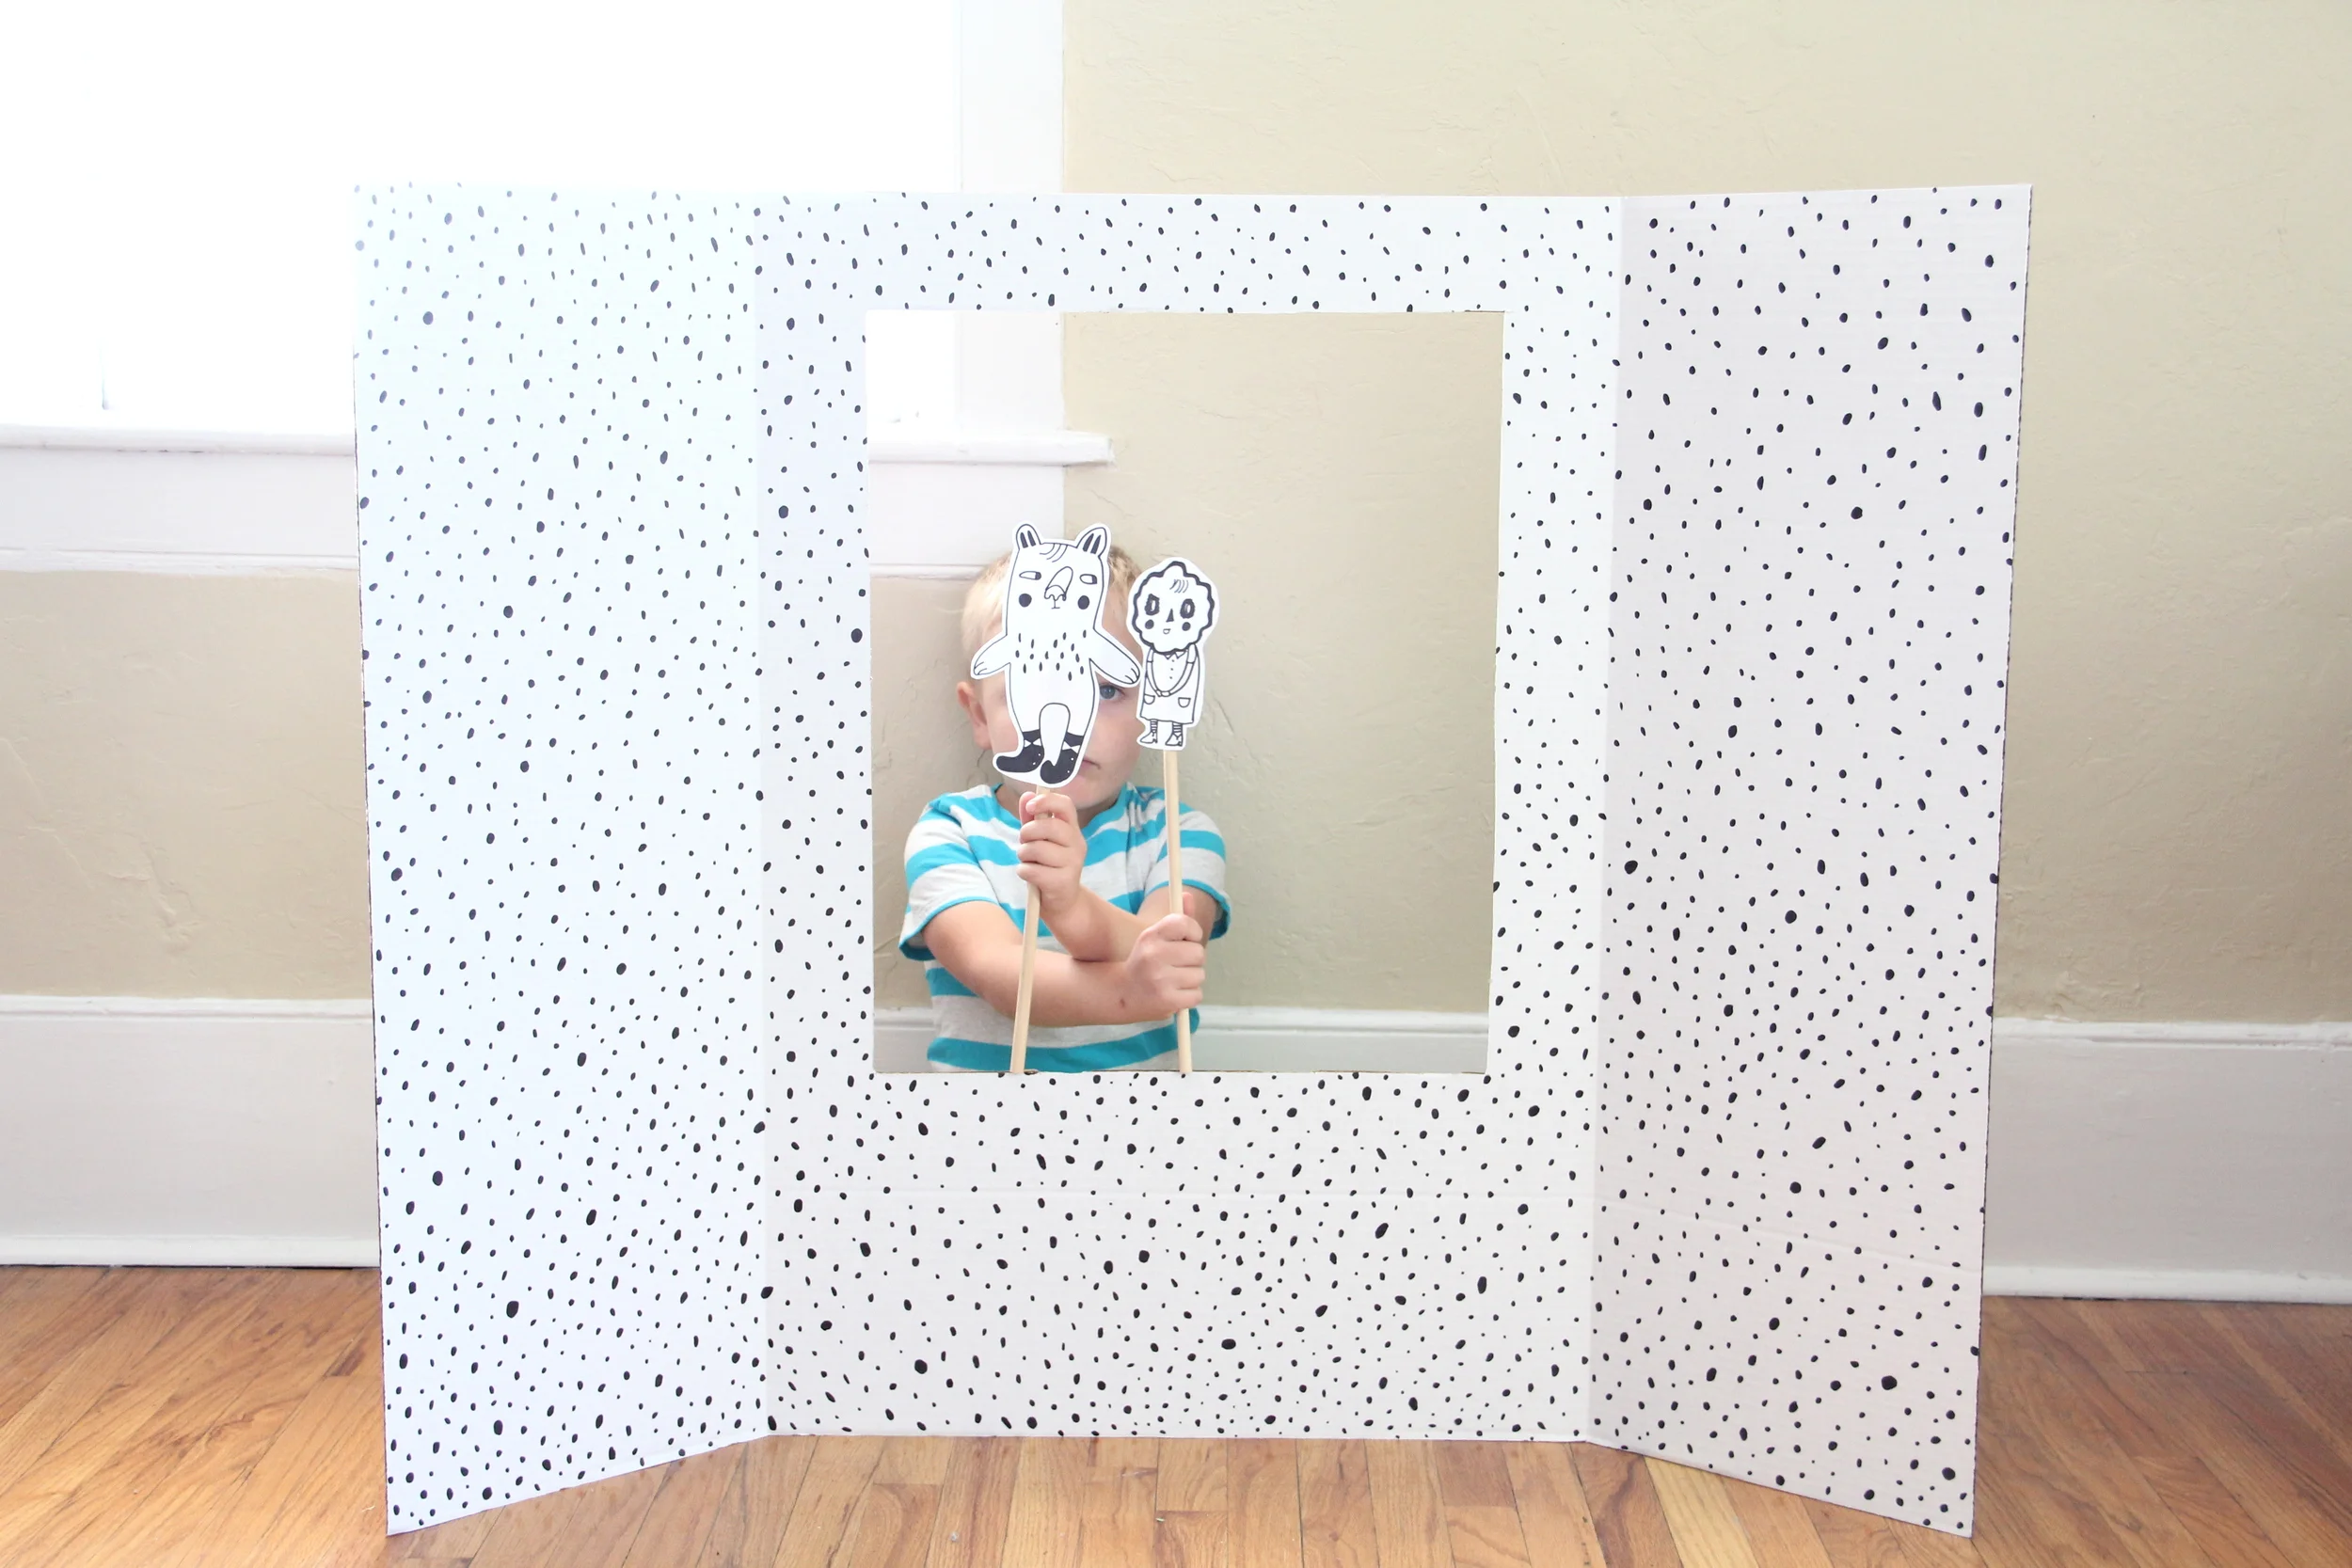
Remember this puppet theater (when Elliott was bald!) we made a few years ago? Well, we loved it and no longer have it so we thought it was time for a new one. If any of you are familiar with Roxy Marj you are probably thinking "Um Kersey, you totally ripped her off. Those are her designs!" You're right. But! I designed it this way both for a DIY and to enter a rad contest she was having last week. So rest easy, friends. We had permission. We have used these puppets over the last few days and are loving them. Elliott has named them some pretty ridiculous things and has come up with really crazy background stories to go along with each one. I am probably having more fun than he is! The theater is super simple to make. The dots I made on ours took hours because they are hand drawn on with sharpies. Yes, plural. Two full, new sharpies! You can imagine the hand cramp that resulted. Totally worth it. To make your own, all you need is one of those tri-fold display boards we used for science fairs growing up. Yep, those. Then you can measure out and mark the opening you would like and cut it out with an X-acto knife on a cutting mat. After that all you have to do is decorate it! And if you are a really great parent and not controlling like me, then you might even let your kids design their own. Just a thought! I see many-a-day this summer of playing with this and coming up with new puppets. Maybe I'll let Elliott make his own puppets, how fun would that be? To make the puppets, I just drew the image onto card-stock, cut it out and taped it to a dowel rod. So stinkin' easy. Make your own and see! 

Puppet theater DIY
Puppet theater DIY