HAPPY WEEKEND + LINKS

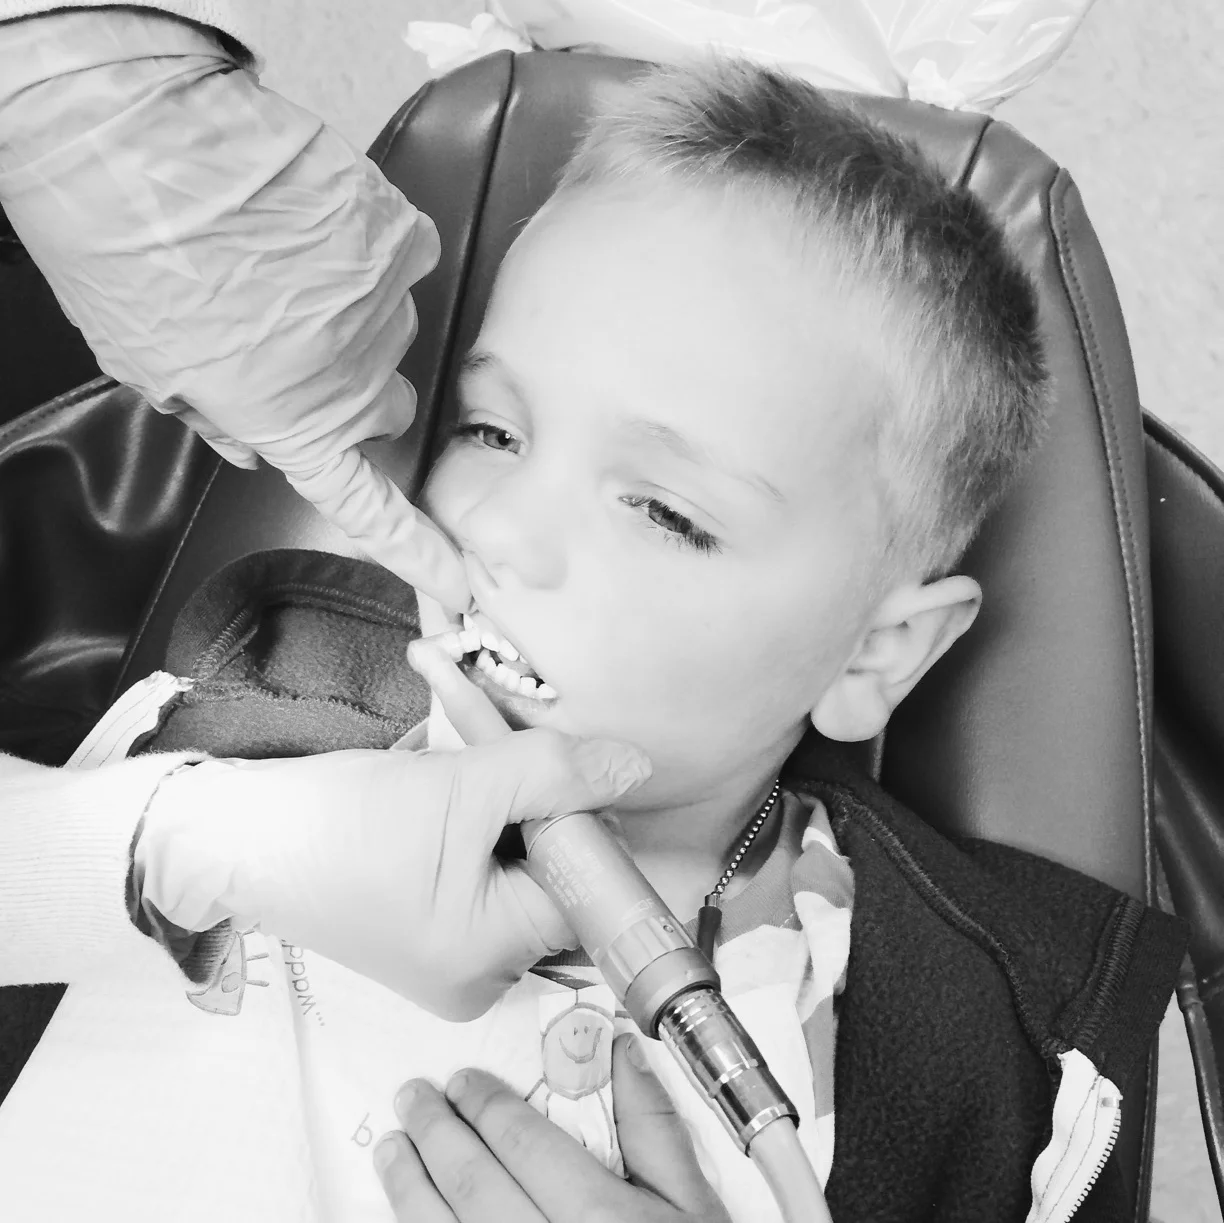
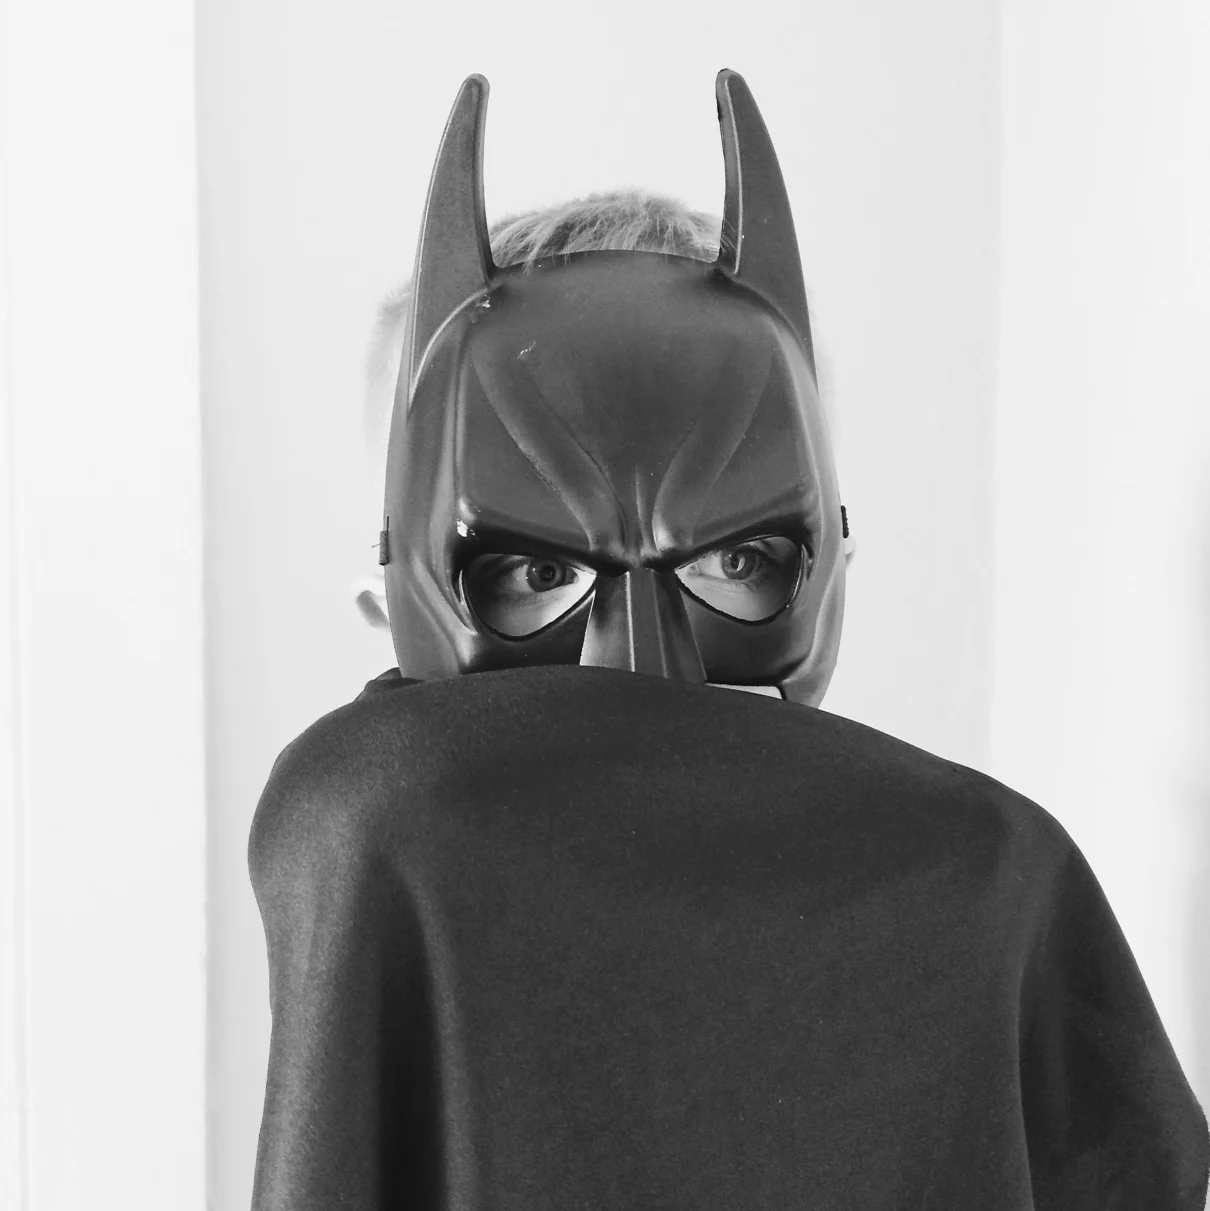
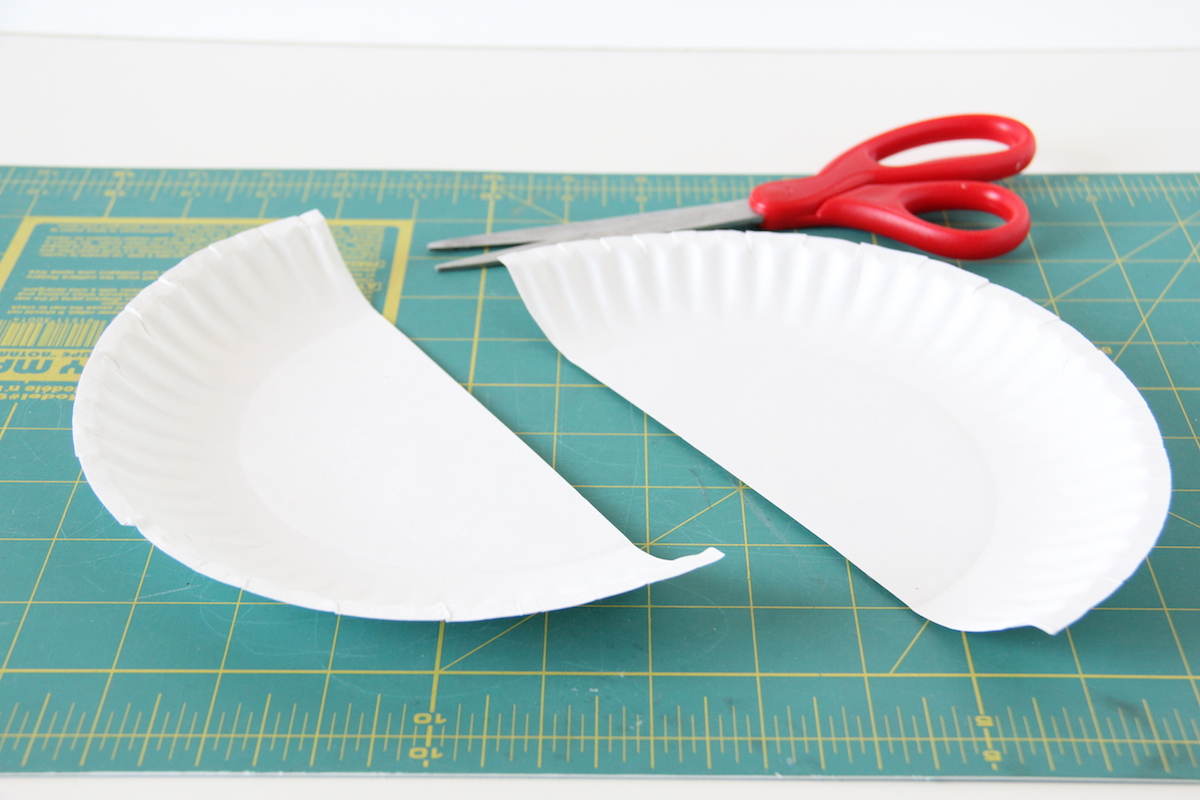
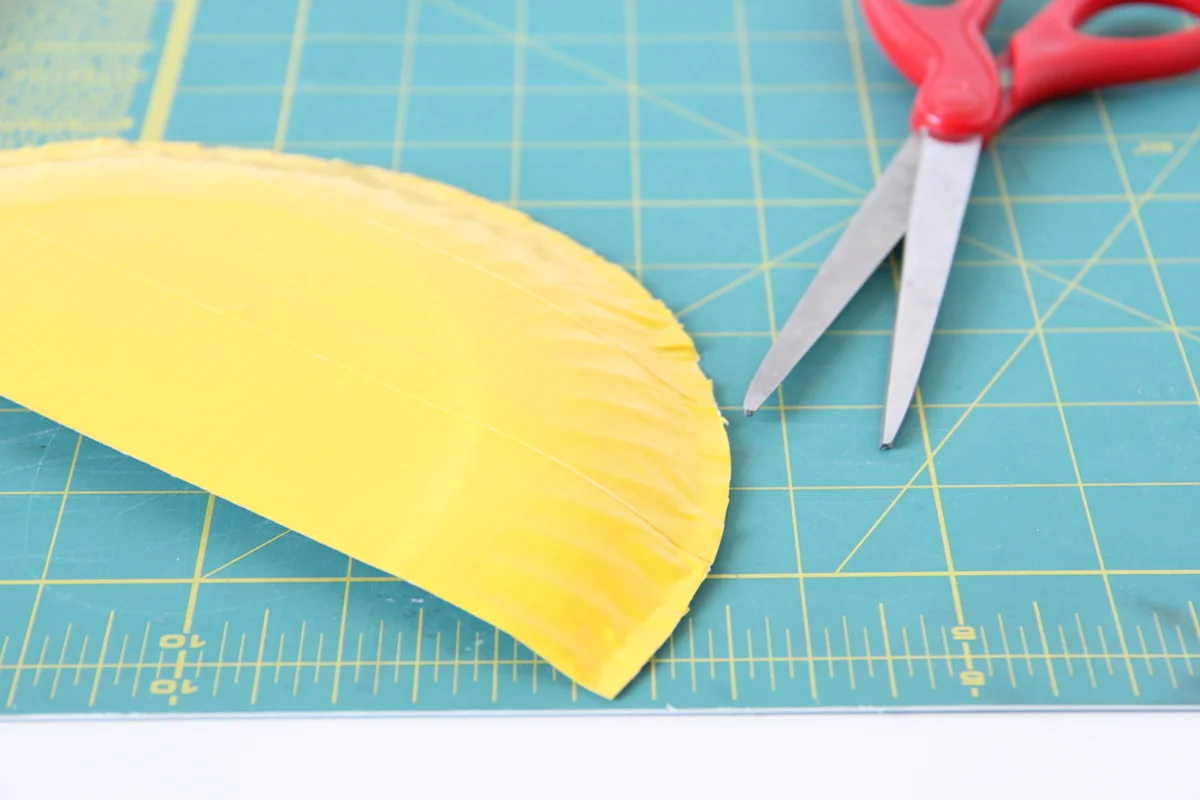
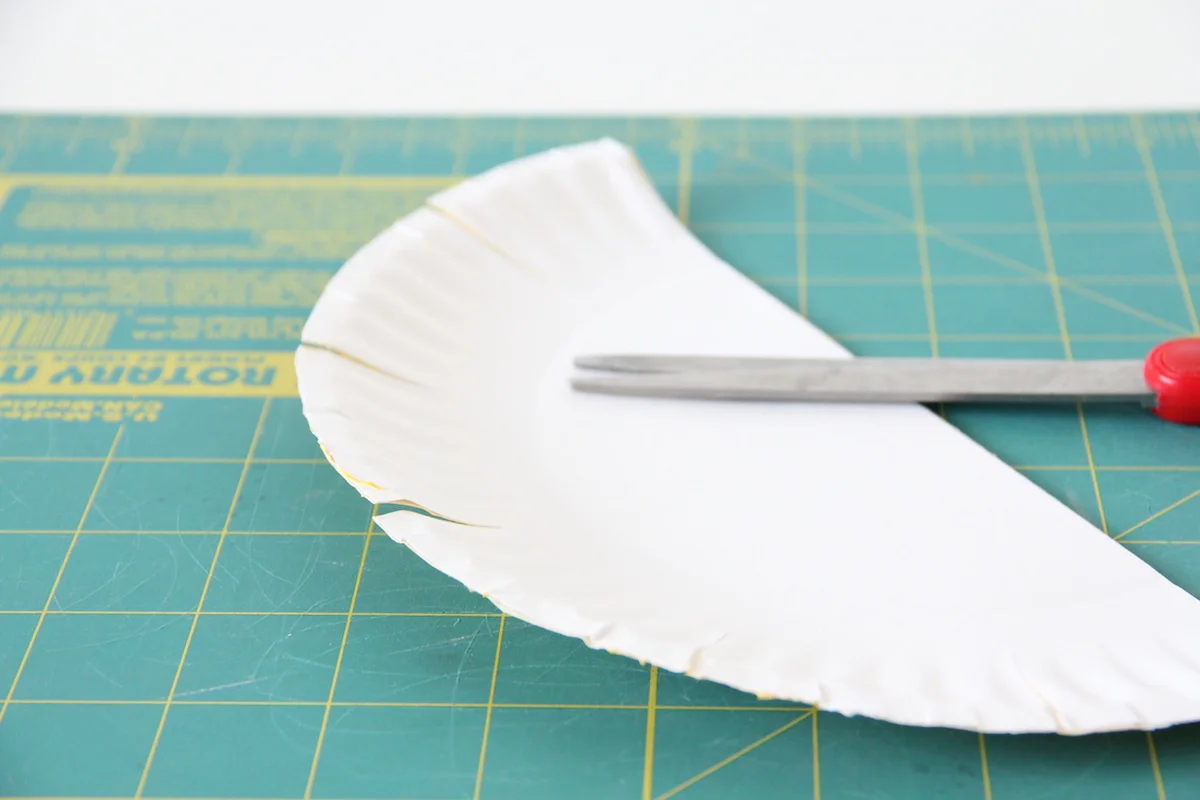
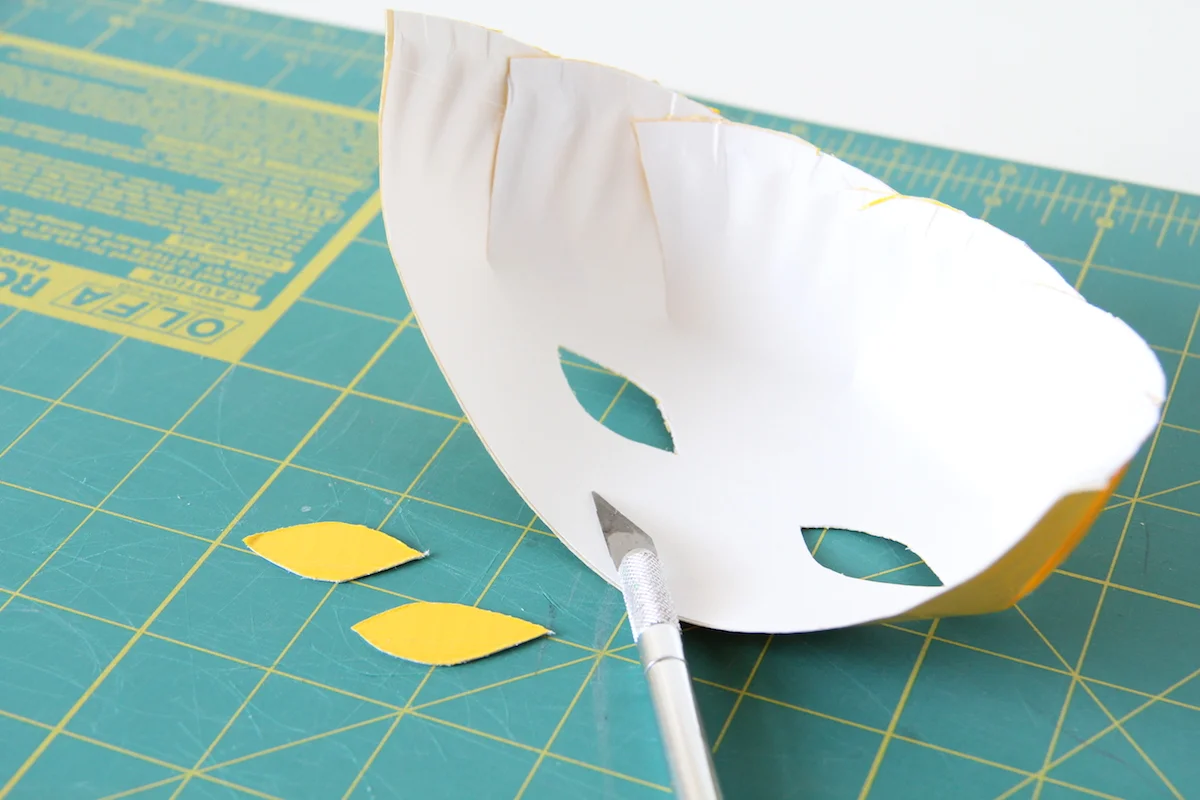
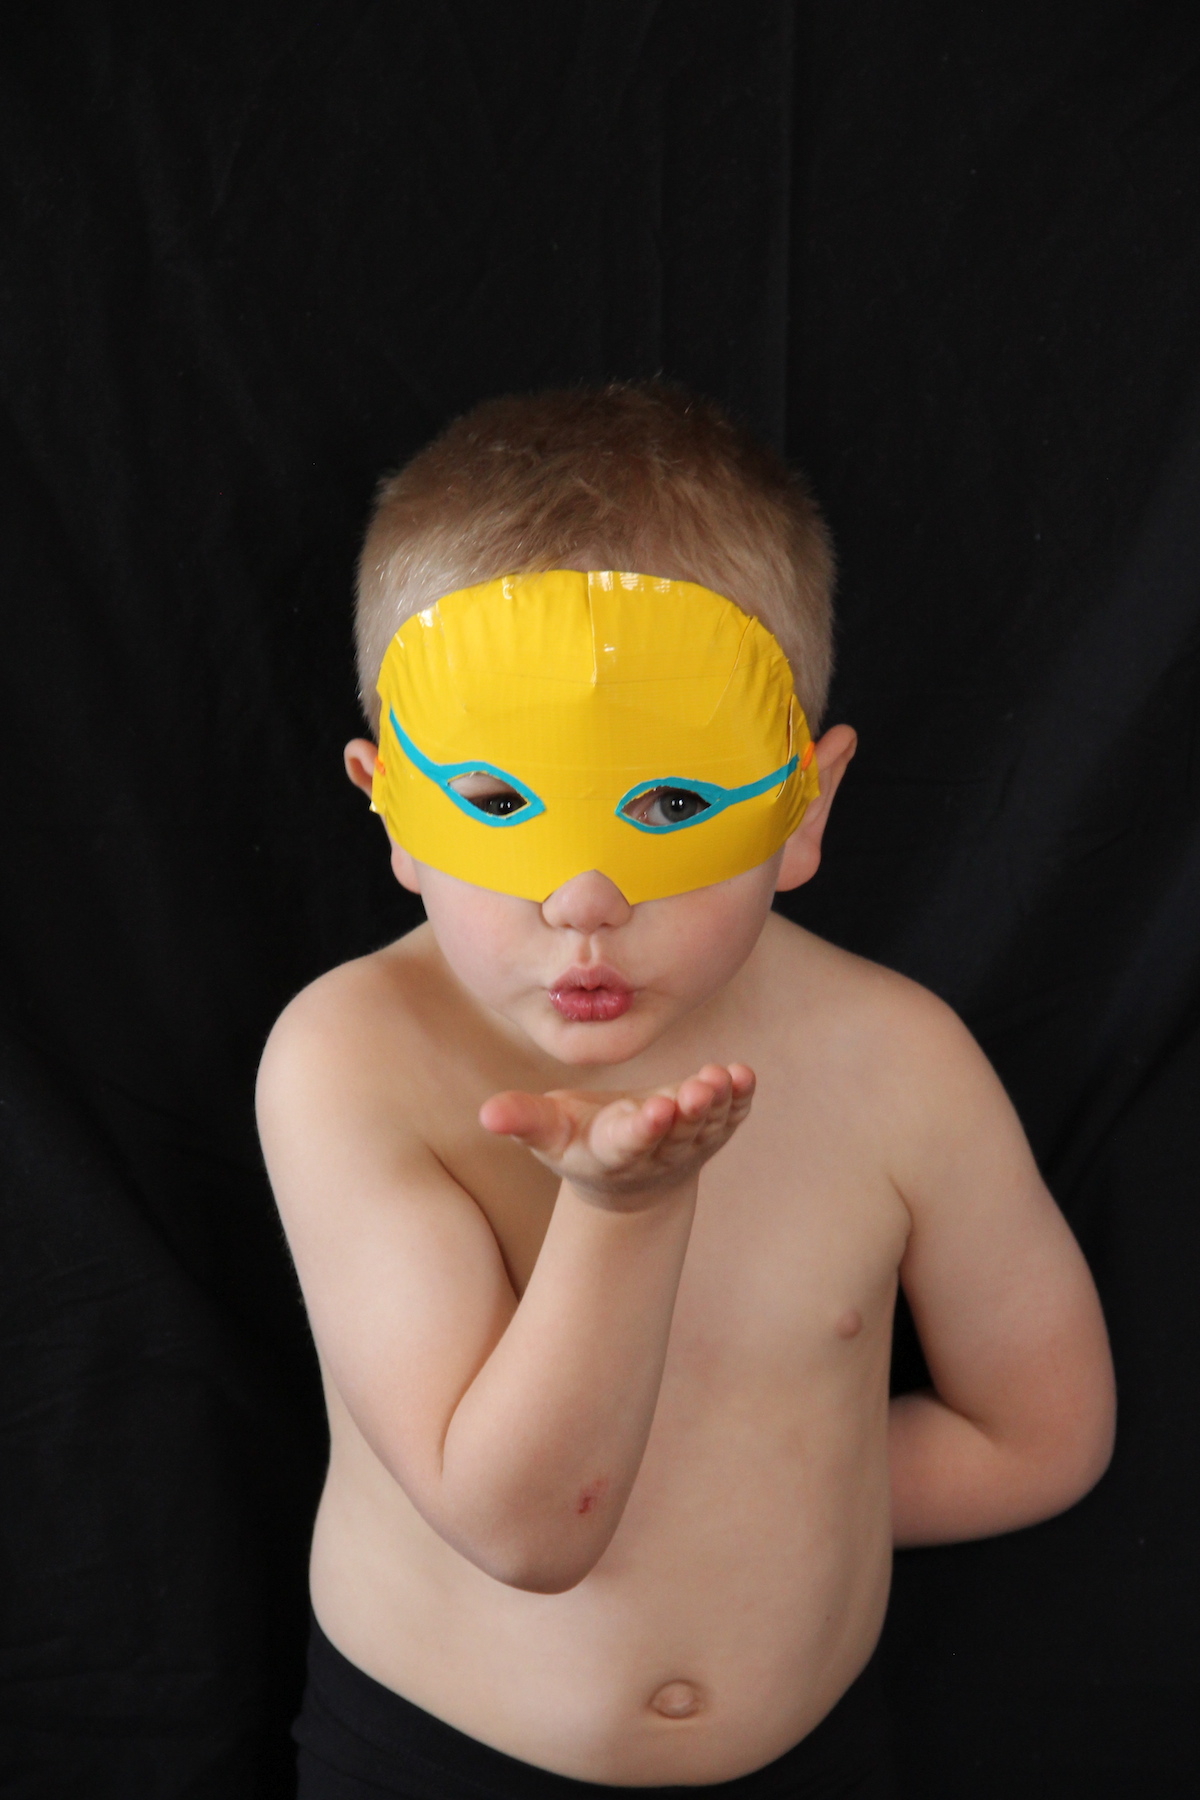
Normal dentist going guy by day, masked crusader by night. Ha! This week was a good one. Elliott had his first dentist appointment and passed with flying colors. I was so relieved! The weather has been perfectly springy, so we have been spending as much time as possible at the park or playing in the back yard. The warmer weather is definitely welcome around here. Every day we are closer to the pools opening the better! This weekend we are working on some things around the house, doing a little bit of work and of course having as much fun as possible. I hope you have a great fun filled weekend! Until Monday, here are some links to keep you busy.

Some seriously rad and colorful art.

Fun DIY lacing cards.

If I had a little girl...

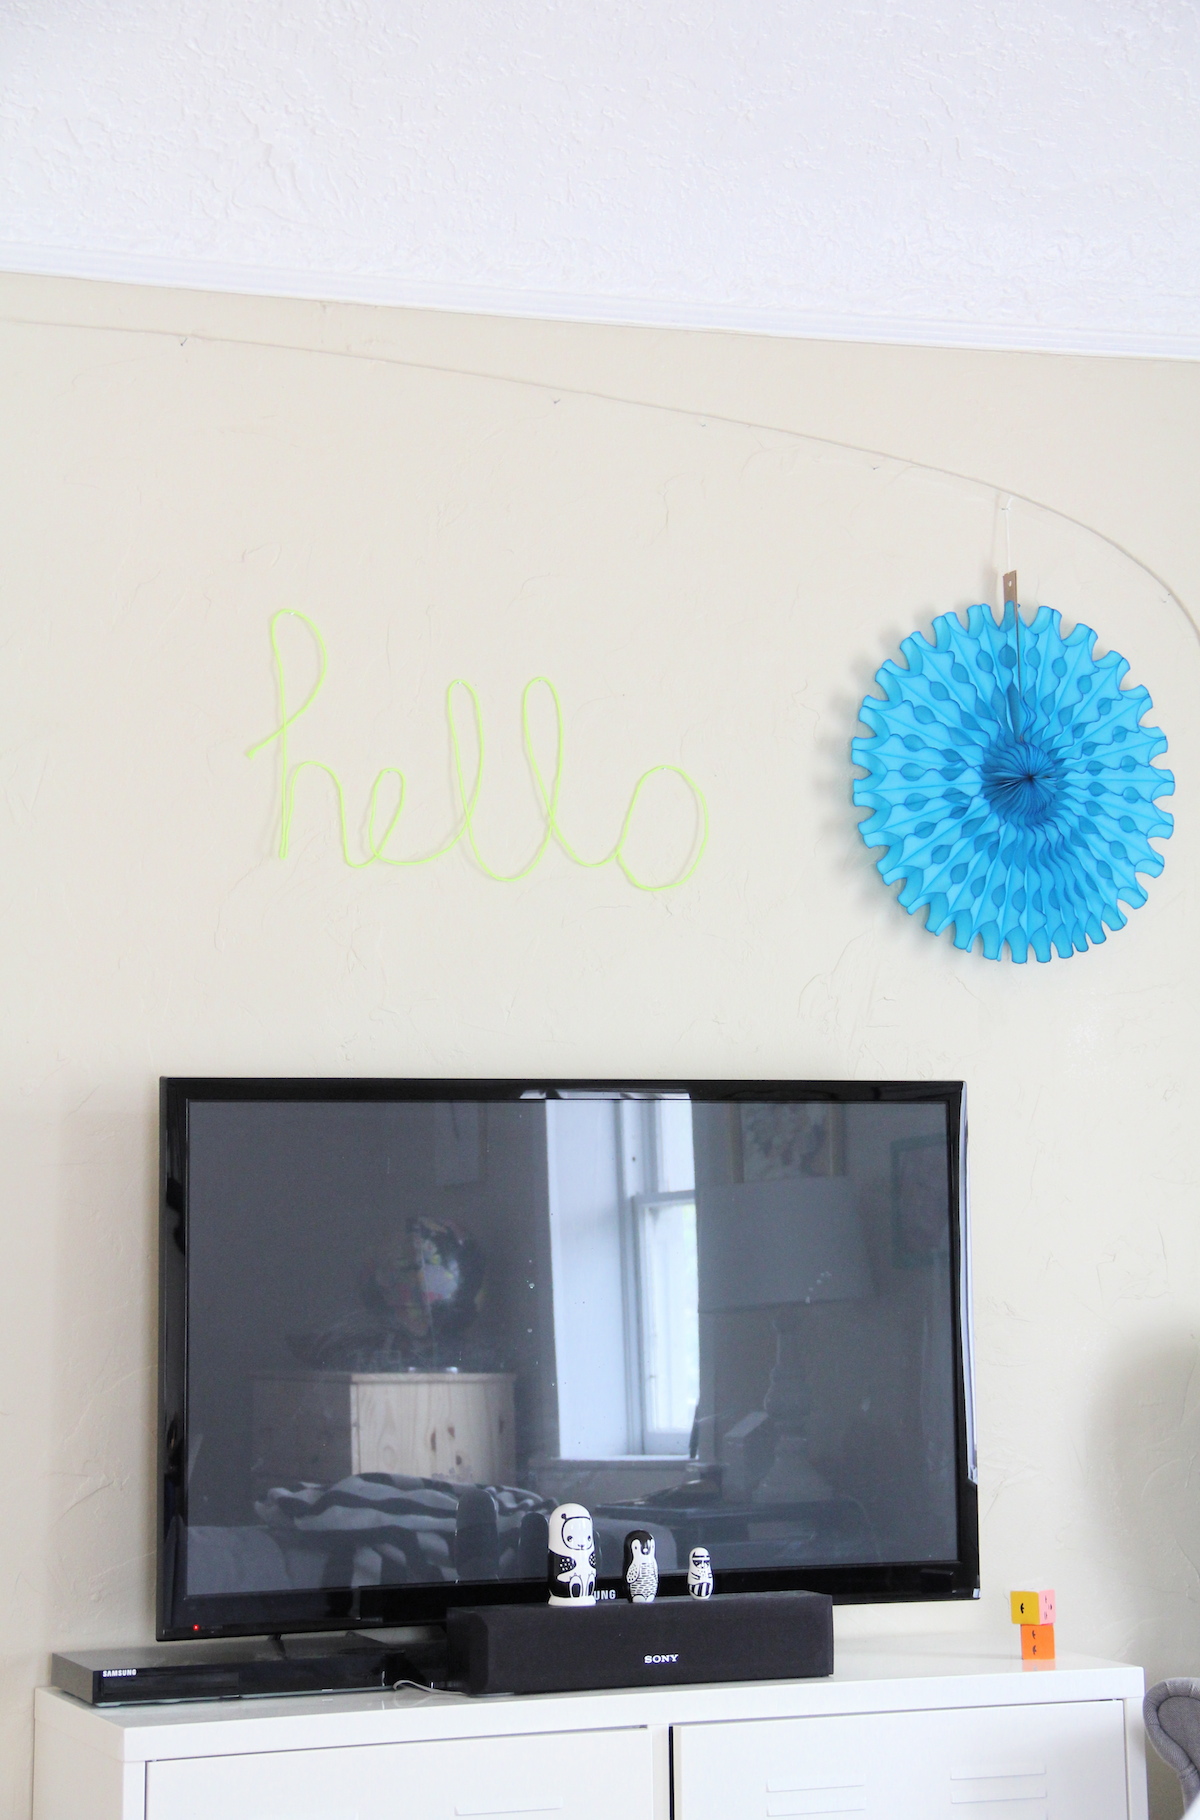
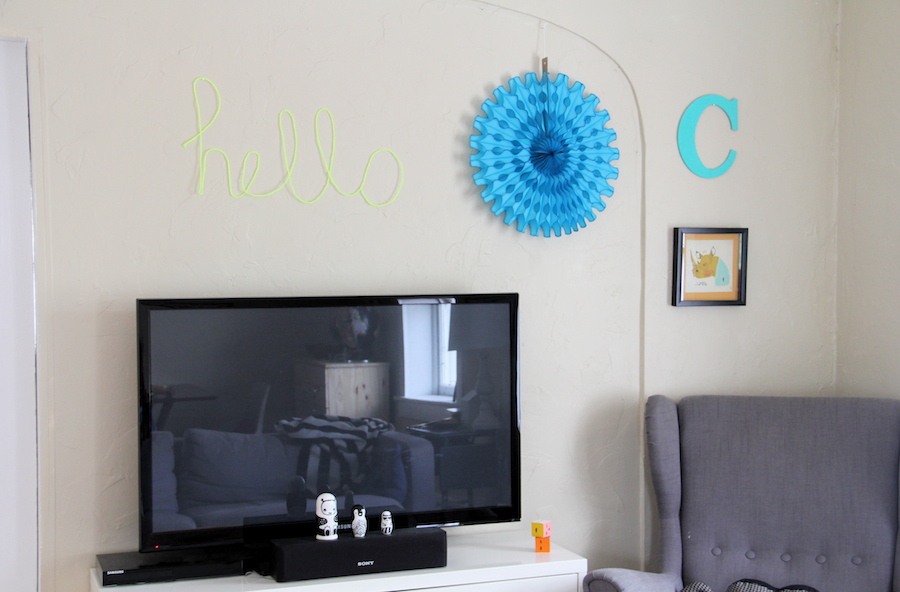
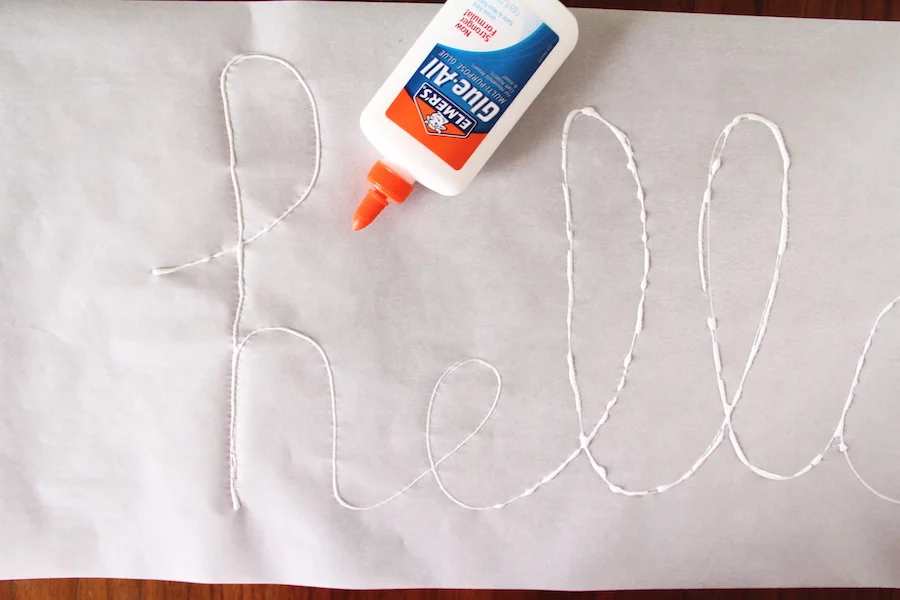
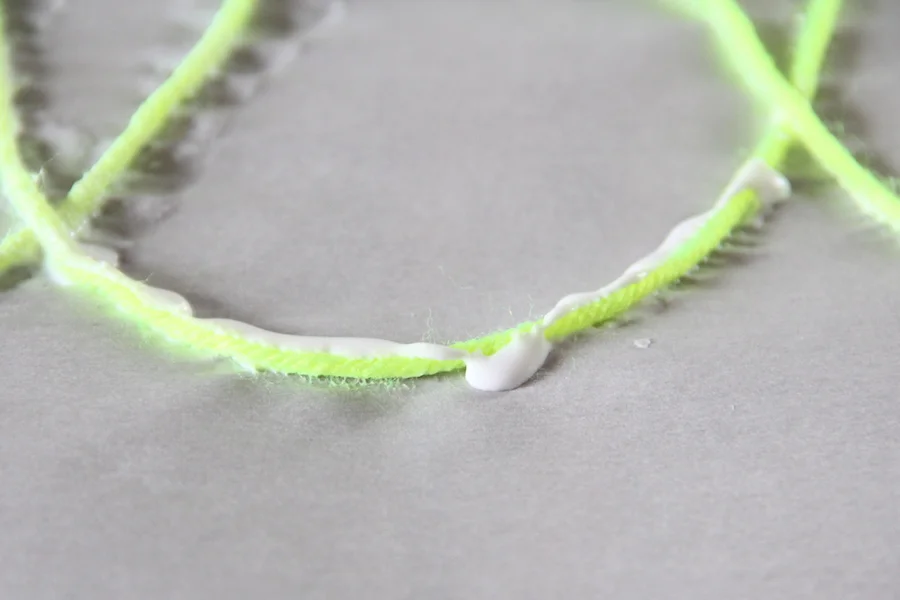
Such a cool kids room.

This brunch makes me excited for Mother's day!

I want every gift I ever receive to be wrapped like this.

Super easy cookie cakes.

Perfect cake toppers!

LUCHADOR MASKS

Make your own luchador masks with paper plates and duct tape!
Easy DIY luchador masks with paper plates and duct tape
DIY luchador masks for kids

In honor of Cinco de Mayo next week I give you luchador masks! These are so easy and fun to make, your kids will have a blast with them. Especially if they like Nacho Libre. Which we do. Doesn't Elliott have some mad skills? He loves showing off his muscles. A real luchador mask would cover the whole face, but I think the half version is better for kids. And the best part? You most likely already have everything you would need to make some of your own. So let's get started!

DIY luchador masks

First step! Take a paper plate and cut it in half. 

DIY luchador masks

Next, grab your choice of duct tape and lay strips of tape to cover the plate.

DIY luchador masks

Trim the excess tape along the edges of the plate. You can use scissors or an xacto knife.

DIY luchador masks

This part is important! Cut some slits into the edges of the plate evenly spaced. This will let you fold it over and mold it a little around your kid's face. 

DIY luchador masks

If you need the mask to fit a smaller face, you can fold the slits over each other and hot glue them in place. I tried this for Elliott but ended up having to undo it since he's got a big noggin. 

DIY luchador masks

Cut out your eyes with an xacto knife. Keep the part you cut out!

DIY luchador masks

Use the cut out eyes as a guide to make some fancy detailing around the eyes on the mask. Just lay a strip of tape down on the cutting mat and cut away!

DIY luchador masks

Now grab a hole punch and punch holes on each side of the mask. Try and make them as even as possible. Then tie on some colorful string.

DIY luchador masks

And you are done! If you want, you can cut out a nose hole too. Just use some scissors or your xacto knife. I thought Elliott wouldn't mind having his nose covered by the mask, but he did.

DIY luchador masks

JEWELRY DISH FOR MOM

Easy clay jewelry dish for Mother's day (click through for instructions)
Make mom a cute new jewelry dish this year!

Mother's day is coming up fast and we have been crafting it up for the big day over here. Elliott helped me make this cute little jewelry dish admittedly for myself, but such is the life of a DIY blogger, right? He loved helping me roll out the clay, cut it and paint it. This would be a great gift to give to grandma too! Check out the full tutorial over here on Momtastic and have fun making your own with your kids!

EASY YARN ART

Easy yarn art (click through for instructions)

Need some fun and unique art for your home? Of course you do! I made this the other day with Elliott and we had a great time doing it. We made some little hearts as well, but I think a shapes learning activity might be in order next! All you need to make your own is some yarn, glue, and parchment paper. 

Easy yarn art
Easy yarn art

First write out your word or shapes with the glue. Don't be shy with it! The more the better.

Easy yarn art

Carefully lay your yarn on top of the glue pushing gently as you go. Feel free to adjust it as you see fit! Next add more glue to the top and sides of the yarn using your fingers to smooth the glue over. You want the yarn to be pretty soggy. Wait for it to dry completely (probably over night) then carefully pull it up from the parchment paper, scrape the excess glue off and hang it up with a couple of finishing nails. Easy. right? 

Easy yarn art (click through for more)

I want to make one for Elliott's room, but I am having a hard time deciding on what it should say. Suggestions welcome!

HAPPY WEEKEND + LINKS

No lullaby

Hello, Friday! If you don't follow me on Instagram, then you are probably wondering about this picture. Every night, I sing a lullaby to Elliott. It's his favorite part of going to bed. This week we have been trying to focus a lot on being respectful to others, golden rule, yada yada, and as with most learning experiences you have to fail to learn. One night as I was singing he was disrespectful (apparently he decided he didn't want me to sing the same song he asks for every other night) and so we took the lullaby away from him for the next night. And you know what that boy said? Not "I'm sorry." Not a "I won't do that again." He said "You won't remember and you'll sing it anyway." And so! The sign was written up as a reminder to everyone that I, mommy was not to sing a lullaby to him that night. It drove him nuts! He hated that reminder being up all day. And that night, he knew he was not getting a lullaby and was apologizing for being disrespectful. I would call that a great parenting moment folks. We're still working on the whole respect thing, but I'll take any progress I can get.

What are your plans this weekend? We don't have any super fun plans yet, but sometimes that's kind of the best isn't it? Whatever you do, have a great weekend! 

A totally binge watch worthy show.

Coolest kid's bed ever.

I want one of each.

The next best thing to real cake.

A cute way to ask littles to be a part of the wedding party.

Fun and simple birthday party.

Some rad cinco inspiration.