diy romantic ruffled bun

I found this diy hairstyle and loved it so much I had to share! I love how versatile it is, not to mention pretty easy! What do you think? Would you try it? I'd love to see some pictures if you do! {via Refinery 29}

1. Start by applying a volumizing spray to damp hair and then blow-dry, creating texture with fingers.
2. Next, spray hair with with a shine product, then create a center part.
3. Starting at the front, twist small section of the hair on the sides (temporarily pin each side) and pull the hair back into a loose bun or chignon.
4. Spray with hairspray to hold.

diy fridge art

While coloring with the little man I thought, "I should frame this!" So I did. I had these cute magnet frames already so I just took his little piece of art, cut it to fit and BAM! fridge art! Just because it goes on the fridge, doesn't mean it doesn't deserve a frame, right?

You can get similar magnets here + here.

note: This is so easy I find it hard to even call it a DIY which generally involves some skill and technique. But I wanted to share anyway :)

DIY halloween finger pens

Today we have a DIY from yours truly! I made these for an upcoming Halloween party and thought I should share. They make for a great gift, party favor or just a fun craft with the kids.
  What you need:
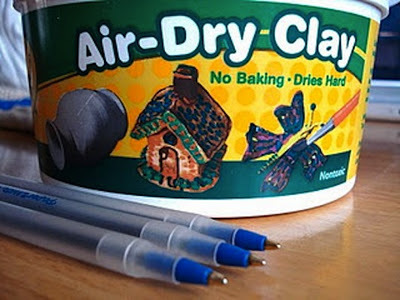
- Crayola Air-Dry Clay
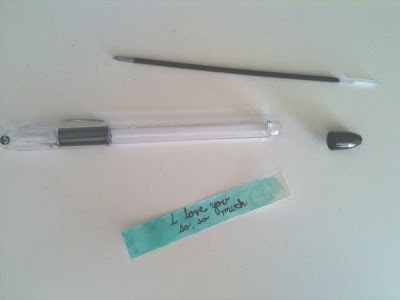
- pens (not clickers, but removable caped kind)
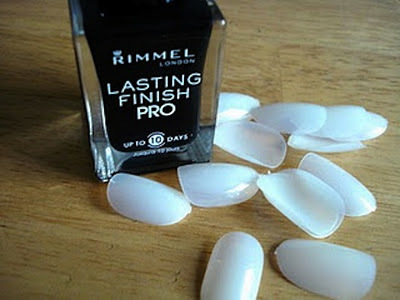
- black nail polish
- artificial nails
- strong glue
1. Paint the fake nails with the black polish and let dry.
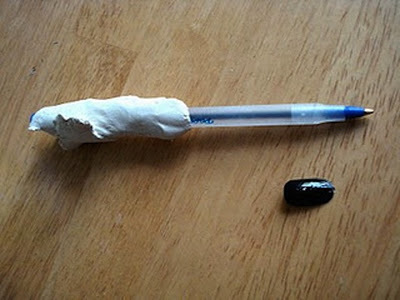
2. Cover the pens (with out caps) with the crayola clay. Shape them to your liking. Be sure to leave enough room at the tip for the pen to still function. Cover them a little thick to prevent cracking. I went the "dead man's finger" route but add a few warts and some green to the mix and bam! You have a witch's finger!
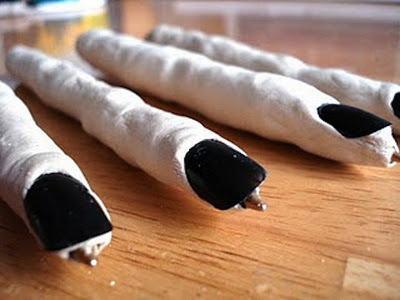
3. Add (now dry) finger nail. Make sure it is secure in the clay so when it dries it will stay put.
4. Glue nails down to make sure they stay.
5. Let them dry! Usually takes 1-2 days for them to be completely dry/hard.
6. Enjoy!